
Homemade Apple Pie
 By Janet Homme · Updated March 6, 2026
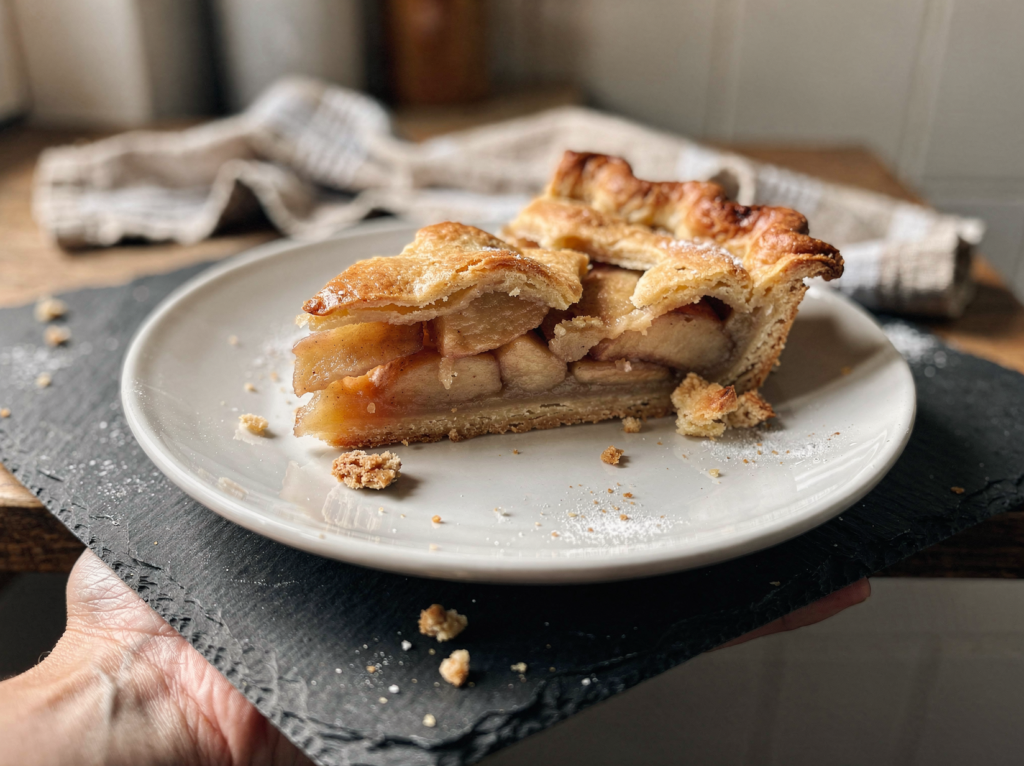
There is a reason apple pie is the benchmark for home baking. When it is right, the crust shatters into buttery flakes, the apples are tender but never mushy, and the spiced juices set into a glossy, sliceable filling rather than running across the plate. It is the pie that makes a kitchen smell like autumn the moment it goes in the oven.
Most disappointing apple pies fail in one of two predictable places. The crust turns out tough or greasy, or the filling collapses into a watery cavern under a dome of crust. This recipe heads off both with cold butter, a proper resting toss for the apples, and enough cornstarch to bind the juices into something you can actually slice.
I use a blend of apples on purpose. Tart varieties like Granny Smith hold their shape and keep the pie from cloying, while a softer sweet apple breaks down just enough to fill the gaps with jammy texture. The combination tastes far more interesting and layered than any single apple alone, and it gives you a filling that is both tender and structured.
The crust is an all butter dough that I keep deliberately simple. There are no shortcuts with shortening or vinegar here, just cold butter cut into flour and bound with the minimum ice water, which gives you flakiness and real flavor in equal measure.
The steps below walk you through everything from a no fuss food processor crust to the slow cooling that makes the difference between a neat wedge and a delicious mess. It takes an afternoon, but almost all of that is hands off chilling and baking, so it is far less work than it looks.
Why you will love this
- All butter crust: Butter alone gives the flakiest, most flavorful crust, and keeping it cold creates steam pockets that puff into distinct layers.
- A mix of apples: Combining firm tart apples with softer sweet ones gives you a filling that holds its shape but still feels jammy and tender.
- Macerate then thicken: Tossing the apples with sugar and letting them sit draws out moisture so the cornstarch can thicken the right amount of juice.
- Cornstarch over flour: Cornstarch sets the juices into a clear, glossy filling without the cloudy, pasty quality you sometimes get from flour.
- Chill before baking: A 20 minute chill firms the butter back up so the crust holds its crimp and bakes flaky instead of slumping.
What you will need
Apple pie rewards good apples and cold butter above all else. Everything else on this list is a supporting player you almost certainly have in the pantry.
- Baking apples (3 pounds): Use a mix such as Granny Smith with Honeycrisp or Braeburn; avoid Red Delicious, which turns mealy and watery when baked.
- Cold butter (1 cup): Butter must stay cold and firm so it melts in the oven and not your hands, creating the steam that makes flaky layers.
- Cornstarch (3 tablespoons): This is the binder that turns the apple juices into a sliceable filling; too little and the pie runs, too much and it gels stiffly.
- Lemon juice (1 tablespoon): A little acid keeps the apples from browning and brightens the spiced sweetness so the filling does not taste flat.
- Brown sugar (1/4 cup): A portion of brown sugar adds a gentle molasses depth that plain white sugar cannot, rounding out the cinnamon.
- Coarse sugar (1 tablespoon): Sprinkled over the egg wash, it gives the top crust a sparkling, crackly finish and a little extra crunch.
Equipment: You will need a 9-inch pie plate, a rolling pin, a food processor or pastry cutter, a sharp paring knife or peeler, and a rimmed baking sheet to catch drips.
How to make it, step by step
Step 1: Make the pie dough
In a food processor, pulse 2 1/2 cups flour, 1 tablespoon sugar, and 1 teaspoon salt to combine. Scatter in the cold cubed butter and pulse about 10 times, until the largest pieces are the size of peas and the rest looks like coarse meal.
Drizzle in 6 tablespoons ice water and pulse just until the dough begins to clump; squeeze a handful to test. If it crumbles apart, add water a tablespoon at a time, but stop the moment it holds.
Turn the dough out, divide it in two, and press each half into a flat disk. Wrap in plastic and refrigerate at least 1 hour so the gluten relaxes and the butter firms back up.
Those visible streaks and flecks of butter are not a flaw; they are the whole point. Each one melts in the oven and leaves behind a pocket of steam that lifts the dough into a flaky layer, so resist the temptation to blend the butter in completely.
Step 2: Prep and macerate the apples
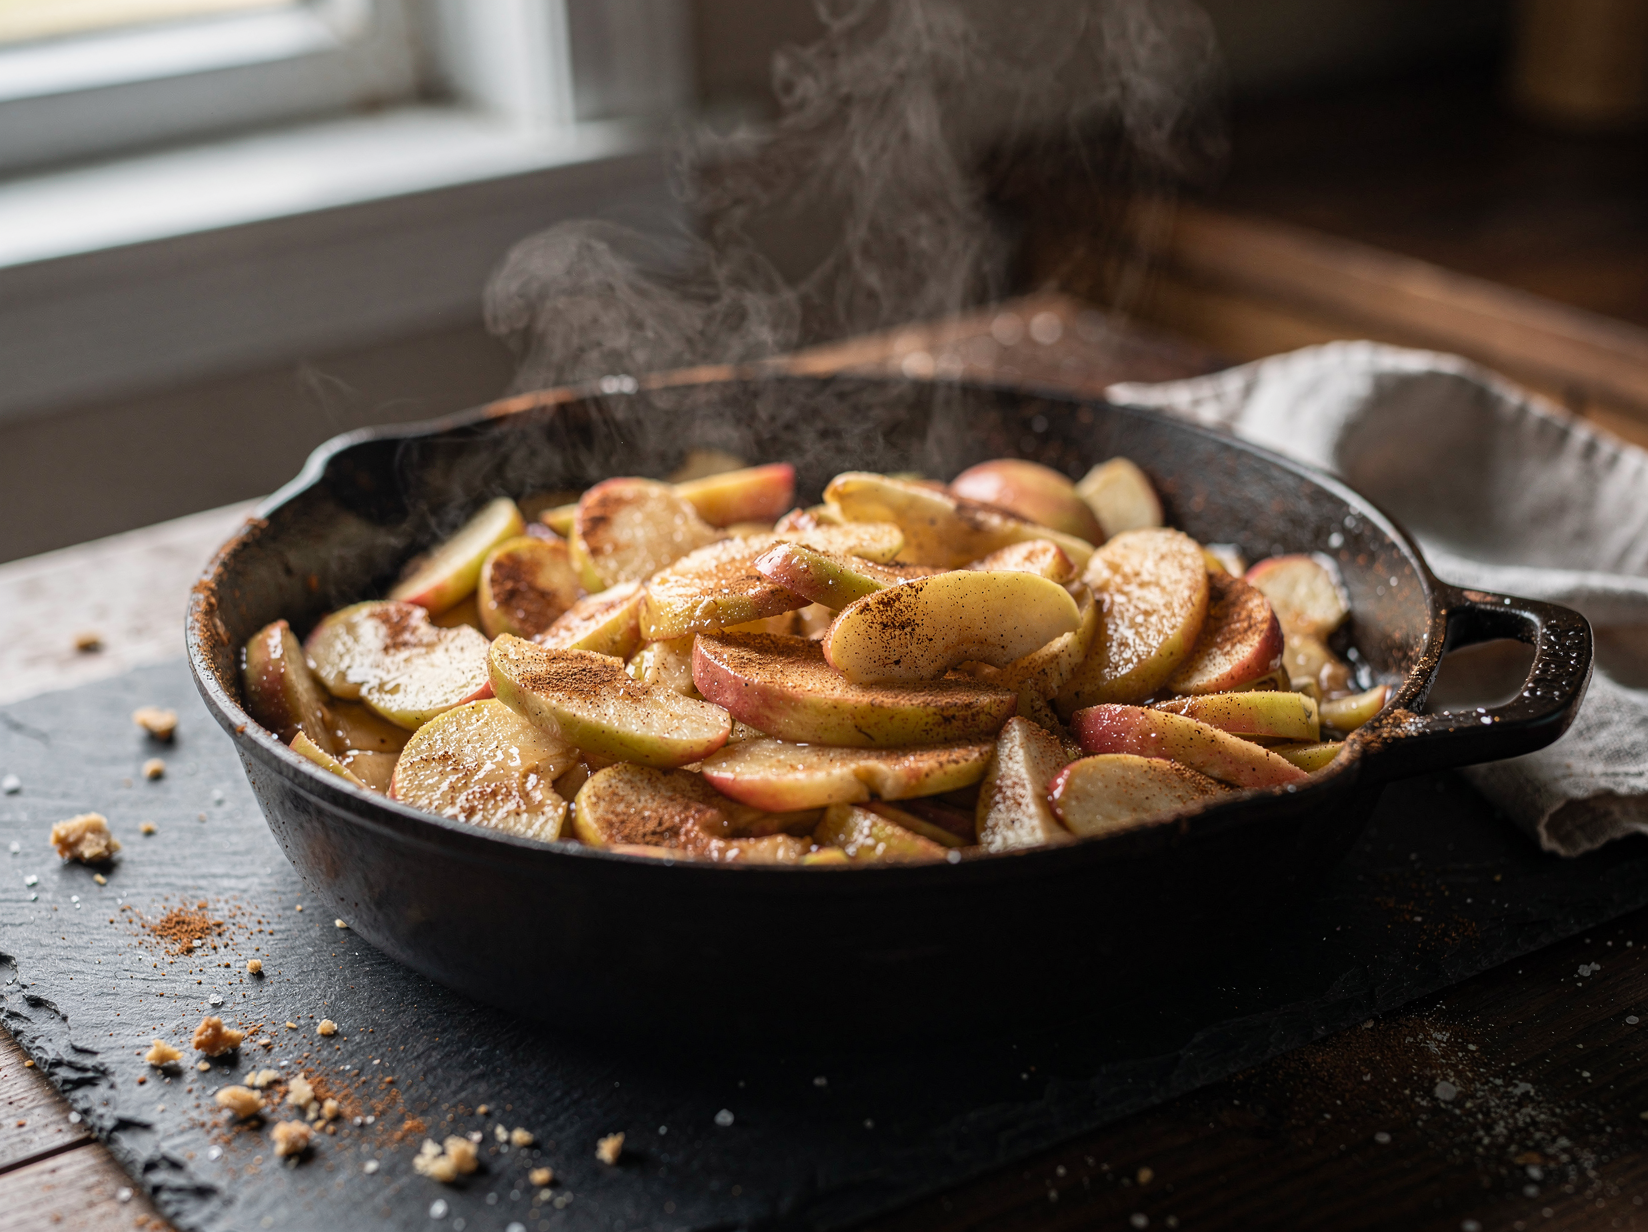
Peel, core, and slice 3 pounds of apples about 1/4 inch thick, tossing them with 1 tablespoon lemon juice as you go to prevent browning. Aim for even slices so they cook at the same rate.
Add 2/3 cup granulated sugar, 1/4 cup brown sugar, 3 tablespoons cornstarch, 1 1/2 teaspoons cinnamon, 1/4 teaspoon nutmeg, and 1/4 teaspoon salt. Toss until every slice is coated and glistening.
Let the apples sit for 30 minutes. They will release a surprising amount of liquid, which is exactly what you want; this is the moisture the cornstarch will thicken into filling.
This maceration step is the quiet secret to a pie that does not flood. By drawing the water out now and leaving most of it behind in the bowl, you control exactly how much liquid ends up under the crust, which is the difference between a set filling and a soupy one.
Step 3: Roll and line the pan
On a lightly floured counter, roll one disk into a 12-inch circle, turning it a quarter turn after every few passes so it does not stick. Aim for an even thickness of about 1/8 inch.
Drape the dough over your rolling pin and ease it into a 9-inch pie plate, gently pressing it into the corners without stretching. Stretched dough shrinks as it bakes.
Leave the overhang for now and slide the lined plate into the fridge while you roll the top crust. Keeping the dough cold is the whole game.
If the dough cracks or tears as you move it, do not panic. Press the seams back together with your fingers or patch with a scrap; once baked, no one will ever know, and a patched crust beats an overworked one every time.
Step 4: Fill the pie
Give the macerated apples a final toss and mound them into the chilled crust, packing them snugly and doming them slightly in the center since they will shrink as they cook. Leave most of the released juice behind in the bowl to prevent a soggy bottom.
Pour just a few tablespoons of that thickened juice over the apples; the rest can be discarded or simmered into a sauce. Dot the top of the fruit with 1 tablespoon of butter pieces.
Pressing the apples down firmly now reduces the gap that forms between filling and crust as the apples settle during baking.
Step 5: Top, seal, and vent
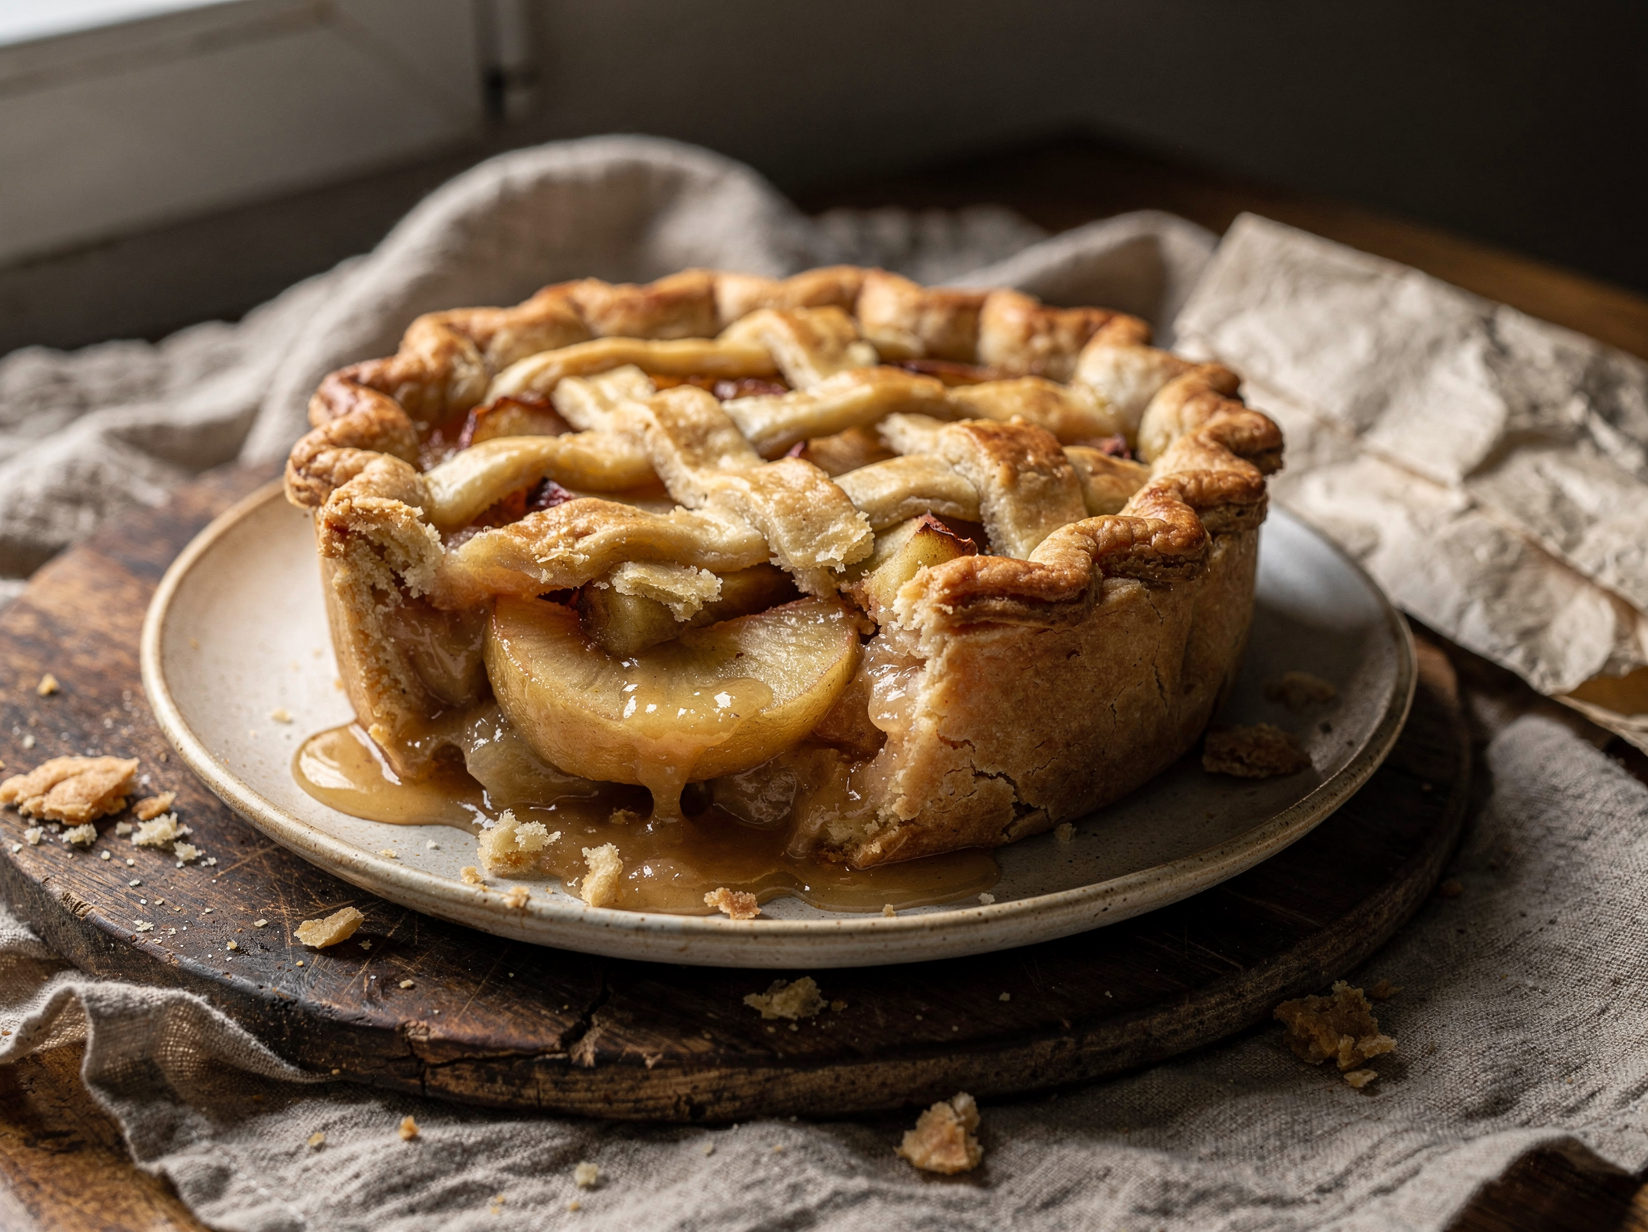
Roll the second disk into a 12-inch circle and lay it over the filling. Trim both crusts to about a 1/2 inch overhang, fold the edge under itself, and crimp it firmly all the way around to seal.
Cut four or five slits in the center of the top crust with a sharp knife to let steam escape. Without vents, trapped steam can crack the crust or make it soggy.
If you want a lattice or decorative cutouts, this is the moment, but a simple slashed top bakes beautifully and reliably.
A firm crimp does more than look pretty. It seals the two crusts together so the filling stays put, and it builds up a raised edge that holds in any juices that bubble up rather than letting them spill over the rim.
Step 6: Wash, sugar, and chill
Brush the entire top crust with the beaten egg wash, getting into the crimped edges for an even golden shine. Sprinkle generously with 1 tablespoon coarse sugar.
Set the assembled pie on a rimmed baking sheet and chill it in the freezer for 20 minutes. This re firms the butter so the crust holds its shape and bakes up flaky.
Meanwhile, position a rack in the lower third of the oven and preheat to 425F. The baking sheet underneath catches any bubbling juices.
Step 7: Bake in two stages
Bake at 425F for 20 minutes to set and brown the crust quickly. Then reduce the oven to 375F and continue baking 45 to 50 minutes, until the crust is deeply golden and you can see the filling bubbling thickly through the vents.
Slow, visible bubbling is your cue that the cornstarch has reached temperature and the filling is set. If the edges brown too fast, tent them loosely with foil.
A pie that comes out before the filling bubbles will be runny, so trust the bubbles over the clock. The total bake usually lands right around 65 to 70 minutes.
Step 8: Cool completely
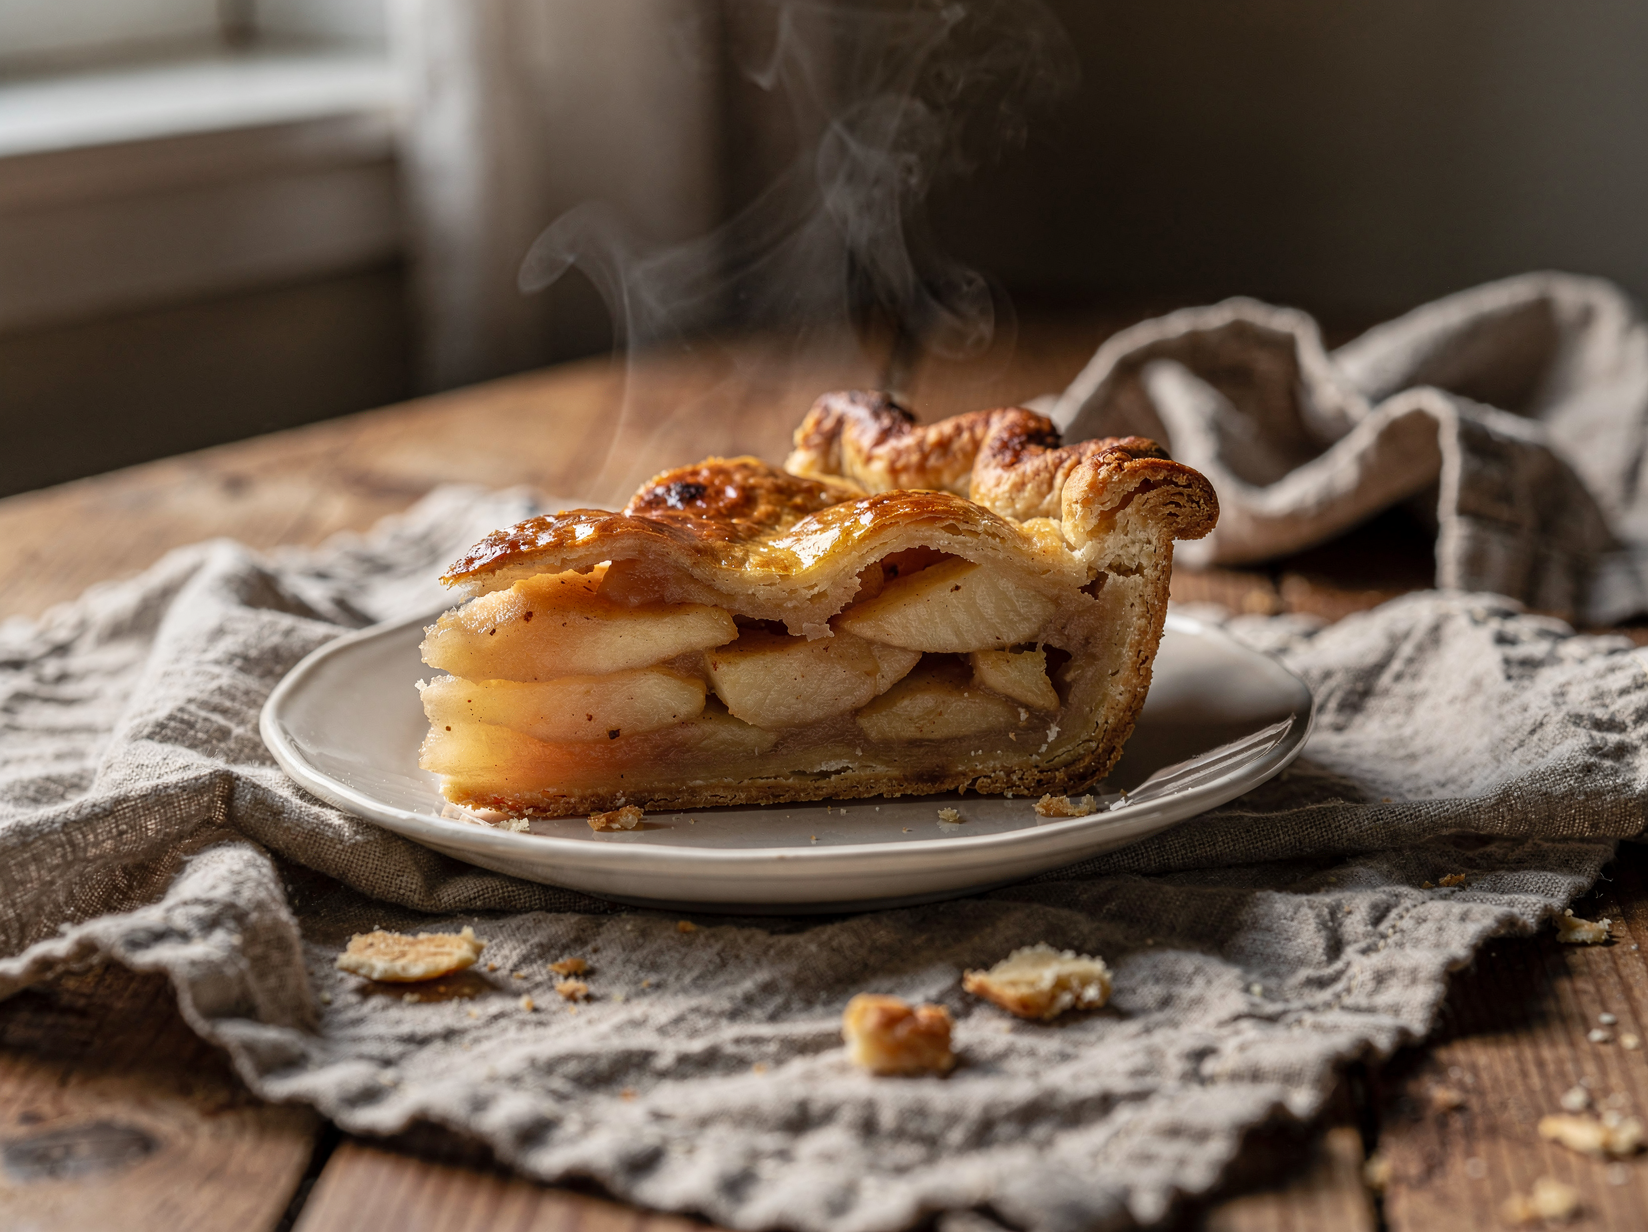
Transfer the pie to a rack and let it cool for at least 4 hours, ideally closer to room temperature, before cutting. I know this is the hardest part.
As it cools, the thickened juices set into a sliceable filling. Cut into a hot pie and you will get a soupy slide of apples rather than a clean wedge.
If you crave it warm, slice the fully cooled pie and rewarm individual pieces for a few minutes in the oven. You get the best of both worlds without the mess.
Cooling on a rack rather than a solid surface lets air circulate under the pan, which keeps the bottom crust from steaming and going soft. It is a small detail that protects all the work you put into a crisp base.
Tips for the best results
- Keep everything cold: Cold butter and cold dough are the secret to flaky crust, so chill at every stage and work quickly.
- Drain the juice: Leave most of the macerating liquid in the bowl to avoid a soggy bottom crust and a watery filling.
- Dome the apples: Mound the filling high in the center because the apples shrink as they bake and a flat fill leaves a hollow dome.
- Trust the bubbles: Do not pull the pie until you see the filling bubbling thickly through the vents, which means the starch has set.
- Cool before cutting: A full cooling lets the filling firm up; cutting too soon guarantees a runny slice.
Variations and substitutions
- Streusel top: Skip the top crust and cover the apples with a brown sugar, butter, and flour crumble for a Dutch style pie.
- Salted caramel: Drizzle the apples with a few tablespoons of caramel sauce and a pinch of flaky salt before adding the top crust.
- Cheddar crust: Work a cup of grated sharp cheddar into the dough for a savory sweet New England take.
- Cranberry apple: Replace a cup of apples with fresh cranberries and add an extra tablespoon of sugar for a tart, festive twist.
How to store and reheat
Store the cooled pie loosely covered at room temperature for up to 2 days, or in the refrigerator for up to 5 days. Refrigeration firms the filling further and keeps the crust from softening too much.
To freeze, wrap the fully cooled pie tightly in plastic and foil and freeze for up to 3 months. Thaw overnight in the fridge, then rewarm in a 350F oven for 20 minutes to recrisp the crust.
What to serve it with
- A scoop of vanilla bean ice cream
- A pour of cold heavy cream over a warm slice
- A dollop of lightly sweetened whipped cream
- A wedge of sharp cheddar on the side
Frequently asked questions
Use a mix of firm tart apples and softer sweet ones. Granny Smith plus Honeycrisp or Braeburn is my go to combination because the tart apples hold their shape while the sweet ones soften into a jammy texture.
Leave most of the macerating juice in the bowl, bake on a hot lower rack, and start the oven high at 425F to set the crust fast. Cooling the pie completely also lets the bottom firm up.
Either the filling was not baked long enough to activate the cornstarch, or the pie was cut before it cooled. Wait for thick bubbling through the vents and let the pie cool at least 4 hours before slicing.
Yes. The dough disks keep in the fridge for up to 3 days or in the freezer for up to 3 months. Thaw frozen dough in the refrigerator overnight before rolling so it is pliable but still cold.
Tent just the edges with strips of foil or a pie shield once they reach a deep golden color, usually partway through the second stage of baking. This protects the rim while the center finishes.
Homemade Apple Pie
A double crust apple pie with a flaky butter crust and a spiced, jammy filling that holds its shape when you slice it.
Ingredients
- 2 1/2 cups all purpose flour
- 1 tablespoon granulated sugar (for crust)
- 1 teaspoon fine salt
- 1 cup (2 sticks) cold unsalted butter, cut into 1/2-inch cubes
- 6 to 8 tablespoons ice water
- 3 pounds mixed baking apples (about 7 medium), peeled and sliced 1/4-inch thick
- 1 tablespoon fresh lemon juice
- 2/3 cup granulated sugar
- 1/4 cup packed light brown sugar
- 3 tablespoons cornstarch
- 1 1/2 teaspoons ground cinnamon
- 1/4 teaspoon ground nutmeg
- 1/4 teaspoon fine salt
- 1 tablespoon unsalted butter, cut into small pieces
- 1 large egg, beaten with 1 tablespoon water (egg wash)
- 1 tablespoon coarse sugar, for sprinkling
Instructions
- Make the dough by cutting cold butter into flour, sugar, and salt, then adding ice water until it just holds together. Divide, flatten into disks, and chill at least 1 hour.
- Peel and slice the apples, toss with lemon juice, both sugars, cornstarch, spices, and salt, and let sit 30 minutes.
- Roll out one disk and line a 9-inch pie plate, then mound in the filling and dot with butter.
- Roll the second disk, lay it over the top, trim, seal, crimp, and cut steam vents.
- Brush with egg wash, sprinkle with coarse sugar, and chill the assembled pie 20 minutes.
- Bake at 425F for 20 minutes, then reduce to 375F and bake 45 to 50 minutes more until deeply golden and bubbling.
- Cool completely, at least 4 hours, before slicing so the filling can set.
Notes
- Use a mix of tart and sweet apples for the best balance of flavor and texture.
- Letting the pie cool fully is what gives you clean slices instead of soup.
- If the crust browns too fast, tent the edges with foil partway through baking.