
Fluffy Scrambled Eggs
 By Sofia Reyes · Updated May 19, 2026
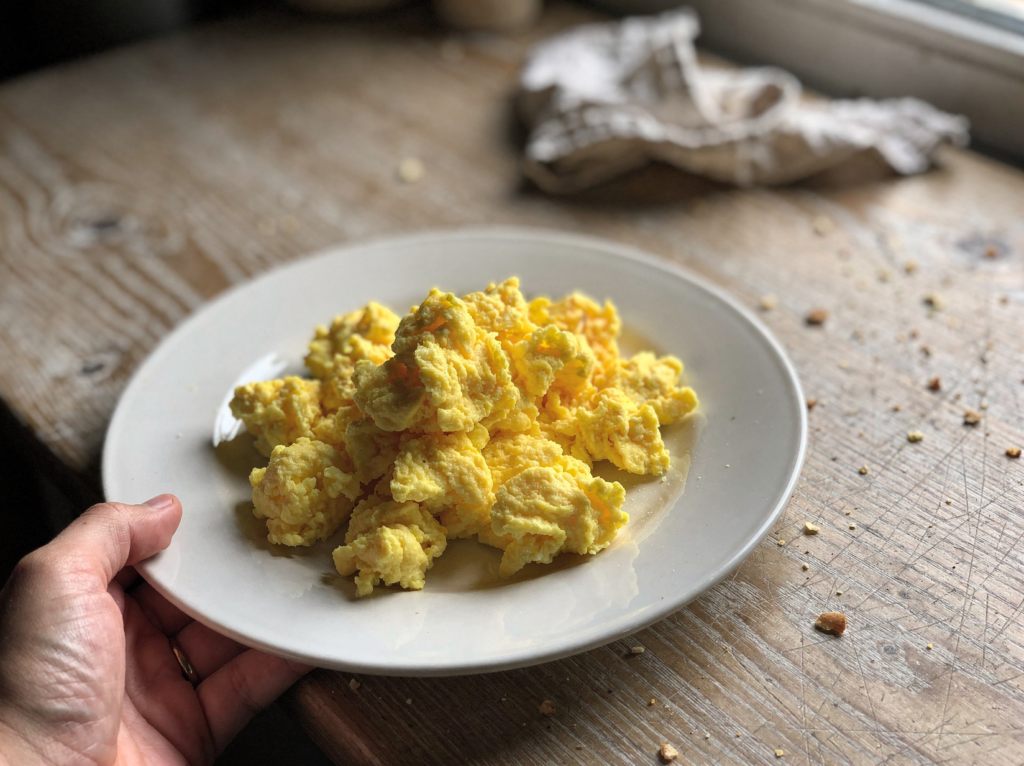
There is a quiet magic to a plate of properly scrambled eggs, and most of us learned to do it wrong. We cranked the heat, we walked away, and we came back to rubbery yellow pellets swimming in weepy liquid. The truth is that great scrambled eggs are one of the easiest things in the world to make once you understand the single variable that matters most, which is gentle heat.
These eggs come out soft, glossy, and almost custardy, with small tender curds that practically melt on the fork. They taste rich and buttery without anything fancy, and they take roughly the same eight minutes you were already spending. The difference is entirely in the technique, not the ingredients you reach for.
What is really happening in the pan is a slow, controlled coagulation of the proteins in the eggs. When you heat eggs gently, those proteins tighten gradually and trap moisture, which is what gives you that creamy, tender result. When you heat them hard and fast, they seize all at once, squeeze out their water, and leave you with dry curds in a puddle of liquid.
I make these almost every morning, and they have become the breakfast my whole family requests on slow weekends. They are forgiving enough for a sleepy cook and impressive enough to serve alongside smoked salmon and toast when company comes over. Once you taste the difference, the high heat version starts to feel like a different food altogether.
Below I will walk you through the whisk, the butter, the low and slow stir, and the crucial moment when you pull the pan off the heat. Get those four things right and you will never make sad eggs again. I will also share the small details, like room temperature eggs and warm plates, that separate good scrambled eggs from genuinely great ones.
Why you will love this
- Low and slow heat: Cooking gently is the entire secret, because it lets the proteins set into soft curds instead of seizing into tough rubber, and it gives you the control to stop at exactly the right moment.
- Butter, not oil: Whole butter adds flavor and coats the curds so they stay glossy and rich rather than dry, and the milk solids in it brown just enough to deepen the taste.
- A real whisk: Whisking until truly uniform beats a little air into the eggs and guarantees even color with no streaky whites, which is what gives the finished eggs their light, uniform texture.
- Pulled off early: Removing the pan while the eggs look slightly underdone lets carryover heat finish them perfectly, so they arrive at the table soft instead of overcooked.
- Minimal add ins: Just milk, salt, and pepper let the eggs taste like eggs, with chives as an optional fresh finish that brightens every bite without overwhelming it.
What you will need
You almost certainly have everything you need already, which is part of why this recipe is so beloved. The quality of your eggs and butter is what you will taste, so reach for the best you can find.
- Eggs (6 large): Fresh, good quality eggs have firmer whites and richer yolks, which gives you better structure and a deeper golden color; pasture raised eggs in particular have vivid orange yolks that make the finished dish look as good as it tastes.
- Whole milk (2 tablespoons): A small splash of dairy loosens the eggs and helps them stay tender; whole milk adds the most creaminess, though a little half and half makes them even more decadent if you have it on hand.
- Kosher salt (1/2 teaspoon): Salting before cooking actually keeps the eggs softer because it gently breaks down some of the protein bonds; this is a small trick that makes a surprisingly big difference in tenderness.
- Unsalted butter (2 tablespoons): Unsalted lets you control seasoning, and the generous amount is what makes these taste luxurious; do not be shy here, because the butter is what carries the flavor and keeps the eggs from sticking.
- Fresh chives (1 tablespoon): A bright, oniony finish that cuts the richness; add at the very end so they stay vivid green and retain their delicate flavor instead of wilting into the hot eggs.
Equipment: You need a medium nonstick skillet, a sturdy whisk, a mixing bowl, and a flexible silicone spatula.
How to make it, step by step
Step 1: Whisk the eggs thoroughly
Crack all six eggs into a medium bowl, then add the milk, kosher salt, and black pepper. Whisk vigorously for a full 30 to 45 seconds, longer than feels necessary, until the mixture is one uniform pale yellow with no ribbons of clear white remaining.
You are looking for a slightly frothy, homogeneous liquid. This thorough mixing incorporates a little air for lightness and ensures every bite cooks at the same rate, which is the foundation of an even, tender scramble.
Do not be tempted to skip ahead and whisk in the pan. Mixing the eggs completely before they ever touch heat means the whites and yolks cook together as one, which is exactly what gives you a uniform color and a smooth, cohesive texture.
Step 2: Melt the butter gently
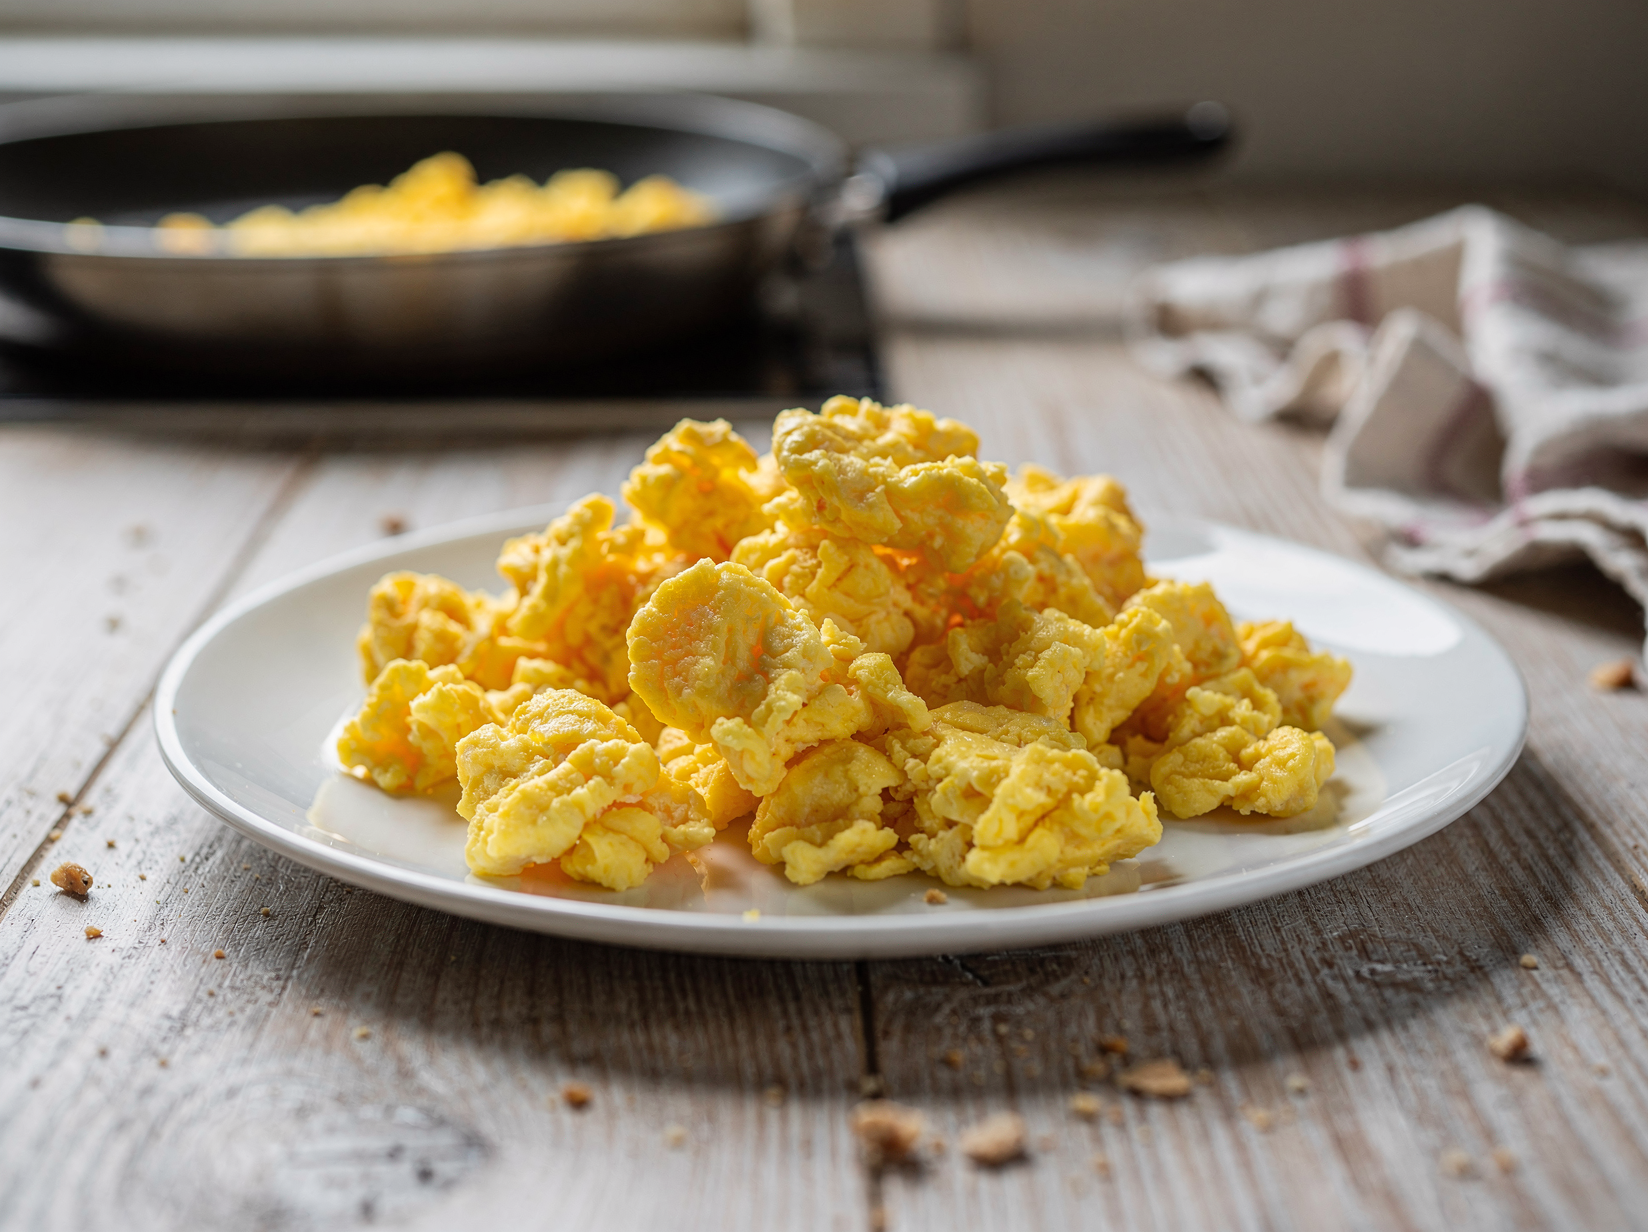
Set your nonstick skillet over medium low heat and add the butter. Let it melt slowly and swirl it to coat the bottom and lower sides of the pan completely.
Watch for the butter to foam softly and smell nutty, but do not let it brown or turn amber. If it starts browning your heat is too high, so pull the pan off for a moment and lower the burner before continuing.
The butter is doing two jobs here. It keeps the eggs from sticking, and as it melts it coats the pan in a thin layer of fat that will surround each curd, which is exactly what makes scrambled eggs taste so rich and luxurious.
Step 3: Add the eggs and wait
Pour the whisked eggs into the foaming butter all at once. Now resist the urge to stir immediately, and instead let them sit undisturbed for about 20 seconds.
You will see the very edges begin to set into a thin film. This brief pause builds the first soft curds and gives you something to fold, which is how you create texture rather than a flat omelet.
Think of this moment as laying the foundation. By letting a base layer set before you start moving the eggs, you create the soft, distinct curds that define a great scramble, rather than a uniform mass of cooked egg.
Step 4: Fold low and slow
Using your silicone spatula, gently push the eggs from the edge toward the center, then tilt the pan slightly so uncooked liquid runs into the gap. Repeat this slow folding motion every few seconds, working your way around the pan and letting the raw egg fill in each new opening.
Keep the curds large and soft by not over stirring; you want gentle folds, not frantic scrambling. The eggs should be moving lazily and forming pillowy ribbons, not setting hard against the metal.
If at any point the eggs seem to be cooking too fast or sizzling loudly, simply lift the pan off the heat for several seconds and keep folding. Patience here is what separates silky eggs from dry ones.
The whole folding process should take around two to three minutes from when the eggs hit the pan. If it is going much faster than that, your burner is too aggressive, so lower it and lean on the lift and fold rhythm to keep everything gentle and creamy.
Step 5: Watch for the glossy stage
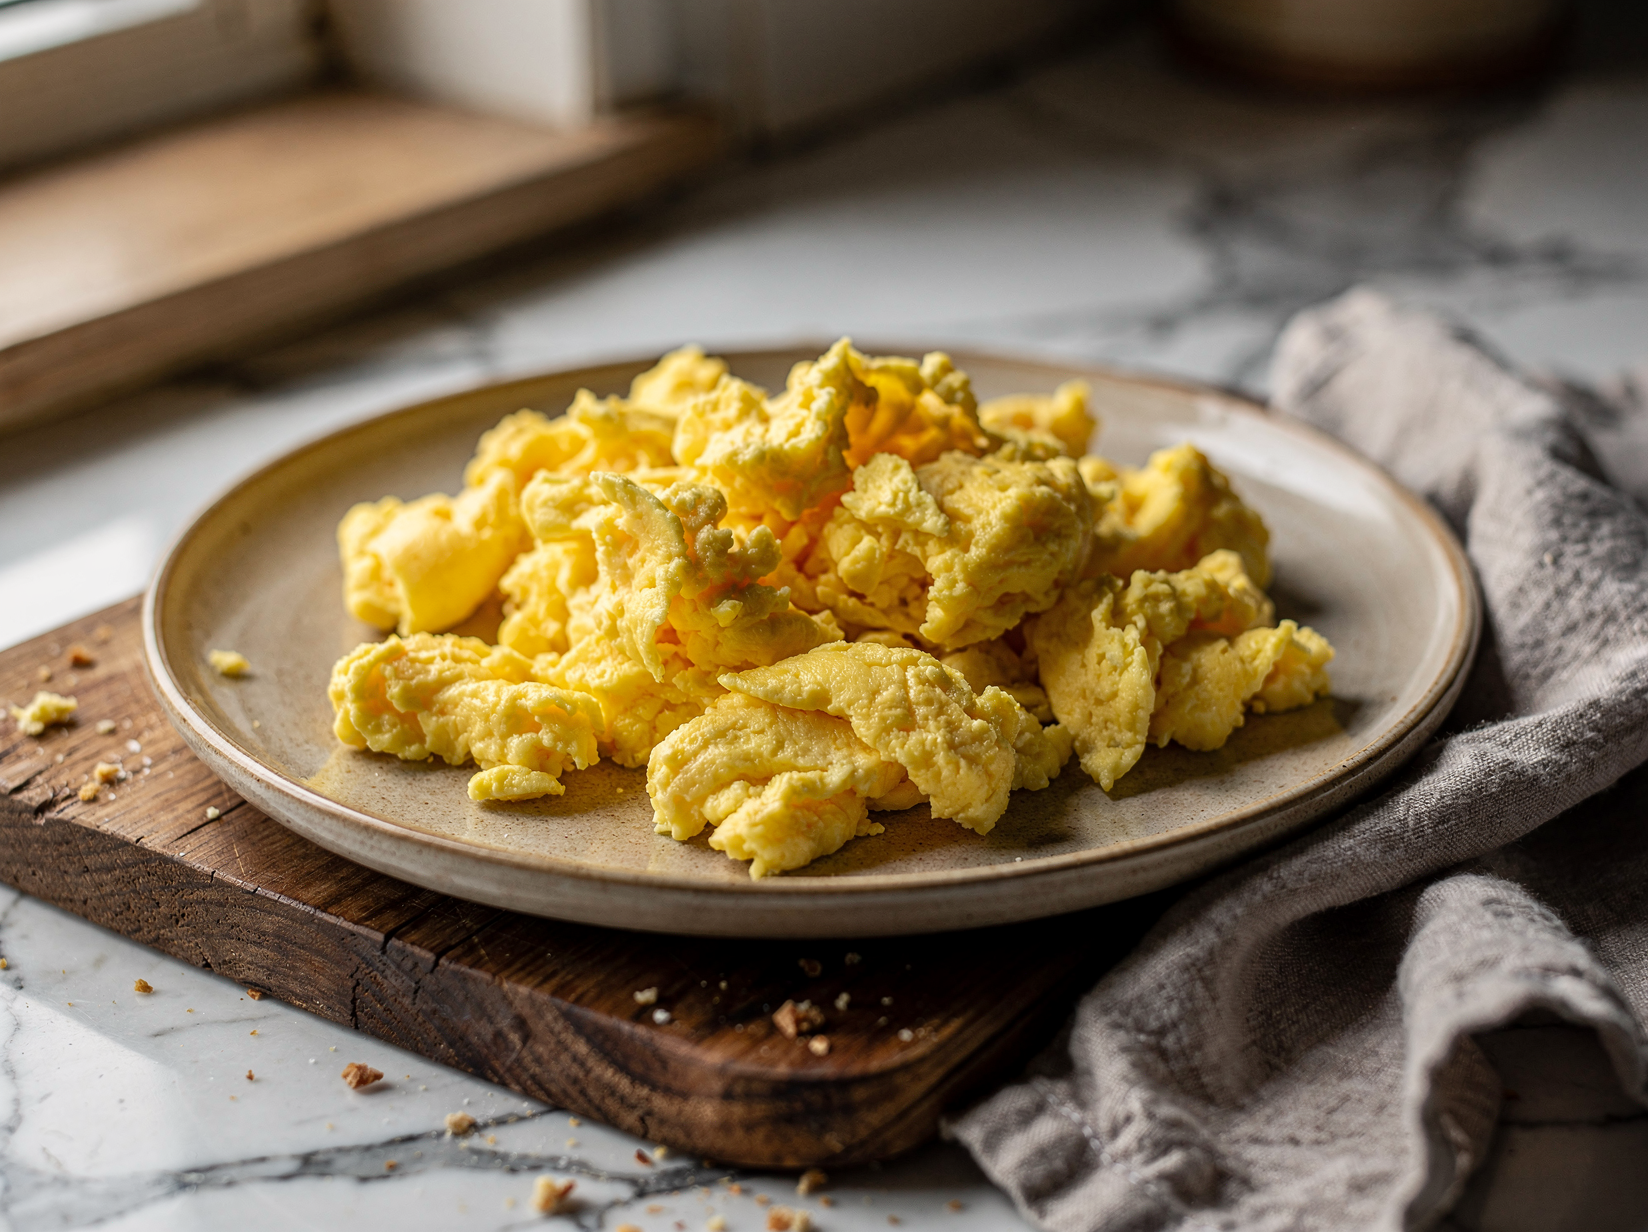
Continue folding until the eggs are mostly set but still look distinctly wet and shiny, with small soft curds bound together by a little glossy liquid. This stage arrives faster than beginners expect, usually within three to four minutes of total cooking.
The eggs should look slightly underdone, almost too soft to serve. Trust this; the moment they look perfectly cooked in the pan, they are already a step past where you want them.
A good visual test is to drag your spatula through the center. If the eggs slowly fold back over the gap and still glisten, they are ready to come off. If the gap stays dry and open, you have gone slightly too far, so move quickly to plate them.
Step 6: Pull off the heat early
Take the skillet completely off the burner while the eggs are still glossy and a touch loose. The residual heat held in the pan and in the eggs themselves will keep cooking them for another 30 seconds or so.
Give them one or two more gentle folds off the heat to distribute that warmth evenly. This carryover cooking is the final, crucial step that brings the eggs to a perfect soft set without ever drying them out.
If you are nervous about timing, you can even slide the eggs onto the plate a few seconds early and let them finish on the warm dish. The eggs are far more forgiving when you stop the cooking too soon than when you let it run too long.
Step 7: Finish and serve
Taste a small bite and adjust with a pinch more salt if needed. If you are using chives, scatter them over the top and fold once to combine, keeping the green color bright.
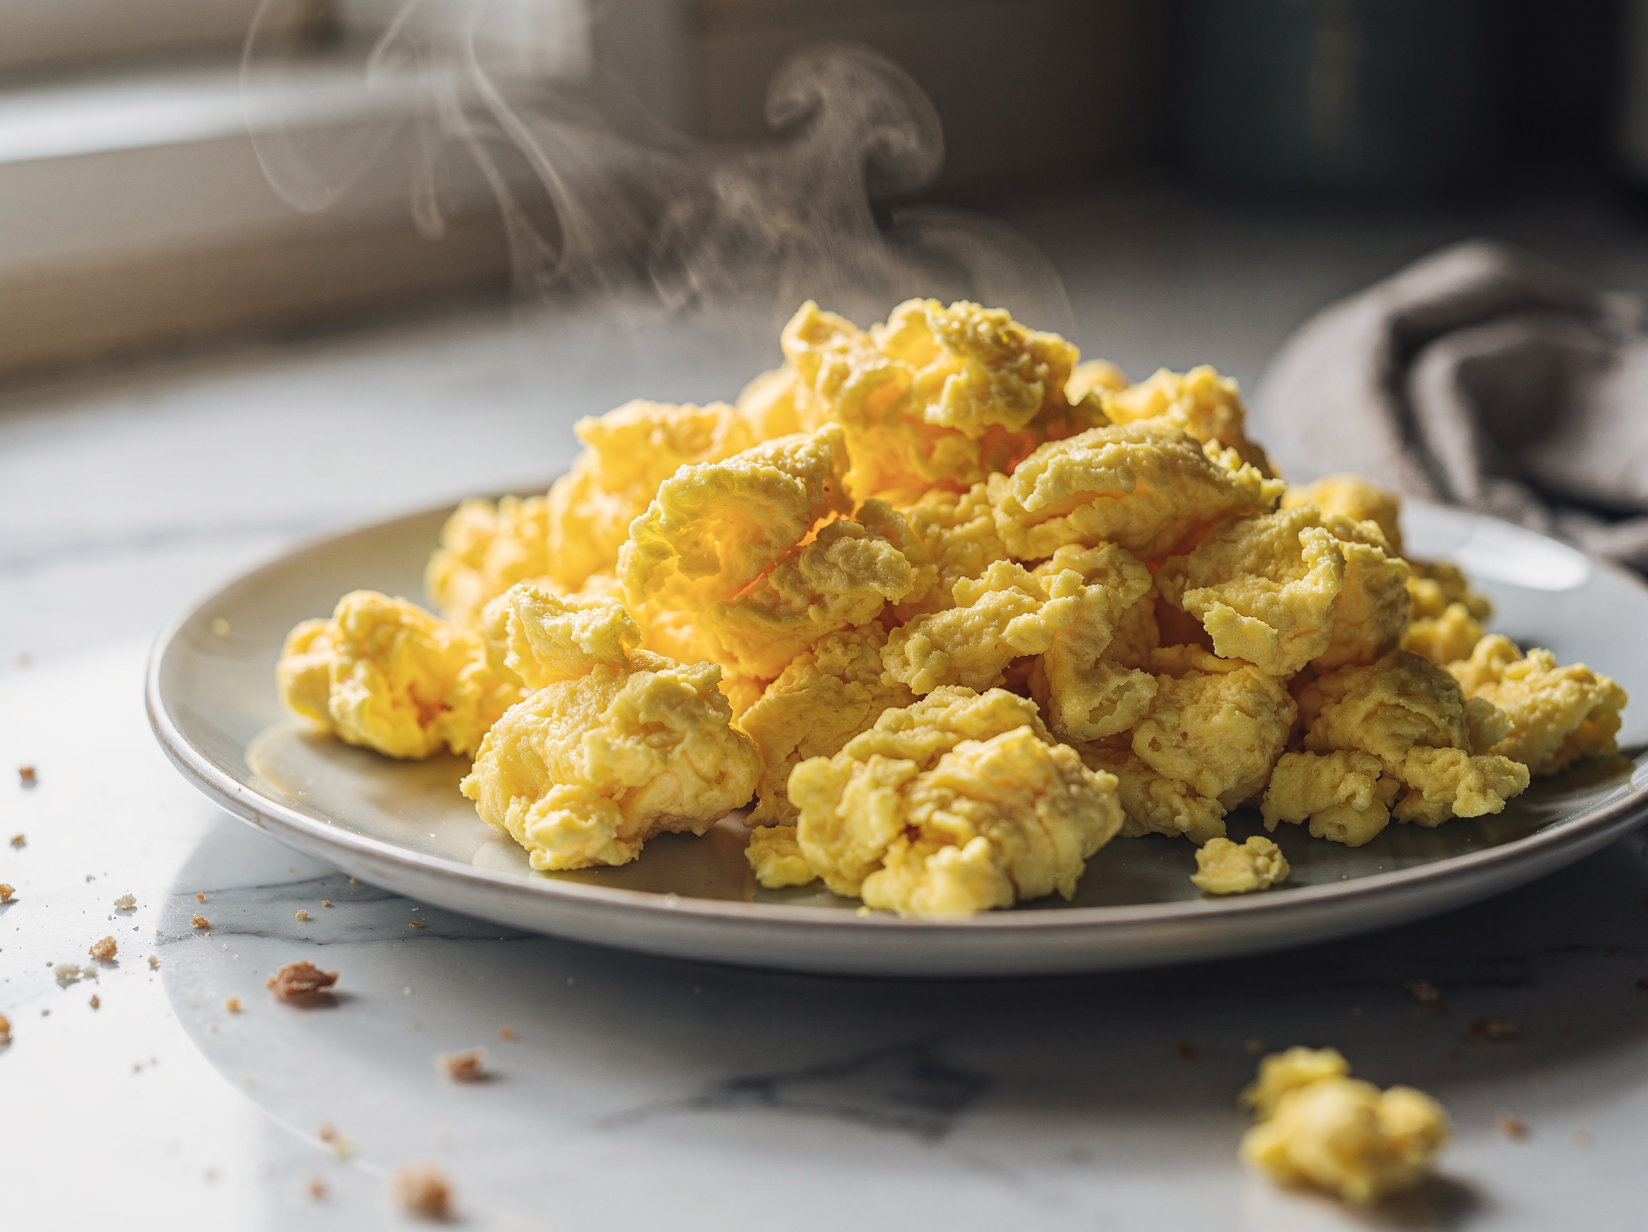
Slide the eggs onto warm plates right away, because scrambled eggs wait for no one. Serve them next to buttered toast, a piece of fruit, or anything else you love, and eat them while they are still warm and creamy.
If you want to gild the lily, a final tiny knob of cold butter folded in just before serving adds an extra layer of richness and gloss. It melts into the warm curds and gives the whole plate a restaurant quality finish.
Tips for the best results
- Room temperature eggs: Letting eggs sit out for ten minutes helps them cook more evenly and stay tender.
- Warm your plates: Cold plates pull heat from the eggs fast, so a quick rinse under hot water keeps them creamy longer.
- Salt early: Adding salt to the raw eggs and letting them stand a couple minutes makes for noticeably softer curds.
- Lower than you think: If your eggs ever turn rubbery, your heat is too high; medium low is almost always the answer.
- Do not overfill the pan: Crowding the pan steams the eggs, so keep batches to six eggs in a standard skillet.
Variations and substitutions
- Cheesy scramble: Fold a handful of grated sharp cheddar or gruyere into the eggs just before they finish.
- Herbed and bright: Stir in chopped dill, parsley, or tarragon along with the chives for a garden flavor.
- Smoked salmon and cream cheese: Add flakes of smoked salmon and small dollops of cream cheese off the heat.
- Spicy kick: Top with a spoonful of salsa, a drizzle of hot sauce, or a sprinkle of chili crisp.
How to store and reheat
Scrambled eggs are truly best the moment they are made, but leftovers will keep in an airtight container in the fridge for up to two days. Expect them to firm up and lose a little of their custardy texture once chilled.
Reheat leftovers very gently in a covered skillet over low heat or in short ten second bursts in the microwave, stirring between each. Eggs do not freeze well, so it is better to cook only what you plan to eat.
What to serve it with
- Pile onto thick buttered sourdough toast
- Serve alongside crispy bacon or breakfast sausage
- Spoon over a warm tortilla with avocado and salsa
- Plate with smoked salmon and capers for brunch
Frequently asked questions
A small splash of dairy is optional but helpful; it loosens the eggs and adds creaminess. Use about one tablespoon per three eggs, and avoid adding so much that the eggs turn watery. Whole milk or a touch of cream both work beautifully.
Rubbery eggs are almost always the result of heat that is too high or cooking for too long. Drop your burner to medium low, fold the eggs slowly, and pull the pan off the heat while they still look glossy and slightly wet.
Salting the raw eggs a few minutes before cooking actually makes them more tender, because the salt gently relaxes the proteins. If you wait until the end, the salt sits on the surface and can make the eggs seem tougher.
A good nonstick skillet is the most forgiving choice because the soft curds release cleanly without sticking. A well seasoned carbon steel or cast iron pan also works if it is truly nonstick, but beginners will have the easiest time with nonstick.
They are at their absolute best fresh, but you can hold them for a short while in a covered pan off the heat. For meal prep, undercook them slightly so they do not dry out when reheated, and warm them gently over low heat with a small pat of butter.
Fluffy Scrambled Eggs
Soft, custardy scrambled eggs cooked low and slow with butter for the creamiest, most tender breakfast you will ever make.
Ingredients
- 6 large eggs
- 2 tablespoons whole milk
- 1/2 teaspoon kosher salt
- 1/8 teaspoon freshly ground black pepper
- 2 tablespoons unsalted butter
- 1 tablespoon finely chopped fresh chives, optional
Instructions
- Crack the eggs into a bowl, add milk, salt, and pepper, and whisk until completely uniform and slightly frothy.
- Melt the butter in a nonstick skillet over medium low heat until it foams but does not brown.
- Pour in the eggs and let them sit for about 20 seconds, then begin gently pushing them with a silicone spatula.
- Continue folding the curds slowly, pulling cooked egg toward the center every few seconds.
- Pull the pan off the heat while the eggs still look slightly wet and glossy.
- Let the residual heat finish the cooking, then fold in chives and serve immediately.
Notes
- Take the eggs off the heat a touch sooner than you think; they keep cooking in the warm pan.
- Use a nonstick or well seasoned skillet so the curds release cleanly and stay tender.