
Crispy Baked Chicken Wings
 By Marcus Bell · Updated April 20, 2026
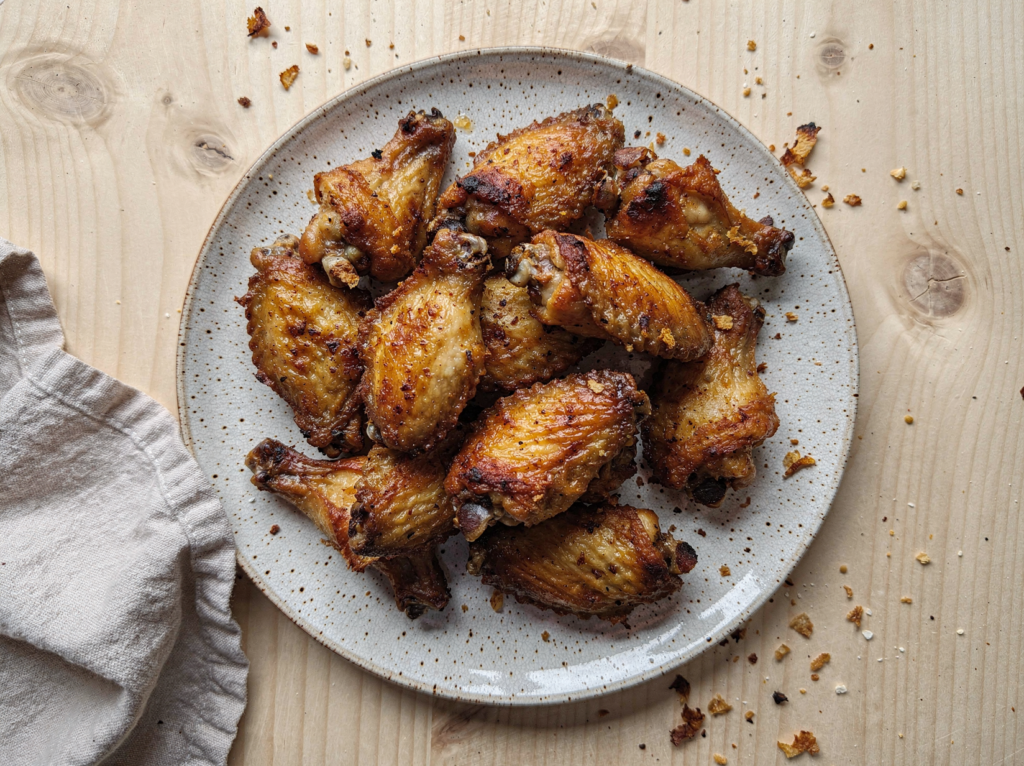
Getting truly crispy chicken wings out of the oven feels like a magic trick the first time it works. No vat of oil, no splatter, and yet the skin shatters like the best fried wings at your favorite spot. The secret is a little baking powder and a two temperature bake, and once you learn it you may never order takeout wings again. These have fooled more than one friend who swore they had to be fried.
These wings start with a slow low bake that renders the fat under the skin, followed by a blast of high heat that crisps everything to a deep golden crunch. The method takes a bit of time, but almost all of it is hands off while the oven does the work. The payoff is wings that stay crisp even after you toss them in sauce, which is the holy grail for anyone who has been let down by soggy baked wings before.
I have tested this method more times than I can count, chasing the crispiest possible skin without a fryer. The combination of drying the wings well, a baking powder coating, and the temperature swing is what finally cracked it. The buffalo glaze here is a classic, but the crispy wings are a blank canvas for any sauce you love, from honey garlic to barbecue to a simple lemon pepper toss.
It helps to understand why each step works rather than following it blindly, because once you grasp the logic you can adapt it freely. The drying removes surface water that would otherwise steam the skin, the baking powder changes the skin chemistry so it browns and blisters, and the staged heat first melts the fat and then crisps what remains. Every part of the method earns its place.
Below you will find every detail that matters, from why baking powder works to exactly where to position your oven racks. I will give you the visual and textural cues for each stage so you are never guessing. Make these once and they will become your go to for game day and beyond.
Why you will love this
- Crispy without frying: A baking powder coating and a two stage bake give you shatteringly crisp skin with none of the oil or mess of deep frying.
- Hands off cooking: Once the wings are seasoned and on the rack, the oven does nearly all the work while you prep sauces and sides.
- Stays crisp under sauce: Because the skin is so well rendered and crisp, it holds its crunch even after a generous toss in buffalo glaze.
- Big batch friendly: You can crisp a whole sheet pan of wings at once, which makes this perfect for feeding a hungry crowd on game day.
- Endlessly saucable: The crispy base works with any flavor, so the same wings can go buffalo, barbecue, or honey garlic depending on your mood.
What you will need
The ingredient list is short because the technique does the heavy lifting, but a couple of choices are crucial. Here is what each item does and how to get it right.
- Chicken wings (3 pounds): Buy whole wings and split them yourself, or buy them pre split into flats and drumettes, and look for fresh rather than frozen for the crispest skin.
- Baking powder (1 tablespoon): This is the secret to crispy skin, so use aluminum free baking powder and never baking soda, which would taste soapy and metallic.
- Kosher salt (1 teaspoon): Salt seasons the wings and helps draw moisture from the skin, which is exactly what you want for crunch.
- Smoked paprika (1 teaspoon): This adds warm smoky color and flavor to the dry rub, making the baked wings taste like they came off a grill.
- Hot sauce (1/4 cup): A vinegar based hot sauce like Frank’s RedHot is the backbone of a true buffalo glaze, so reach for that style.
- Butter (4 tablespoons): Melted butter whisked into the hot sauce mellows the heat and gives the classic glossy buffalo coating.
Equipment: You will need a rimmed sheet pan, an oven safe wire rack, paper towels for drying, and a large bowl for tossing the wings.
How to make it, step by step
Step 1: Dry the wings thoroughly
Pat the chicken wings completely dry with paper towels, pressing to absorb as much surface moisture as possible. This is the single most important step, because wet skin steams instead of crisping.
If you have time, leave the dried wings uncovered on a rack in the refrigerator for an hour or even overnight. This air drying pulls out even more moisture and gives you noticeably crispier skin, and it is the trick restaurants use to get that glassy crackle.
Take your time here and dry every wing well, getting into the folds and around the joints where water hides. The drier the skin going into the oven, the crunchier it comes out.
If your wings came frozen, make sure they are fully thawed and then dried, since trapped ice melts into water that will sabotage the crisp.
Step 2: Season with the baking powder rub
In a large bowl, whisk together the baking powder, salt, garlic powder, smoked paprika, onion powder, and black pepper. Mixing the rub first ensures the baking powder is evenly distributed.
Add the dried wings to the bowl and toss until every piece is lightly and evenly coated. You want a thin, even dusting with no clumps, so toss thoroughly and rub any thick patches in with your fingers.
The baking powder raises the skin’s pH and helps it brown and blister, which is the science behind that fried like crunch. It also reacts with the rendering fat to create tiny bubbles in the skin that add even more crispness.
Do not be tempted to use more than the recipe calls for, since too much baking powder leaves a chalky aftertaste. The thin even coating is exactly the right amount.
Step 3: Arrange on a rack
Set an oven safe wire rack inside a rimmed sheet pan and arrange the wings on top in a single layer. Elevating the wings lets hot air circulate underneath so the bottoms crisp too.
Leave a little space between each wing so they are not touching. Crowding traps steam and leads to soft spots where the skin never crisps, so use two pans if you need to rather than packing them in.
Position the flats and drumettes skin side up so the most surface area faces the heat. Lining the sheet pan with foil first makes cleanup of the rendered fat much easier once everything is done.
If your rack is brand new or not nonstick, give it a light coating of oil spray so the wings release cleanly after baking.
Step 4: Bake low to render the fat
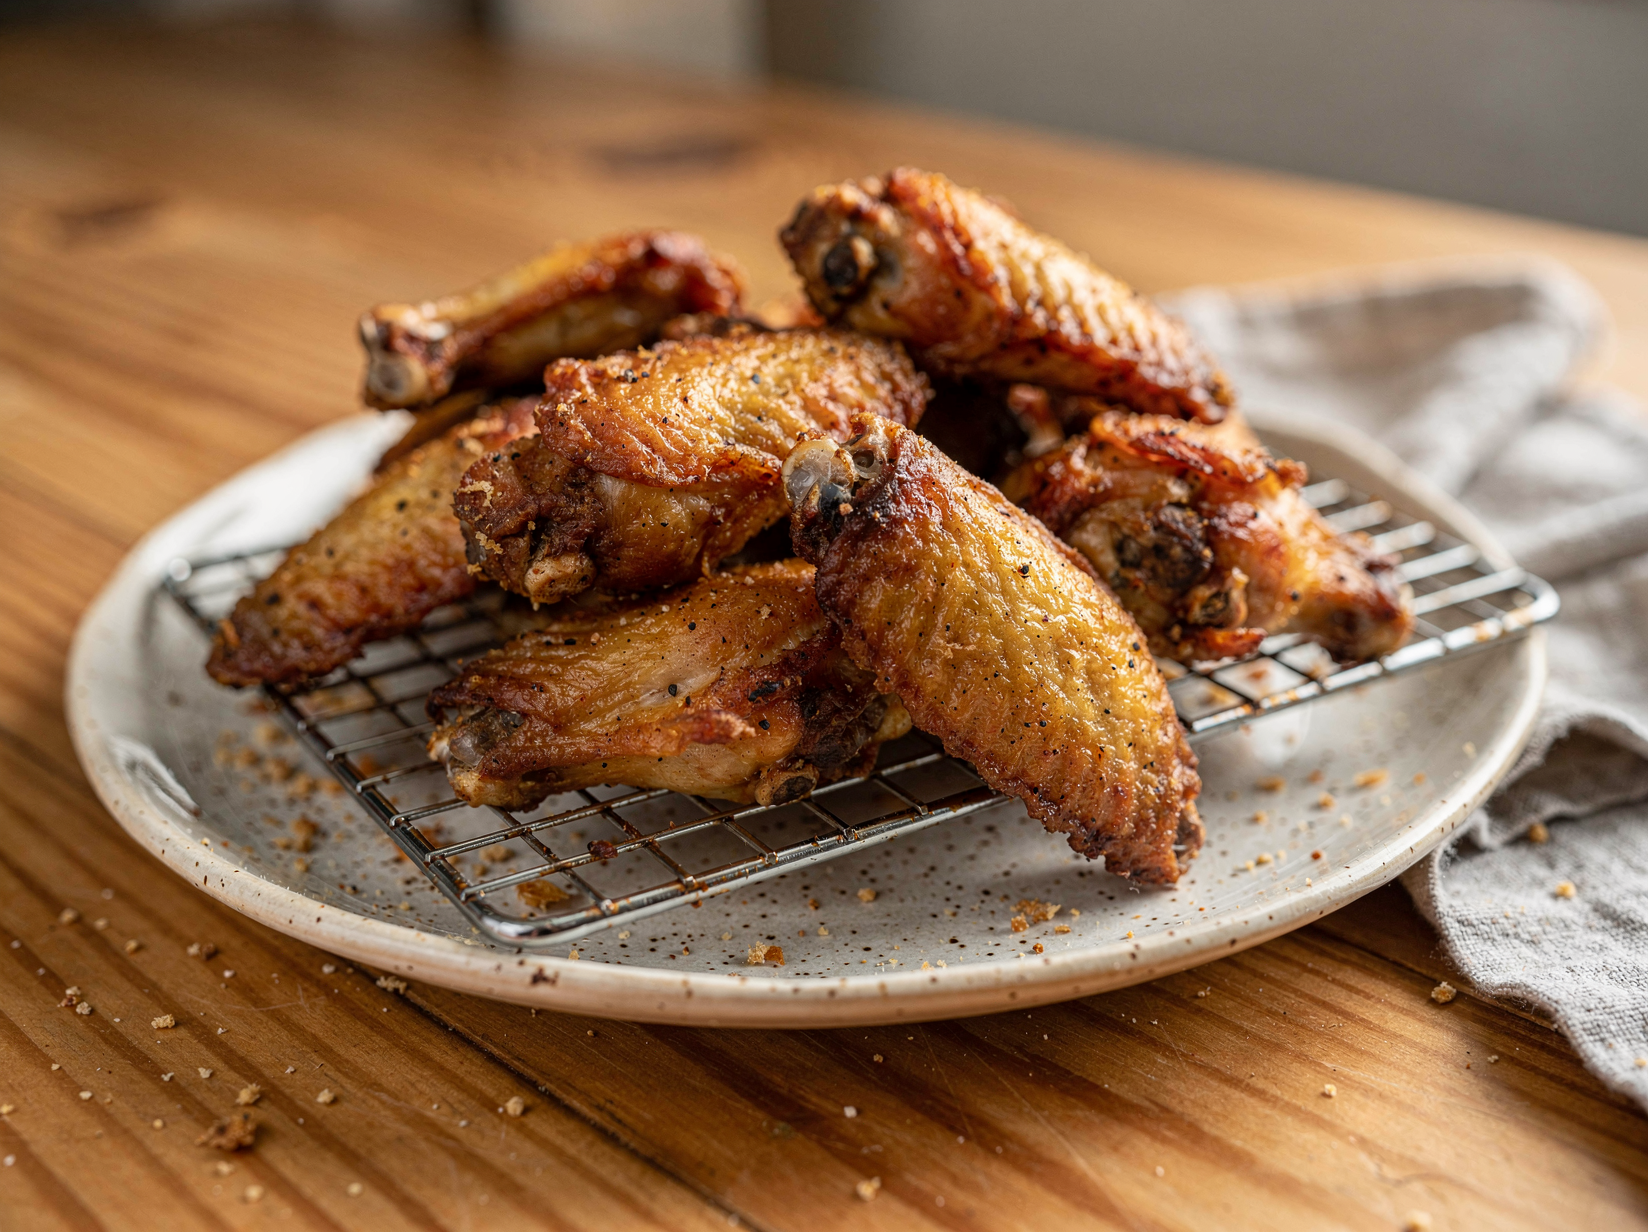
Place the pan on a lower rack and bake at 250 F for 30 minutes. This gentle first stage slowly renders the fat from under the skin without browning it yet.
You will see the wings release fat and the skin begin to look translucent in spots. This rendering is what allows the skin to crisp dramatically in the next stage, since dry rendered skin crisps while fatty skin merely browns.
The wings will not take on much color during this stage, and that is exactly what you want. Color comes later, so do not worry that they look pale coming out of the low bake.
Resist the urge to rush this part or skip straight to high heat. The low slow start is half the secret to the final crunch and cannot be replaced by simply baking hotter.
Step 5: Crank the heat to crisp
Move the pan to the upper third of the oven and raise the temperature to 425 F. Bake for another 40 to 50 minutes, flipping the wings once around the halfway mark.
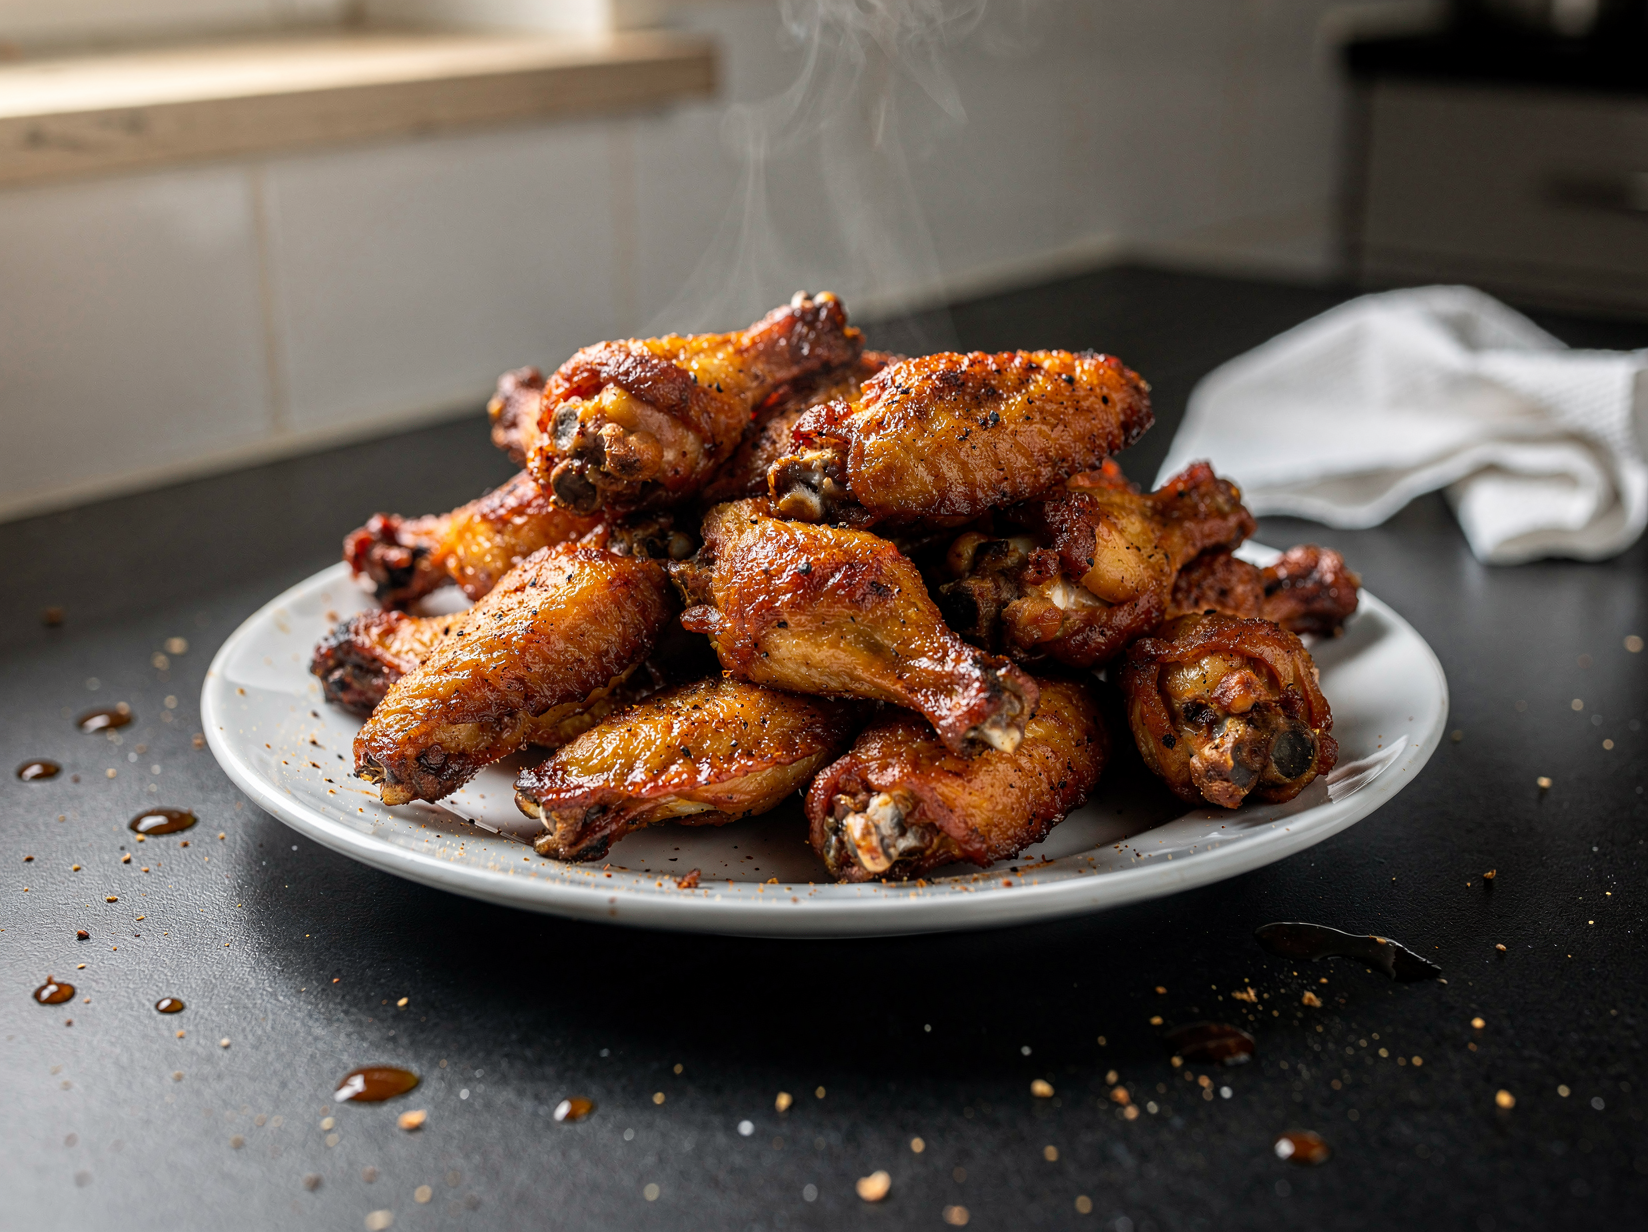
Watch for the skin to turn deep golden brown and blistered, which is your visual cue for maximum crispness. The wings should look lacquered and sound crisp when you tap them with tongs, almost like tapping on a thin shell.
If your oven has hot spots, rotate the pan once for even browning. The wings are done when they are golden, crackling, and cooked to an internal temperature of 175 F.
Step 6: Make the buffalo glaze
While the wings finish, whisk the melted butter, hot sauce, and honey together in a large bowl until smooth and glossy. The butter tames the heat and the honey adds a subtle balancing sweetness.
Taste the glaze and adjust to your liking, adding more hot sauce for heat or more honey for sweetness. It should be tangy, buttery, and just spicy enough to make you reach for another wing.
Keep the bowl large enough to toss all the wings in comfortably once they come out of the oven. A roomy bowl lets you flip the wings without sloshing sauce over the sides.
If the butter and hot sauce start to separate while you wait, give them a quick whisk to bring the glaze back together right before the wings go in.
Step 7: Toss and serve
Add the hot, crispy wings straight from the oven into the bowl of glaze. Toss quickly and gently until every wing is evenly coated in the buttery buffalo sauce.
Work fast so the wings stay hot and the sauce clings without making the skin soggy. Tossing while everything is hot gives you the glossiest coat, and the warm wings help the buttery glaze stay smooth and pourable.
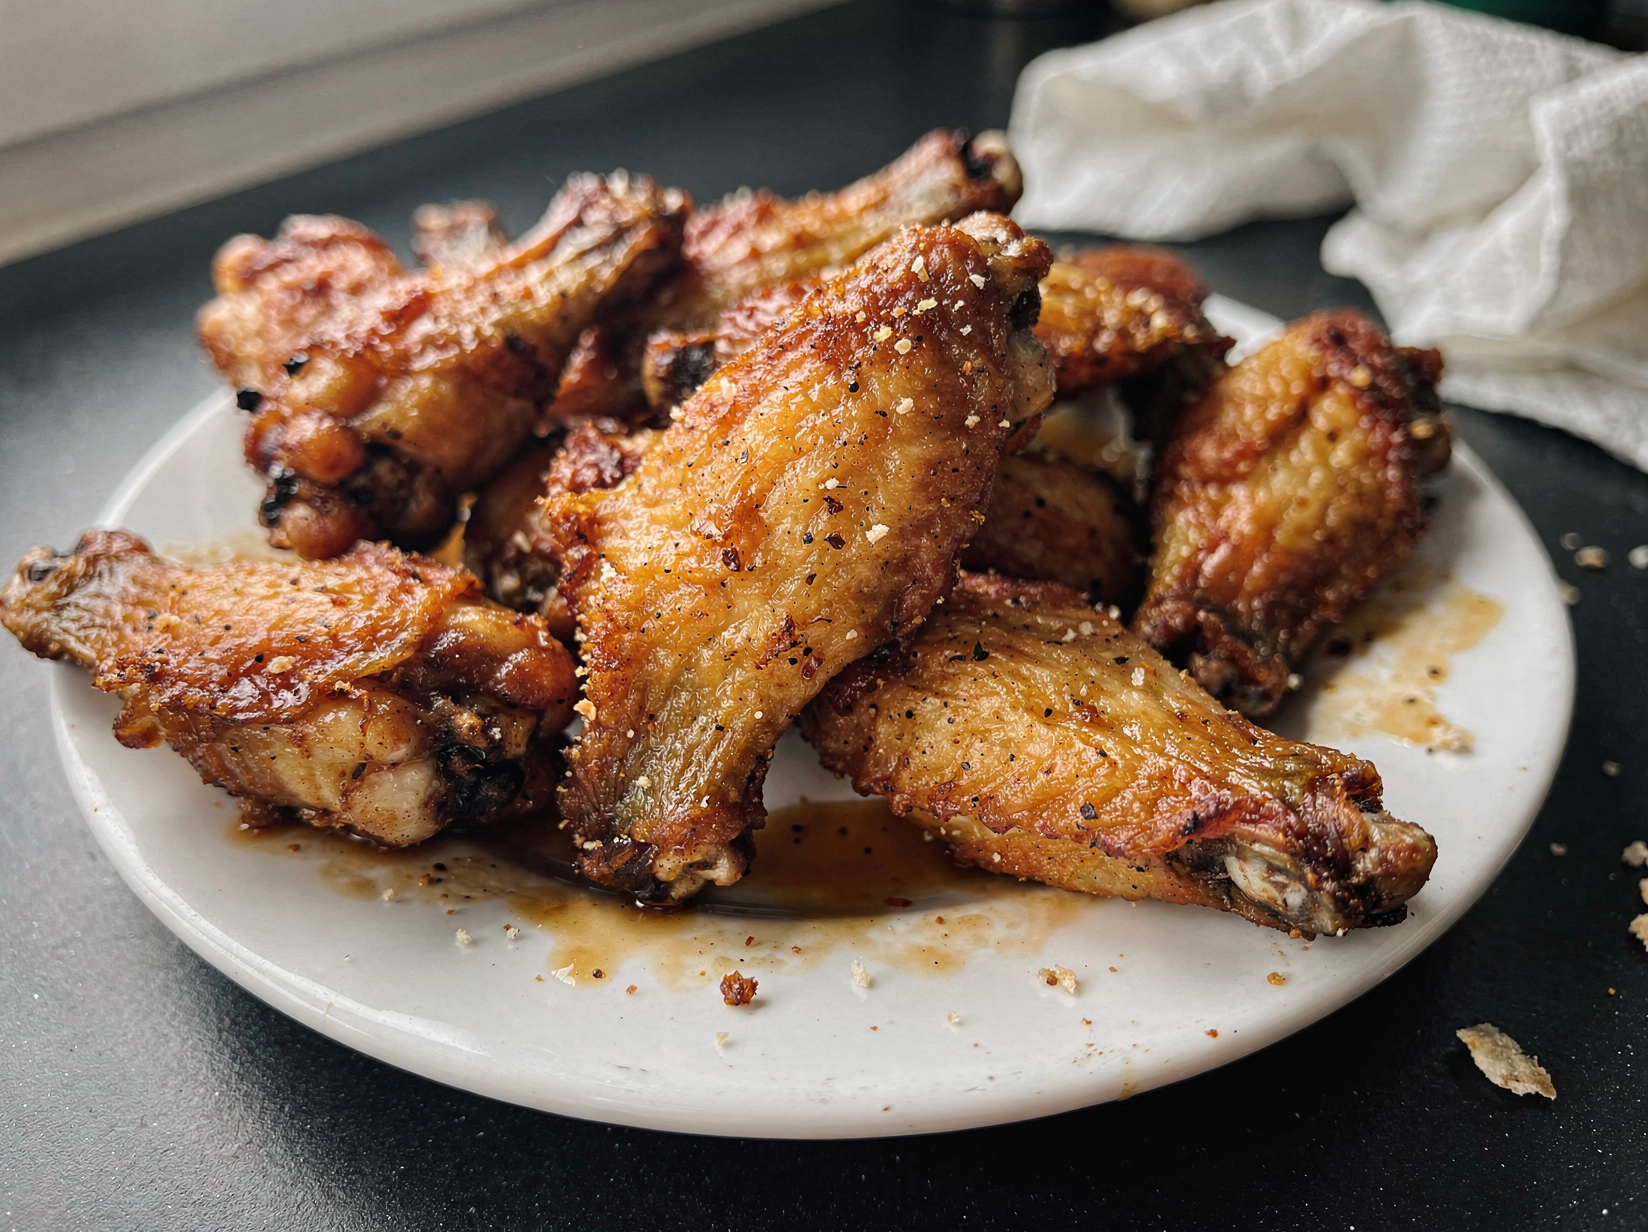
Pile the wings onto a platter and serve immediately with celery, carrots, and a bowl of blue cheese or ranch for dipping. The cool creamy dip and crunchy vegetables are the traditional partners that balance the heat and richness of the wings.
Tips for the best results
- Dry is everything: Pat the wings bone dry before seasoning, because any surface moisture will steam the skin and ruin the crunch.
- Use the right leavener: Reach for aluminum free baking powder, never baking soda, or the wings will end up tasting metallic and soapy.
- Give them space: Arrange the wings in a single layer with gaps between them so hot air circulates and they crisp rather than steam.
- Mind the two temperatures: Do not skip the low first bake, since rendering the fat slowly is what lets the skin crisp during the high heat stage.
- Sauce at the end: Toss the wings in glaze only when they come out of the oven so the skin stays crisp under the sauce.
Variations and substitutions
- Honey garlic: Skip the hot sauce and toss the wings in a glaze of melted butter, honey, minced garlic, and a splash of soy sauce.
- Lemon pepper: Leave the wings dry and crispy, then toss them with melted butter, fresh lemon zest, and plenty of cracked black pepper.
- Barbecue: Brush the crispy wings with your favorite barbecue sauce and return them to the oven for five minutes to set the glaze.
- Extra spicy: Add a teaspoon of cayenne to the dry rub and a spoonful of sriracha to the glaze for serious heat.
How to store and reheat
Store leftover wings in an airtight container in the refrigerator for up to four days. They keep best undressed, so save extra sauce on the side rather than tossing wings you plan to store.
Reheat them in a 400 F oven or air fryer for about ten minutes to bring back the crunch, and avoid the microwave, which makes the skin rubbery. You can freeze cooked plain wings for up to three months and reheat from frozen, adding a few extra minutes.
What to serve it with
- Serve with celery sticks and blue cheese dressing
- Set out alongside loaded nachos and beer for game day
- Offer a trio of sauces so guests can dip and choose
- Pair with crispy fries or onion rings for a full spread
Frequently asked questions
Baking powder raises the pH of the skin, which helps it brown faster and blister into a crisp, fried like texture. Be sure to use aluminum free baking powder and not baking soda, since baking soda in this amount tastes unpleasant and metallic.
The two stage bake is what makes these wings exceptionally crispy. The low first bake gently renders the fat from under the skin, and the high heat finish then crisps and browns that rendered skin, so skipping a stage gives you softer results.
Yes, the same seasoning works well in an air fryer. Cook the wings at 400 F for about 22 to 25 minutes, shaking the basket and flipping halfway through, until they are golden and crisp and reach 175 F inside.
Toss the wings in sauce the moment they come out of the oven while the skin is hot and crisp, and serve them right away. If you sauce them too early or let them sit, the moisture in the sauce will soften the skin.
Wings are safe at 165 F, but for the best texture cook them to about 175 F. That slightly higher temperature renders more fat and connective tissue, which gives you tender meat and crispier skin.
Crispy Baked Chicken Wings
Extra crispy oven baked chicken wings with shatteringly crunchy skin and no deep fryer required.
Ingredients
- 3 pounds chicken wings, split into flats and drumettes
- 1 tablespoon aluminum free baking powder
- 1 teaspoon kosher salt
- 1 teaspoon garlic powder
- 1 teaspoon smoked paprika
- 1/2 teaspoon onion powder
- 1/2 teaspoon black pepper
- 4 tablespoons unsalted butter, melted
- 1/4 cup hot sauce, such as Frank's RedHot
- 1 tablespoon honey
Instructions
- Pat the wings completely dry and toss with baking powder and seasonings.
- Arrange on a rack set over a sheet pan, leaving space between each.
- Bake at 250 F for 30 minutes on a low rack.
- Move to the upper rack, raise heat to 425 F, and bake 40 to 50 minutes more.
- Whisk melted butter, hot sauce, and honey for the glaze.
- Toss the hot crispy wings in the sauce and serve right away.
Notes
- Drying the wings thoroughly is the single most important step for crispy skin.
- Use aluminum free baking powder, not baking soda, or the wings will taste metallic.