
Crunchy Homemade Granola
 By Sofia Reyes · Updated February 26, 2026
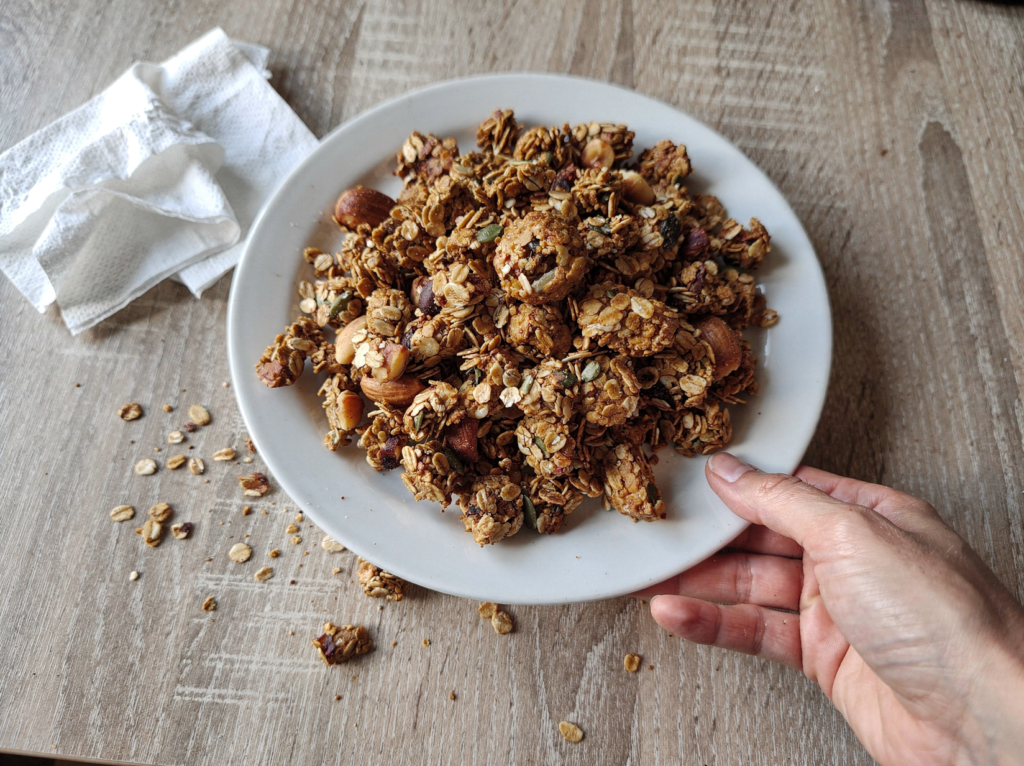
Store bought granola is either expensive, disappointingly dusty, or so sweet it might as well be candy. Making it yourself fixes all of that, and it is genuinely one of the easiest things you can bake. In a single bowl and one pan you get a deeply golden, fragrant batch with the big crunchy clusters that always seem to vanish from the bag first.
The magic of this recipe is in two small details. A low, slow oven gently toasts the oats and nuts so they crisp evenly without scorching, and a single beaten egg white acts as the glue that binds everything into those satisfying clusters. Together they give you that perfect shatter and crunch.
Beyond the technique, homemade granola lets you control exactly what goes in. You choose the sweetness, the nuts, the spices, and the dried fruit, so you can dial it to your own taste and dietary needs. It also costs a fraction of the fancy bagged stuff for a far fresher result.
Below I walk through mixing, the key trick of pressing and not stirring, the right bake time and temperature, and how to fold in fruit so it stays plump. Make a batch on Sunday and breakfast is sorted for the whole week.
Why you will love this
- Low and slow baking: A 300 F oven toasts the oats and nuts evenly so they turn deeply golden without burning the edges.
- Egg white binder: A single beaten egg white glues the oats together into the big, crunchy clusters everyone fights over.
- Press, do not stir: Packing the mixture down and leaving it alone while it bakes and cools is what creates real clumps.
- Maple and honey blend: Using both sweeteners gives complex caramel flavor and helps the granola crisp as it cools.
- Fruit added after baking: Stirring dried fruit in once the granola is cool keeps it plump instead of hard and scorched.
What you will need
Granola is wonderfully flexible, so think of these amounts as a reliable base you can riff on. A few notes will help you nail the texture and flavor.
- Rolled oats (4 cups): Use old fashioned rolled oats, not quick or steel cut. Quick oats turn powdery and steel cut never soften enough.
- Raw nuts (1 1/2 cups): A mix of almonds, pecans, and walnuts adds variety. Buy them raw so they toast fresh in the oven rather than burning.
- Pumpkin seeds (1/2 cup): Raw pepitas add a green pop and extra crunch. Sunflower seeds work just as well if that is what you have.
- Shredded coconut (1/2 cup): Use unsweetened so the granola is not cloying. It toasts to a nutty, golden flavor that rounds everything out.
- Maple syrup (1/2 cup): Use pure maple, not pancake syrup. It both sweetens and helps the clusters set as the granola cools.
- Coconut oil (1/3 cup): Melted coconut oil carries flavor and crisps the oats. A neutral oil like avocado works for a more subtle taste.
- Egg white (1 large): This is the secret cluster maker. Beat it lightly until frothy so it coats and binds the mixture evenly.
Equipment: You need a large rimmed baking sheet, parchment paper, a big mixing bowl, a small bowl, a whisk, and a sturdy spatula for pressing.
How to make it, step by step
Step 1: Heat the oven and prep the pan
Position a rack in the center of the oven and heat it to 300 F. This low temperature is deliberate, since granola burns quickly and slow toasting gives the most even, golden crunch.
Line a large rimmed baking sheet with parchment paper. The parchment keeps the sticky mixture from welding to the pan and makes cleanup effortless.
Step 2: Combine the dry ingredients
In a large bowl, stir together the oats, chopped nuts, pumpkin seeds, shredded coconut, cinnamon, and salt. Mix until everything is evenly distributed.
Chop the nuts to a fairly uniform size so they toast at the same rate. Pieces that are too large stay raw inside while the smaller bits around them brown.
Step 3: Mix the wet ingredients
In a separate small bowl, whisk together the maple syrup, honey, melted oil, and vanilla until smooth and combined. Warming the honey slightly helps it blend if it is stiff.
Pour this mixture over the dry ingredients and stir thoroughly. Keep folding until every oat and nut glistens and there are no dry pockets left, which is what guarantees an even, crisp bake.
Step 4: Add the egg white
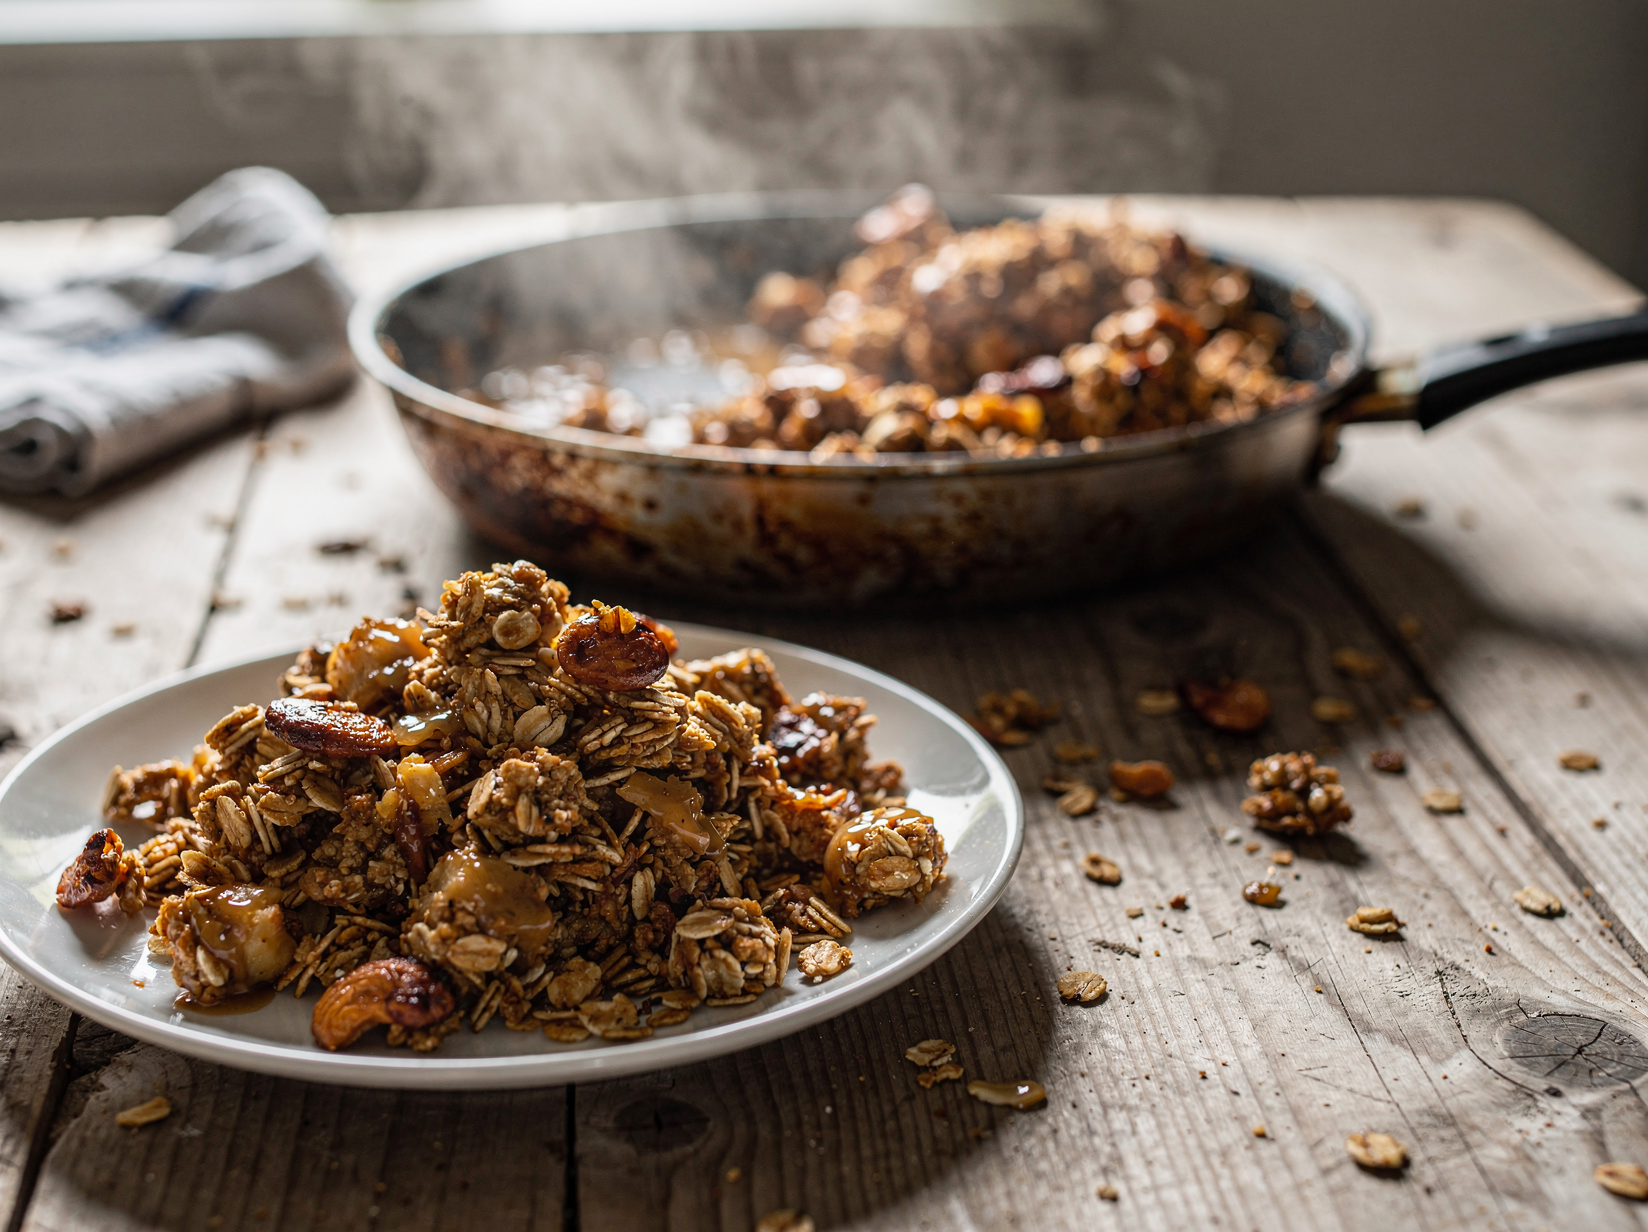
Lightly beat the egg white in a small bowl until it is frothy and loosened, just a few seconds with a fork. You are not whipping it to peaks, only breaking it up so it pours.
Drizzle the egg white over the granola and fold it in until evenly distributed. This thin coating is what bonds the oats together as they bake, so do not skip it if you want true clusters.
Step 5: Spread and press
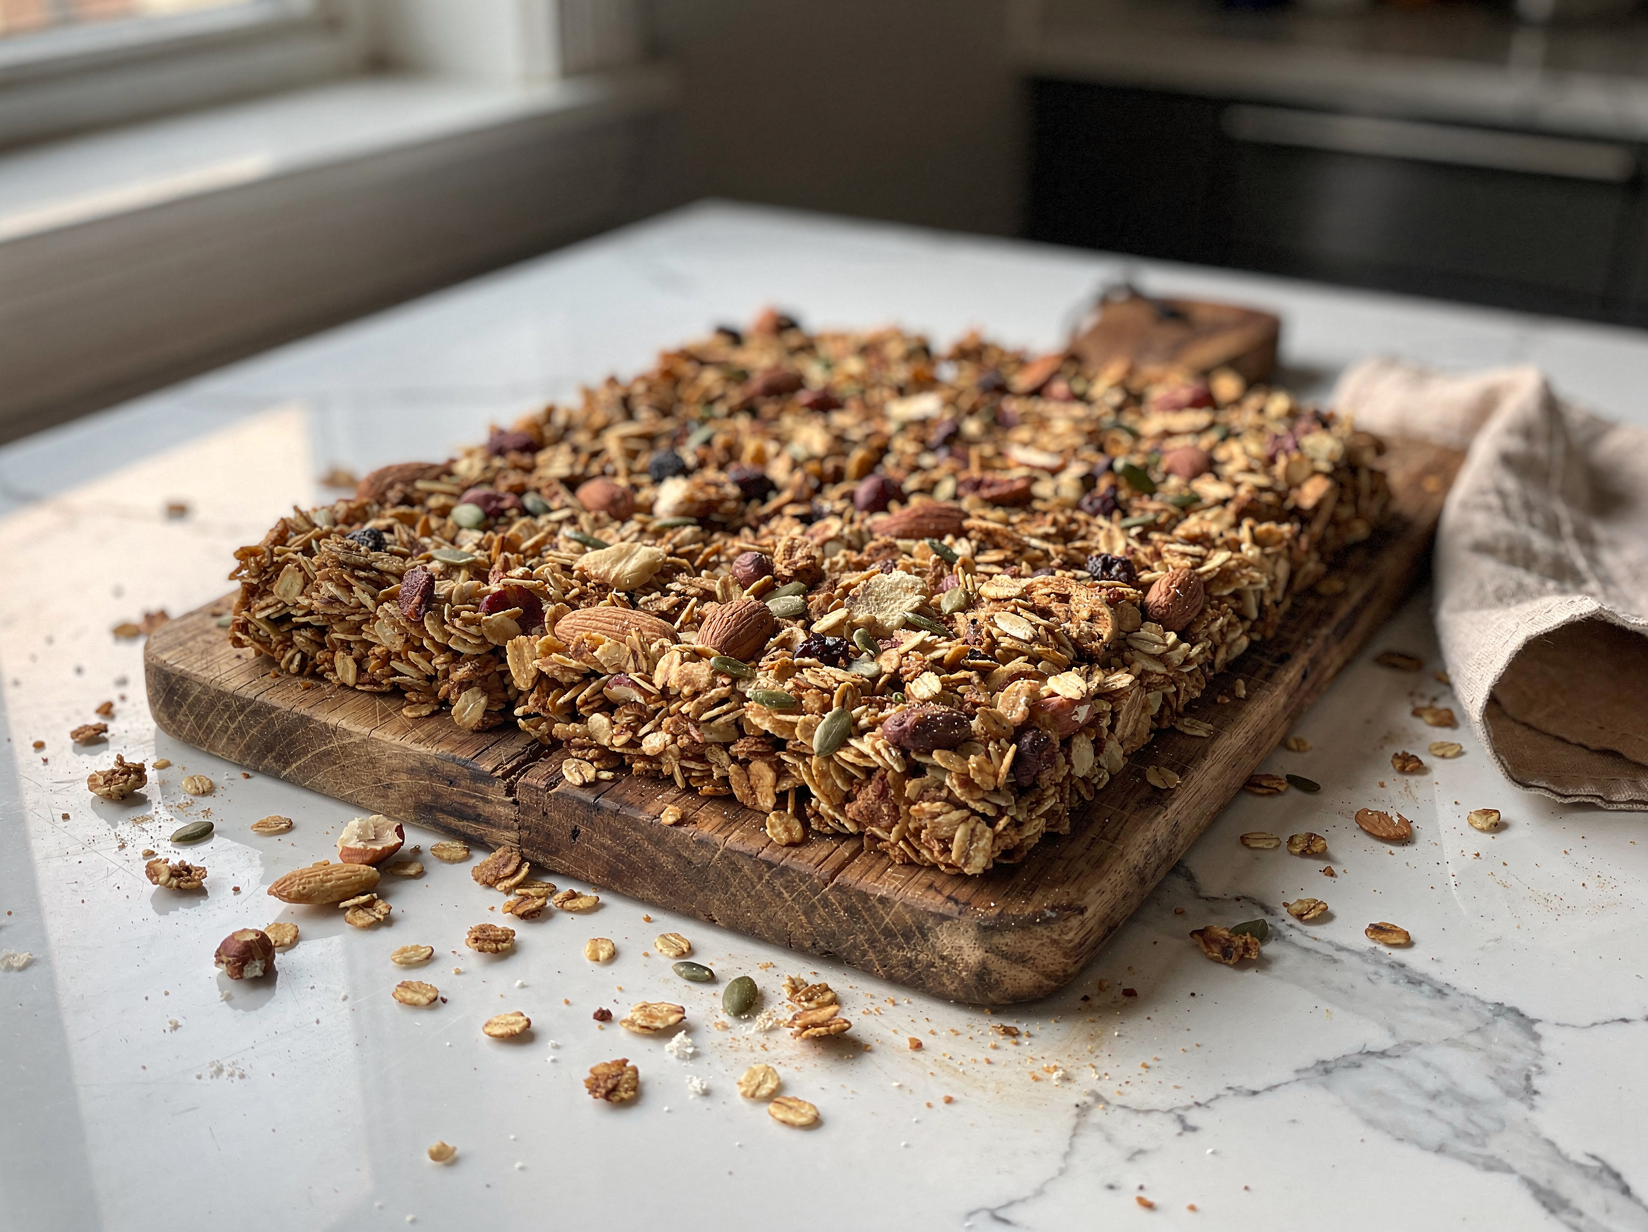
Tip the mixture onto the prepared sheet and spread it into an even layer. Then use a spatula or the back of a measuring cup to press it down firmly and compactly.
Pressing is the single most important step for cluster formation. The more tightly packed the granola is, the bigger and more cohesive the clumps will be once it bakes and cools.
Try to keep the layer relatively even in thickness so it bakes uniformly. Slightly thinner at the very edges is fine since those areas brown fastest.
Step 6: Bake until golden
Bake for 40 to 45 minutes total, rotating the pan front to back halfway through for even color. About 20 minutes in, gently press the granola down again with the spatula to reinforce the clusters.
Watch closely in the final 10 minutes, since the edges go from golden to burnt fast. Pull the pan when the granola is a deep, even golden brown and smells toasty and fragrant.
Do not worry if it still feels a little soft when it comes out of the oven. Granola crisps dramatically as it cools, so judge doneness by color and aroma rather than by texture in the pan.
Step 7: Cool completely
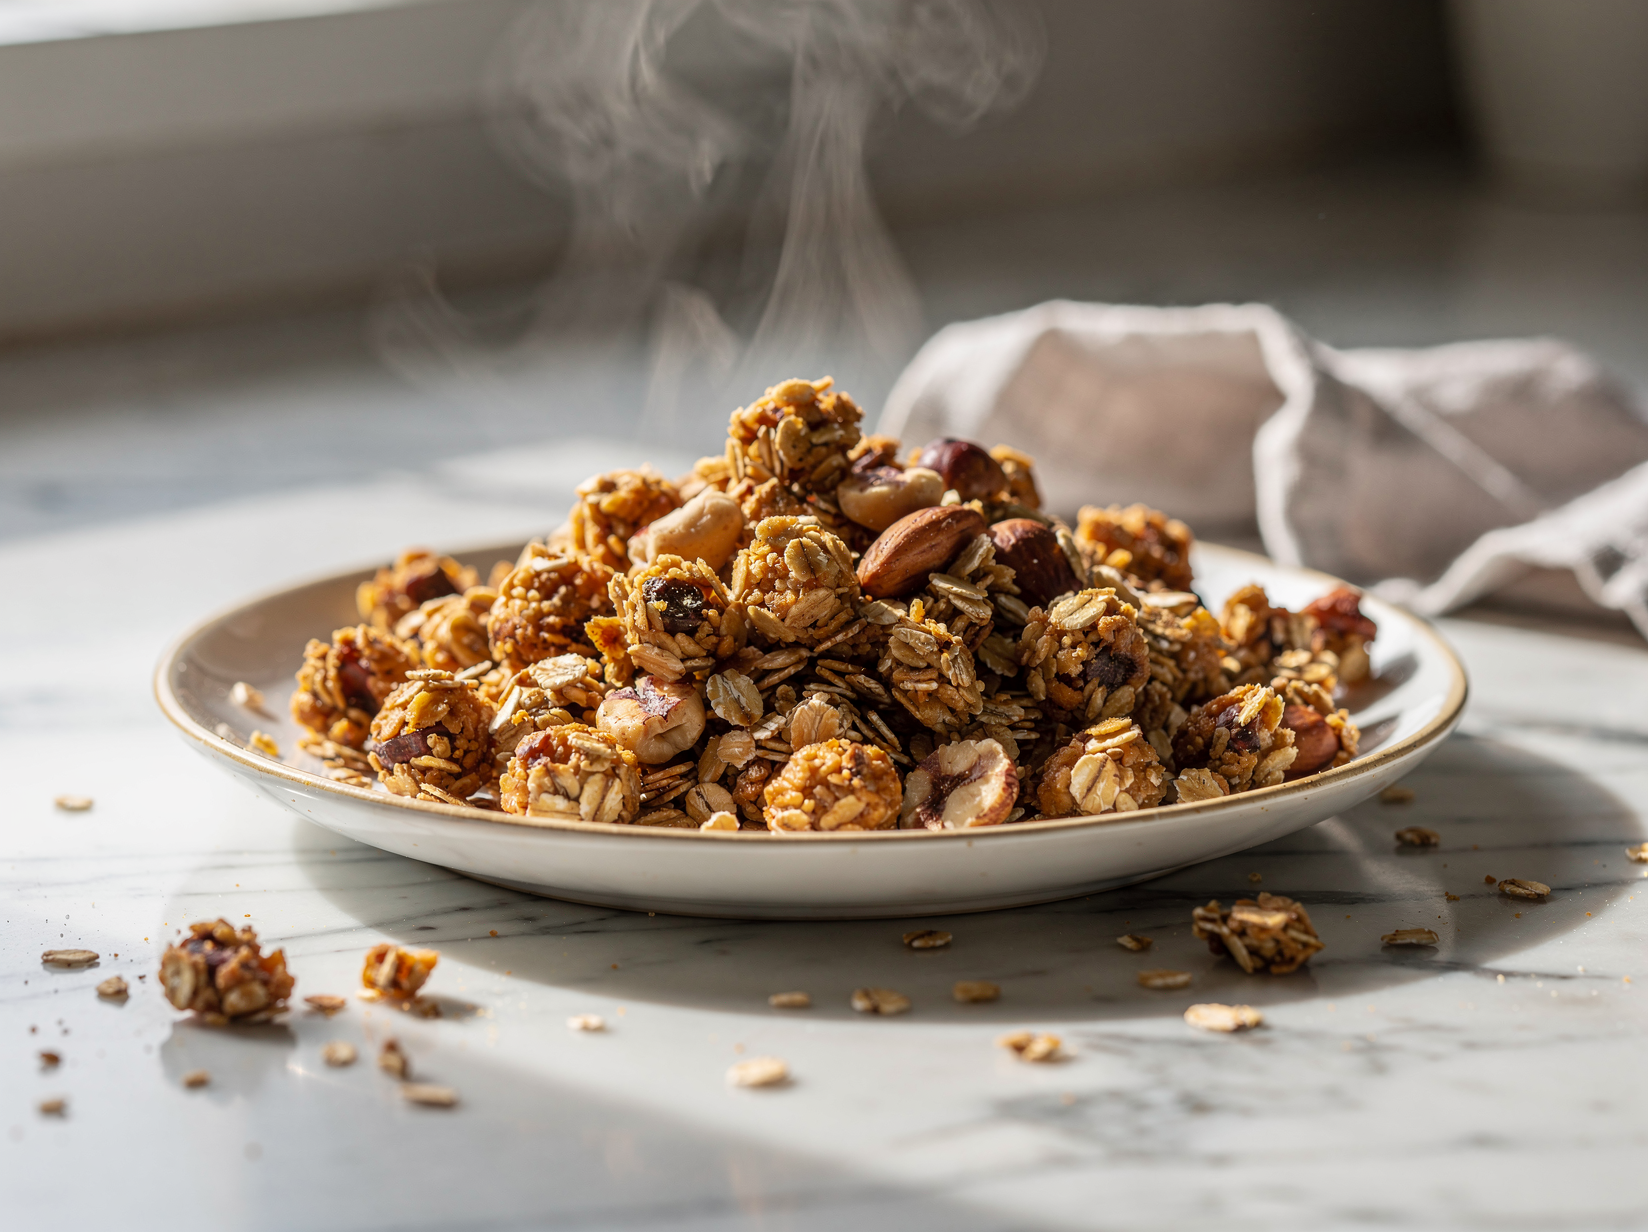
Set the pan on a rack and let the granola cool completely without touching or stirring it, which takes about 45 minutes. This undisturbed cooling is when the clusters firm up and lock together.
If you stir it while warm, you break apart the very clumps you worked to create and end up with loose, dusty granola. Patience here is the difference between clusters and crumbs.
Step 8: Break up and add fruit
Once the granola is completely cool and crisp, break it into clusters of whatever size you like with your hands. Some big chunks and some smaller pieces give the nicest texture.
Fold in the dried fruit now, after baking, so it stays soft and chewy rather than turning hard. Transfer the finished granola to an airtight jar and it is ready for the week ahead.
Tips for the best results
- Keep the oven low: Bake at 300 F. Higher heat scorches the edges long before the center turns crisp and golden.
- Pack it down: Press the mixture firmly before baking and again midway through for the biggest, most satisfying clusters.
- Do not stir while cooling: Leave the granola untouched as it cools so the clumps set instead of crumbling apart.
- Add fruit at the end: Fold in dried fruit only after baking so it stays plump rather than baking into hard nuggets.
- Trust color over texture: The granola feels soft when hot and crisps as it cools, so judge by deep golden color and aroma.
Variations and substitutions
- Chocolate: Stir mini chocolate chips into the fully cooled granola so they do not melt into the mix.
- Tropical: Use macadamias and cashews with dried mango and pineapple for a sunny, vacation flavor.
- Nut free: Replace the nuts with extra seeds like sunflower and pepitas for a school safe batch.
- Pumpkin spice: Swap the cinnamon for pumpkin pie spice and add a spoon of pumpkin puree to the wet mix for a fall version.
How to store and reheat
Store cooled granola in an airtight jar or container at room temperature for up to three weeks. Keeping it sealed and away from humidity is what preserves that signature crunch, so close the lid tightly each time.
For longer storage, freeze the granola in a zip top bag for up to three months. It thaws in minutes at room temperature and stays crisp, making it easy to keep a backup batch on hand.
What to serve it with
- Over Greek yogurt with fresh berries
- With cold milk as a cereal
- Sprinkled over a smoothie bowl
- Eaten by the handful as a snack
Frequently asked questions
Use the egg white binder, press the mixture down firmly before and during baking, and let it cool completely without stirring. Disturbing it while warm breaks the clumps apart.
The oven was likely too hot or it baked too long. Keep the temperature at 300 F, rotate the pan, and watch closely in the last 10 minutes when it browns fast.
Yes, though the clusters will be smaller and looser. The egg white is what binds the oats together, so for a clumpier granola it is worth including.
Always after baking, once the granola has cooled. Baking dried fruit makes it hard and leathery, while folding it in at the end keeps it plump and chewy.
Stored airtight at room temperature it stays crisp for up to three weeks. You can also freeze it for up to three months without losing the crunch.
Crunchy Homemade Granola
Big crunchy clusters of oats, nuts, and seeds sweetened with maple and honey, baked low and slow until deeply golden.
Ingredients
- 4 cups old fashioned rolled oats
- 1 1/2 cups raw nuts, roughly chopped (almonds, pecans, walnuts)
- 1/2 cup raw pumpkin seeds
- 1/2 cup unsweetened shredded coconut
- 1 teaspoon ground cinnamon
- 1/2 teaspoon fine sea salt
- 1/2 cup pure maple syrup
- 1/4 cup honey
- 1/3 cup melted coconut oil or neutral oil
- 1 teaspoon pure vanilla extract
- 1 large egg white, lightly beaten
- 3/4 cup dried fruit (raisins, cranberries, or chopped apricots)
Instructions
- Heat oven to 300 F and line a large rimmed baking sheet with parchment.
- Toss the oats, nuts, seeds, coconut, cinnamon, and salt together in a large bowl.
- Whisk the maple, honey, oil, and vanilla, pour over the dry mix, and stir to coat evenly.
- Fold in the lightly beaten egg white, then spread the mixture in a tight, even layer.
- Bake 40 to 45 minutes, rotating the pan once, until deeply golden, pressing down halfway through.
- Cool completely without stirring so it sets into clusters, then break it up and fold in the dried fruit.
Notes
- Low heat is essential; high heat burns the edges before the center crisps.
- Resist the urge to stir while cooling if you want big clusters.
- Add dried fruit only after baking so it does not turn hard and leathery.