
Soft Peanut Butter Cookies
 By Janet Homme · Updated June 15, 2026
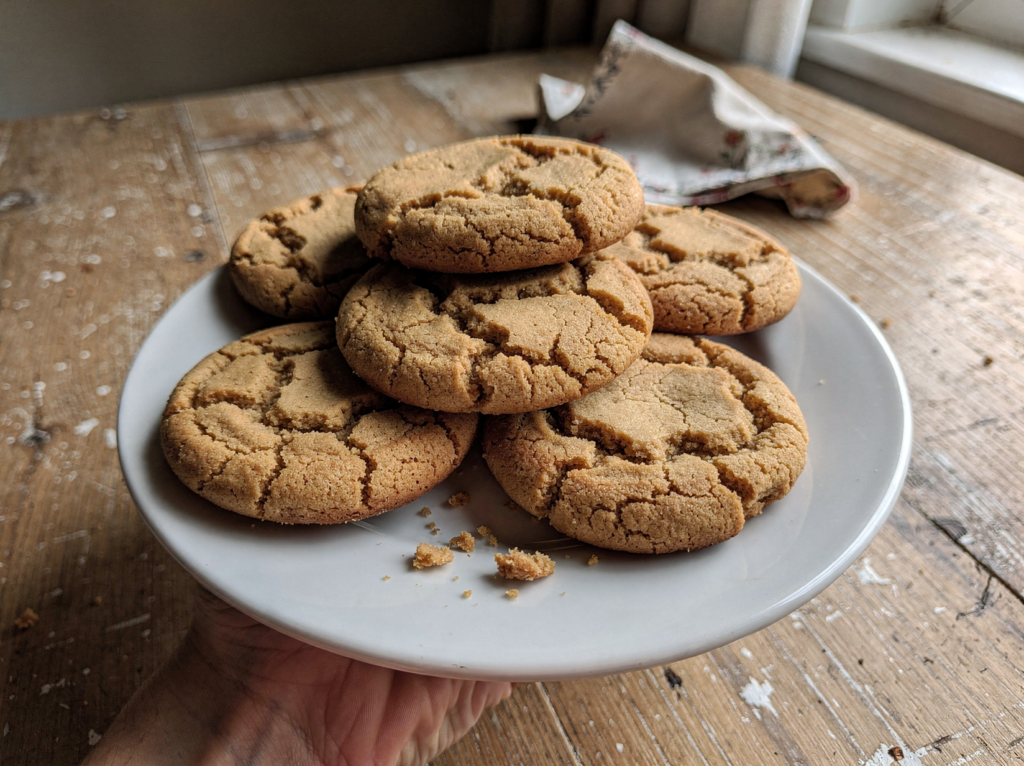
A great peanut butter cookie should taste unapologetically of peanut butter, not just of sugar with a faint nutty hint. These are soft and chewy in the middle with crisp, sandy edges, and they carry a deep roasted peanut flavor that comes from using a full cup of peanut butter and a generous hit of brown sugar. They are the cookies that disappear off the cooling rack before they are even cool. There is a comforting, nostalgic quality to them that makes a kitchen smell like home the moment they hit the oven.
I spent a long time chasing the texture I wanted, which is thick and tender rather than flat and crumbly. The secret turned out to be an extra egg yolk for richness, a short chill to firm the dough, and pulling the cookies from the oven while the centers still look slightly underdone. They set as they cool into something genuinely chewy.
This is a one bowl, no mixer required recipe if your butter and peanut butter are soft, which makes it a perfect weeknight bake or a project to do with kids. The dough comes together in minutes, and the only patience required is a half hour in the fridge that pays off in thicker, more flavorful cookies.
The recipe yields about two dozen cookies, which is enough to share and still keep a stash for yourself. They travel well and freeze beautifully too, so I often double the batch and freeze half the dough in balls ready to bake on demand.
Below I walk through every step, from why processed peanut butter beats natural here to how to get that signature crosshatch without the cookies spreading into puddles. Follow along and you will have two dozen cookies that taste like the best version of the ones you grew up with.
These are also endlessly adaptable once you have the base down. You can press a chocolate kiss into the center, fold in chips, or finish them with flaky salt, but the plain version is so good that I rarely bother. Start here and make them your own from there.
Why you will love this
- Extra egg yolk: The additional yolk adds fat and richness that keeps the centers soft and chewy rather than dry, which is the single change that makes these cookies special.
- Brown sugar forward: Using more brown than white sugar brings moisture and a caramel note that deepens the peanut flavor and keeps the crumb tender.
- A short chill: Resting the dough firms the butter so the cookies bake up thick instead of spreading thin, and it gives the flavors time to meld.
- Processed peanut butter: Shelf stable creamy peanut butter has the consistent fat and sugar that gives a reliable, tender crumb every single time.
- Sugar rolled tops: A roll in granulated sugar before baking gives the edges a delicate crackle and gentle sparkle that signals a homemade cookie.
What you will need
This is a short, pantry friendly list, but two choices matter most. Reach for standard creamy peanut butter rather than the natural kind that separates, and make sure your butter is genuinely soft so it creams properly.
- Creamy peanut butter (1 cup): Use a processed brand like the one in the plastic jar; natural peanut butter is too oily and makes the dough greasy and flat, so save it for toast.
- Light brown sugar (0.75 cup): The molasses keeps the cookies moist and chewy and supports the roasted peanut flavor, so pack it firmly when you measure.
- Egg plus yolk (1 each): The whole egg binds the dough while the extra yolk adds richness and fat for a noticeably softer, chewier center.
- Unsalted butter (0.5 cup): Softened, not melted, so it creams with the sugar to create the structure and lift that keeps the cookies from spreading flat.
- Fine salt (0.5 teaspoon): Salt sharpens the peanut flavor and keeps the cookies from tasting flatly sweet, which is easy to overlook but makes a real difference.
- Baking soda and powder: A little of each gives both spread and lift for a thick cookie with a tender, even crumb rather than a dense one.
Equipment: You will need two baking sheets, parchment paper, a large mixing bowl, a hand mixer or sturdy spatula, a small cookie scoop, and a fork for the crosshatch.
How to make it, step by step
Step 1: Whisk the dry ingredients
In a medium bowl, whisk together the flour, baking soda, baking powder, and salt until evenly blended. Combining the leaveners with the flour now ensures they distribute evenly so every cookie rises the same way.
Set this bowl aside within reach. Having it ready means you can add it quickly later without overworking the dough.
Measure the flour by spooning it into the cup and leveling it off, or weigh it for the best accuracy. Too much flour is the most common reason peanut butter cookies turn out dry and crumbly rather than soft and chewy.
Step 2: Cream the butter, peanut butter, and sugars
In a large bowl, beat the softened butter, peanut butter, brown sugar, and granulated sugar together until the mixture is light, fluffy, and noticeably paler, about two to three minutes. This step beats air into the fat, which is what gives the cookies their tender lift.
Scrape down the sides of the bowl partway through so everything blends evenly. The mixture should look smooth and creamy with no streaks of unmixed sugar.
Do not rush this step or cut it short, because the air you beat in now is what gives the cookies their tender lift and slightly crackled tops. If the butter was too cold to cream properly, the dough will feel stiff and the cookies will bake up dense.
Step 3: Add the eggs and vanilla
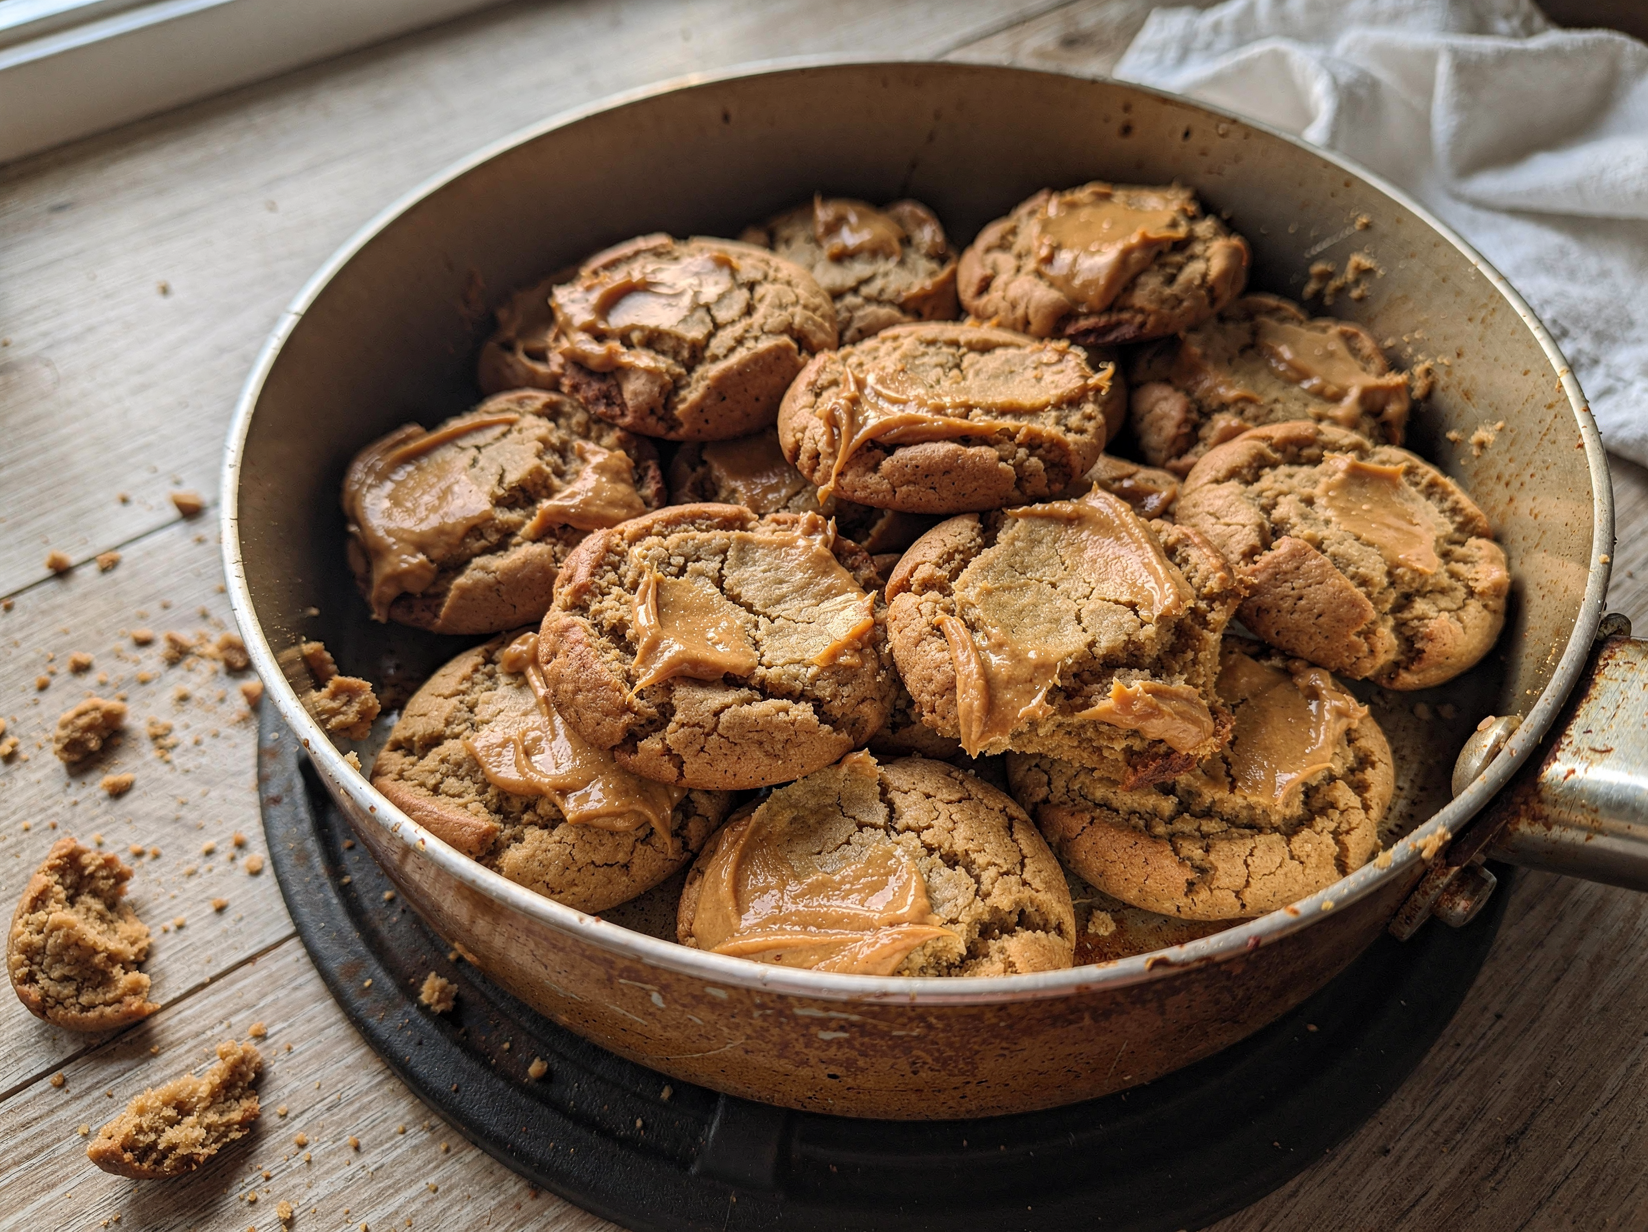
Add the whole egg, the extra yolk, and the vanilla, then beat until the dough is smooth and slightly glossy. The mixture may look a little loose at this stage, which is exactly what you want before the flour goes in.
Stop and scrape the bowl once more. A few extra seconds of mixing here gives an even, cohesive dough.
Room temperature eggs blend in far more smoothly than cold ones, which can seize the butter and leave streaks. If you forgot to set them out, warm the eggs in a bowl of warm water for a few minutes first.
Step 4: Mix in the flour
Add the dry ingredients all at once and mix on low, or fold by hand, just until the flour disappears and a soft dough forms. Overmixing now makes tough cookies, so stop as soon as you no longer see dry streaks.
The dough will be soft but should hold together when pressed. If it feels at all sticky, that is normal and the chill will firm it up.
This is also the moment to fold in any extras like chocolate chips, doing so with just a few strokes so you do not overwork the dough. Keep the additions modest so the peanut flavor stays front and center.
Step 5: Chill the dough
Cover the bowl and refrigerate the dough for at least 30 minutes. This rest firms the butter so the cookies bake thick and chewy instead of spreading into thin disks.
While the dough chills, line two baking sheets with parchment and heat the oven to 350F. Pour the rolling sugar into a small bowl so it is ready when you are.
Do not chill the dough much longer than an hour or two, since very cold dough can crack when you press the crosshatch. If you have refrigerated it overnight, let it sit out for fifteen minutes to soften slightly before shaping.
Step 6: Shape and crosshatch
Scoop the dough into balls about 1.5 tablespoons each and roll each one smooth between your palms. Roll the balls in the bowl of granulated sugar to coat, then space them about two inches apart on the sheets.
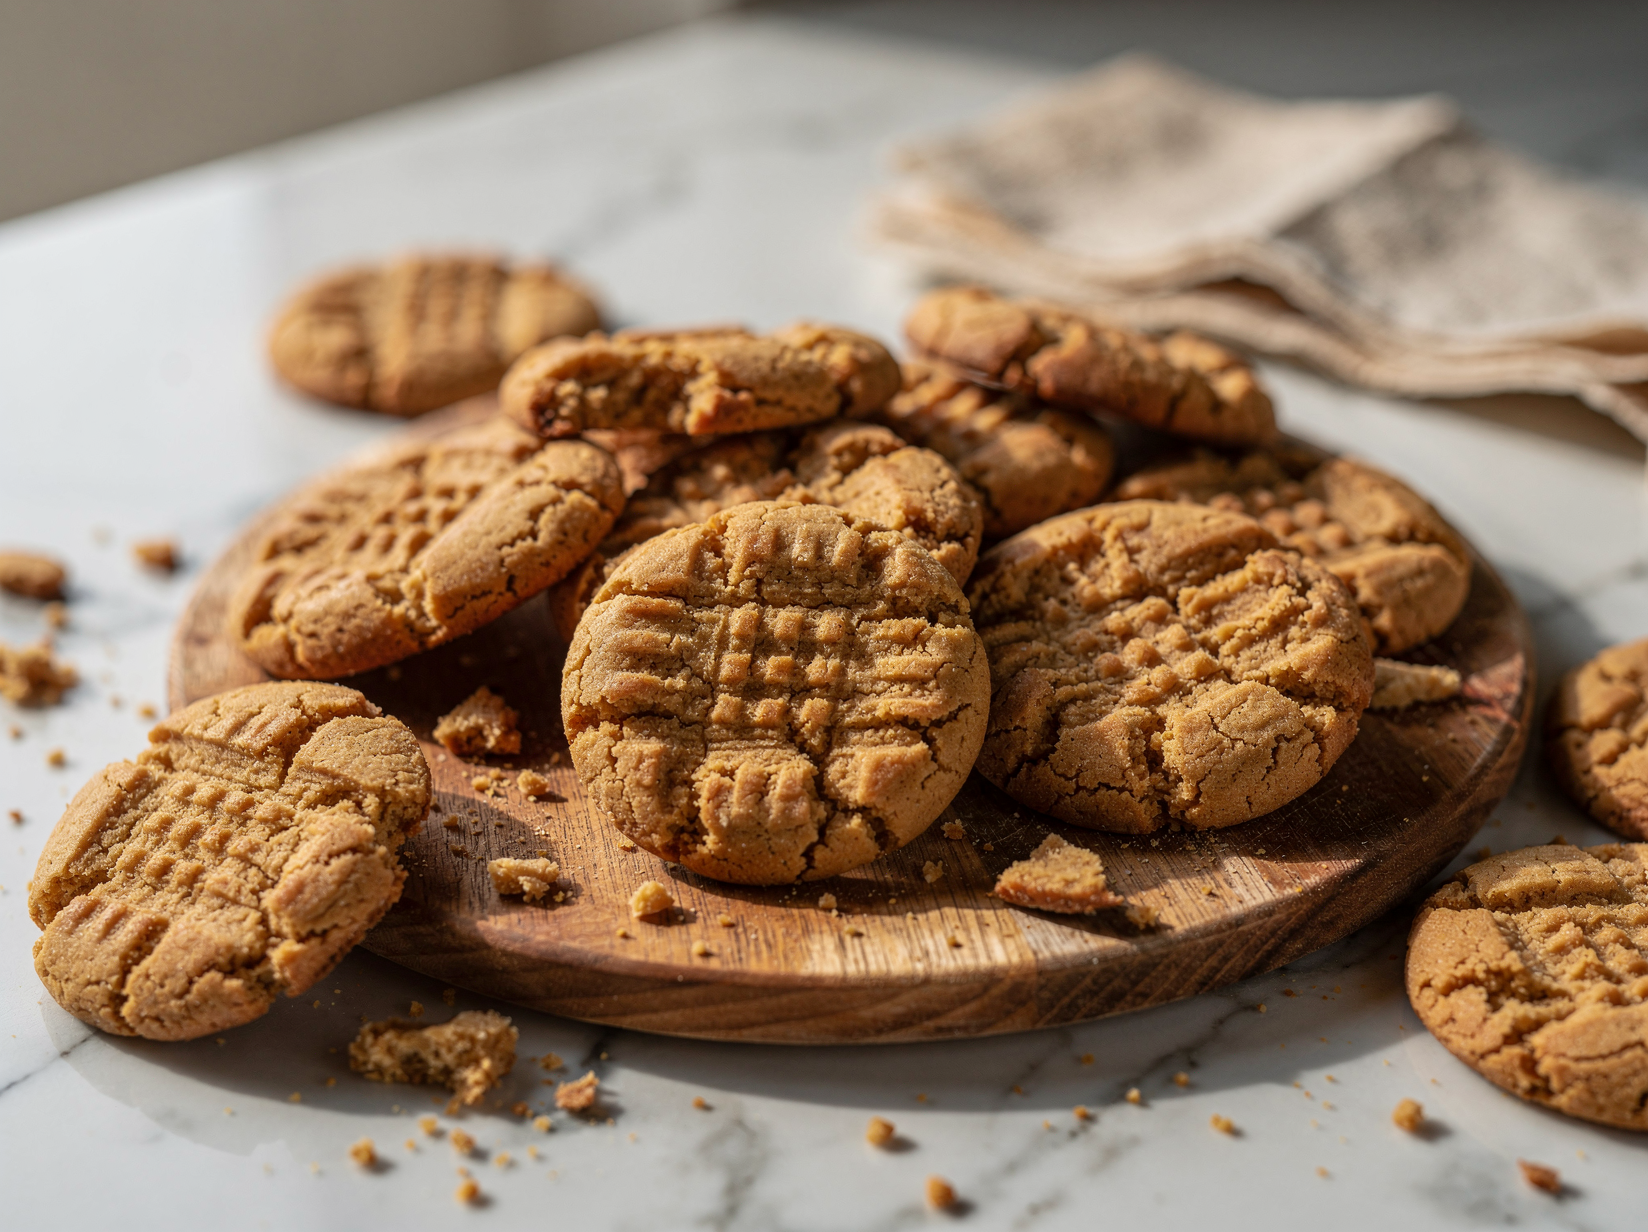
Press each ball with a fork in one direction, then again at a right angle to make the classic crosshatch pattern. Dip the fork in sugar between cookies if it starts to stick, and flatten them to about half an inch thick.
The crosshatch is more than decoration; pressing the balls flat helps these dense cookies bake through evenly in the center. Aim for an even thickness across the sheet so they all finish baking at the same time.
Step 7: Bake until just set
Bake one sheet at a time for 10 to 12 minutes, until the edges are set and lightly golden but the centers still look soft and slightly underdone. They will not look fully baked in the middle, and that is the secret to a chewy cookie.
Rotate the sheet halfway through for even color. The cookies should puff slightly and the crosshatch lines will set into the surface as the edges turn golden.
Bake one sheet at a time on the center rack for the most even results, since crowding two sheets leads to uneven browning. Trust the timer over your instinct to wait for browned centers, which would mean dry cookies.
Step 8: Cool and set
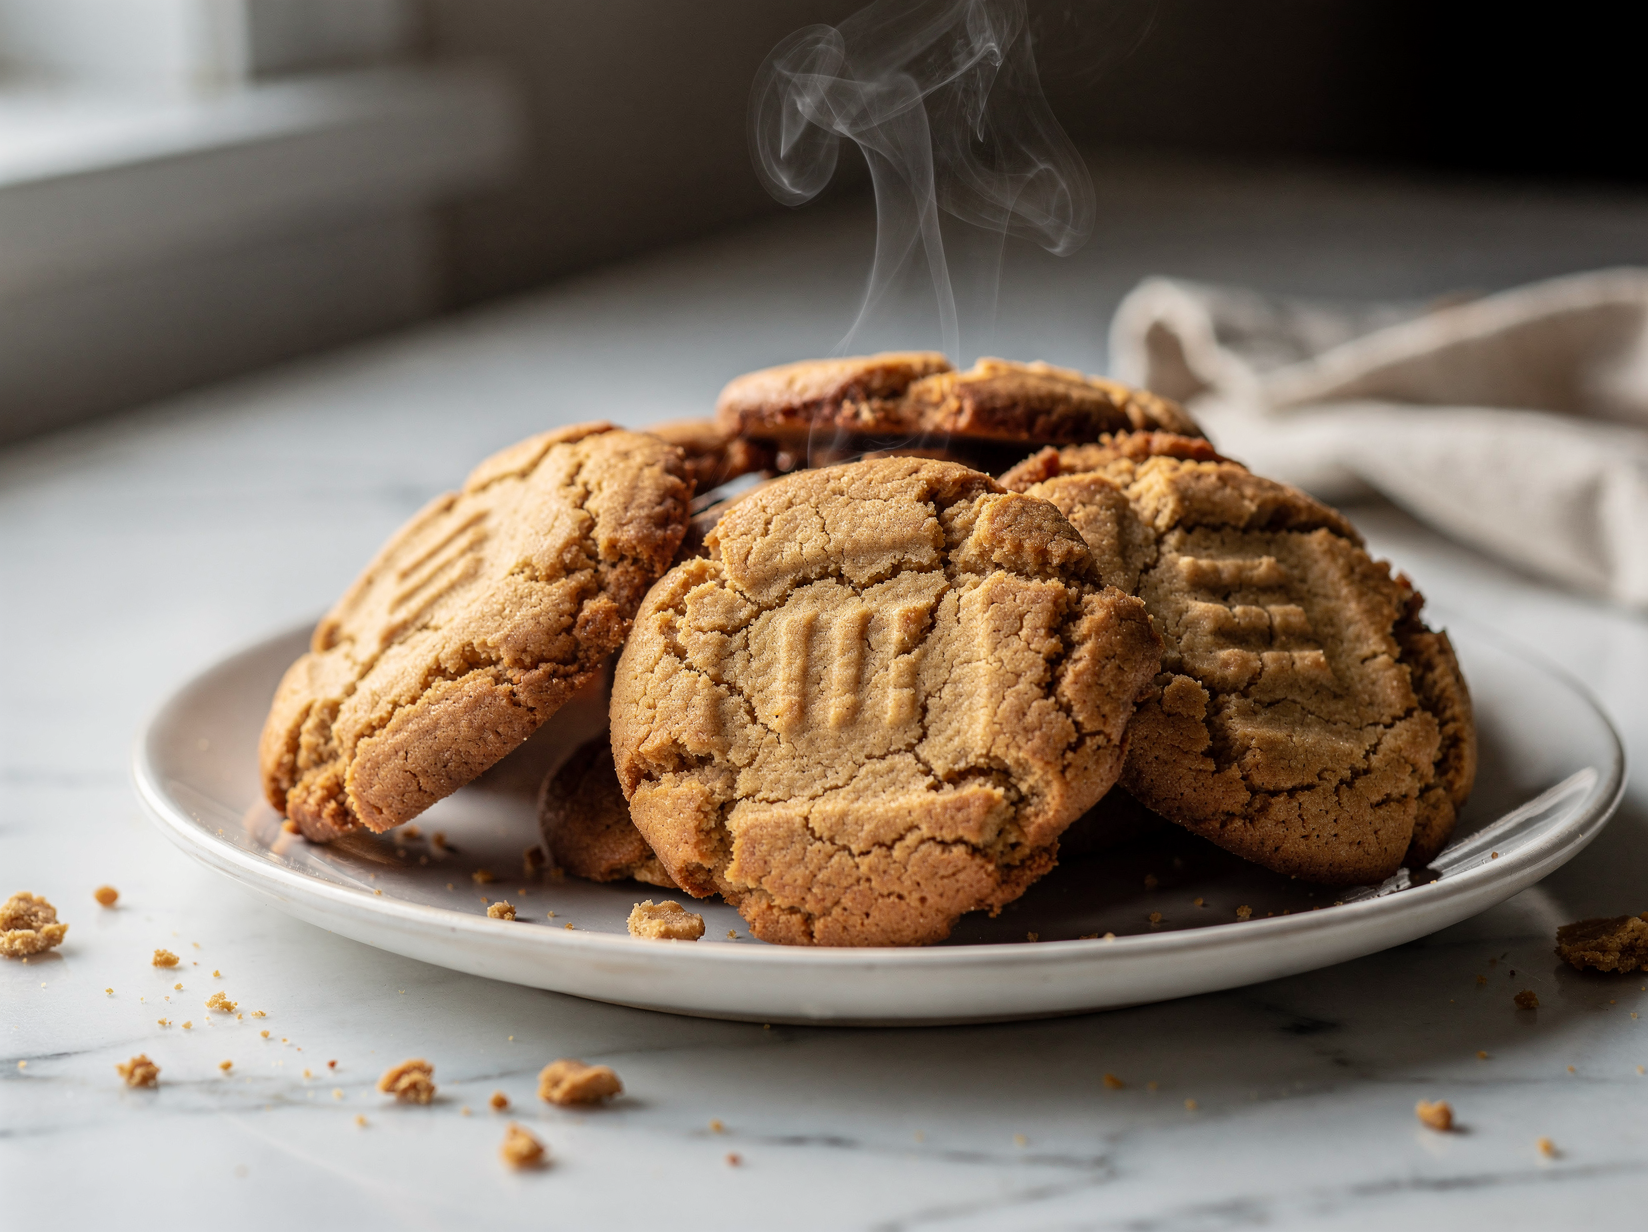
Let the cookies rest on the hot baking sheet for 5 minutes. They finish cooking from residual heat and firm up enough to move without breaking, so this short wait is important.
Transfer them to a wire rack to cool completely, or at least until they are cool enough to handle. They will go from soft and fragile to chewy and sturdy as they sit.
If you want a softer cookie, store them the moment they are cool; if you prefer a little more crispness at the edges, leave them on the rack a while longer. Either way they are at their absolute best within a day or two of baking.
Tips for the best results
- Soften the butter properly: It should yield to a gentle press but not be melted, or the cookies will spread too much.
- Use a cookie scoop: Equal sized balls bake evenly and give you uniform, bakery style cookies.
- Do not overbake: Pull them while the centers look soft; they set into chew as they cool on the pan.
- Measure flour by weight: Too much flour from scooping makes the cookies dry and dense, so spoon and level or weigh.
- Re sugar the fork: Dipping the fork in sugar between presses keeps the crosshatch crisp and prevents sticking.
Variations and substitutions
- Add chocolate: Fold in three quarters of a cup of chocolate chips or press a chocolate kiss into each warm cookie.
- Make them crunchy: Swap in crunchy peanut butter for bits of texture in every bite.
- Sea salt finish: Sprinkle a few flakes of flaky salt on top right out of the oven for a sweet salty contrast.
- Sandwich them: Spread a little extra peanut butter or jam between two cooled cookies for a treat.
How to store and reheat
Keep cooled cookies in an airtight container at room temperature for up to 5 days. Tuck a slice of sandwich bread into the container to keep them soft and chewy for longer.
To freeze, store baked cookies in a zip top bag for up to 3 months, or freeze the raw sugar coated balls on a tray then bag them. Bake frozen balls straight from the freezer, adding a minute or two to the time.
What to serve it with
- Serve warm with a cold glass of milk
- Pair with a scoop of vanilla ice cream
- Drizzle with melted chocolate for a dressed up plate
- Pack them into lunchboxes or cookie tins for gifting
Frequently asked questions
It is not recommended for this recipe. Natural peanut butter separates into oil and solids, which throws off the fat balance and gives greasy, flat cookies. Stick with a standard creamy peanut butter from a plastic jar for reliable texture.
Usually the butter was too soft or melted, or the dough was not chilled. Make sure the butter is just softened, give the dough its full 30 minute rest, and place the dough on a cool baking sheet rather than a hot one.
Chilling is strongly recommended. It firms the fat so the cookies bake up thick and chewy instead of spreading thin, and it deepens the flavor. Thirty minutes is enough, though up to a day in the fridge is fine.
Yes. The dough keeps in the fridge for up to two days, or you can roll it into balls and freeze them. Frozen dough balls bake straight from the freezer with an extra minute or two in the oven.
Pull them from the oven while the centers still look soft and slightly underbaked, then let them finish setting on the hot pan. Overbaking even by a couple of minutes is the main reason cookies turn out crunchy and dry.
Soft Peanut Butter Cookies
Thick, chewy peanut butter cookies with crisp edges, deep roasted flavor, and the classic crosshatch fork pattern on top.
Ingredients
- 1.5 cups (190g) all purpose flour
- 0.5 teaspoon baking soda
- 0.5 teaspoon baking powder
- 0.5 teaspoon fine salt
- 0.5 cup (115g) unsalted butter, softened
- 1 cup (250g) creamy peanut butter
- 0.75 cup (150g) packed light brown sugar
- 0.5 cup (100g) granulated sugar
- 1 large egg, room temperature
- 1 large egg yolk, room temperature
- 2 teaspoons pure vanilla extract
- 0.25 cup (50g) granulated sugar for rolling
Instructions
- Whisk flour, baking soda, baking powder, and salt together.
- Beat butter, peanut butter, and both sugars until light and fluffy.
- Beat in the egg, yolk, and vanilla until smooth.
- Mix in the dry ingredients just until combined, then chill the dough 30 minutes.
- Roll dough into balls, coat in sugar, and press a crosshatch with a fork.
- Bake at 350F for 10 to 12 minutes until the edges are set but centers look soft.
- Cool on the pan 5 minutes, then transfer to a rack.
Notes
- Use shelf stable processed peanut butter rather than natural for reliable texture.
- The dough chills quickly and bakes up thicker, so do not skip the rest.
- Cookies finish baking on the hot pan, so pull them while the centers still look soft.