
Classic Grilled Cheese
 By Marcus Bell · Updated May 1, 2026
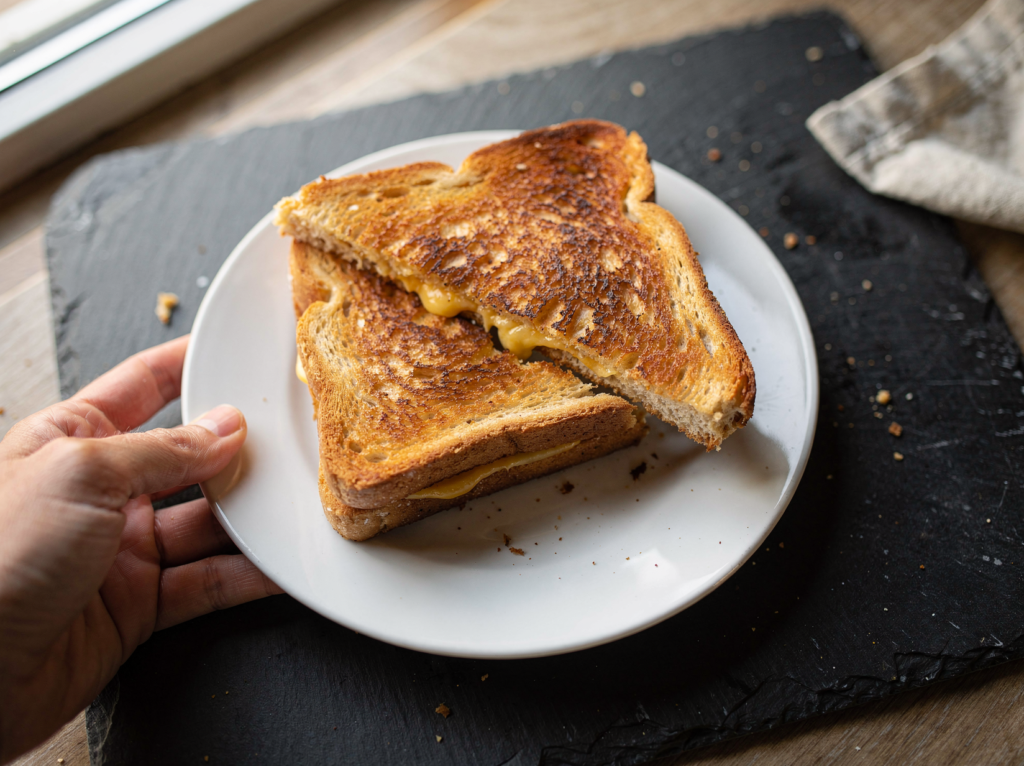
A grilled cheese seems almost too simple to need a recipe, and yet most of us have produced a sad one: bread scorched on the outside, cheese still cold and solid in the middle. The good news is that a truly great grilled cheese comes down to a handful of small techniques that, once you know them, are impossible to forget. Get them right and you get a shatteringly crisp golden crust around a center that pulls into long cheesy strands.
The single biggest mistake people make is cranking the heat too high. The bread browns in a minute or two while the cheese stays stubbornly firm, so you end up with a burnt sandwich and unmelted cheese. Patience and medium low heat fix almost everything.
The second big lever is the cheese itself. A blend of a sharp, flavorful cheese for taste and a great melter for stretch gives you the best of both worlds, and grating it yourself helps it melt evenly and quickly. Pre shredded cheese is coated to keep it from clumping, and that same coating fights the smooth, oozy melt you are chasing.
Below I will walk you through choosing and prepping your cheese, buttering the bread the right way, and cooking the sandwich low and slow so it turns out perfectly every time. None of it is hard, and once these habits click you will never go back to the burnt and cold version. This is the only grilled cheese method you will need.
Why you will love this
- Crisp, even crust: Buttering edge to edge and cooking low and slow gives a uniformly golden, crunchy exterior.
- Fully molten center: Grated cheese and gentle heat mean the inside is completely melted by the time the crust is done.
- Big flavor and big stretch: Blending a sharp cheese with a great melter delivers both deep flavor and that satisfying cheese pull you only get from grating your own.
- Fast and pantry simple: Just bread, butter, and cheese turn into a perfect lunch in about thirteen minutes with no special equipment required.
- Endlessly adaptable: The base technique welcomes add ins like tomato, caramelized onion, a swipe of mustard, or a different cheese blend entirely.
What you will need
There are only a few ingredients, so each one counts. Use bread sturdy enough to hold the cheese, real butter, and cheese you grate yourself for the smoothest melt.
- Sturdy bread (4 slices): Choose a substantial white sandwich bread or sourdough; flimsy slices fall apart and thin ones brown before the cheese melts, while a medium thickness slice toasts beautifully.
- Sharp cheddar (4 ounces): It brings bold, tangy flavor, but grate it fresh because pre shredded cheese is coated with starch that keeps it from melting into a smooth, gooey center.
- Mozzarella or American (2 ounces): These melt smoothly and stretch beautifully, balancing the cheddar so the inside turns gooey rather than greasy or oily.
- Softened butter (3 tablespoons): Room temperature butter spreads to the very edges without tearing the bread, which gives an even, all over golden crust.
- Mayonnaise (2 teaspoons, optional): A thin layer on the crust browns evenly and adds extra crispness thanks to its high oil content.
- Flaky salt (optional pinch): A light sprinkle on the finished crust sharpens all the flavors and adds a little crunch.
Equipment: You need a nonstick or cast iron skillet, a butter knife or small spatula for spreading, a box grater, and a wide turner for flipping.
How to make it, step by step
Step 1: Grate the cheese
Grate both cheeses on the large holes of a box grater and toss them together in a bowl. Freshly grated cheese is essential here, because the anti caking starch on pre shredded cheese keeps it from melting into that smooth, gooey texture you want.
Combining a sharp cheddar with a smooth melter like mozzarella or American gives you the best of both worlds. The cheddar carries the flavor while the second cheese provides the stretch and even melt.
Let the grated cheese sit out for a few minutes to take the chill off, since cold cheese straight from the fridge takes longer to melt. Aim for a generous mound, about two ounces of cheese per sandwich, so the inside turns thick and gooey rather than thin.
Step 2: Soften and prep the butter
Make sure your butter is fully softened to room temperature so it spreads easily without tearing the bread. If you forgot to set it out, microwave it in five second bursts, but stop before it turns to liquid.
If you want the extra crisp, browned crust that mayonnaise gives, have your two teaspoons ready as well. You will use either butter or a thin mayo layer on the outside of the bread.
Some cooks like to use butter on the inside faces and mayonnaise on the outside, which combines rich flavor with extra crispness. Whichever you choose, having it soft and ready before you start keeps the assembly quick and tidy.
Step 3: Butter the bread
Lay out all four slices of bread. Spread a thin, even layer of softened butter, or a thin swipe of mayonnaise, across one face of each slice, going all the way to the edges and corners.
Reaching the very edges matters because any bare spot will stay pale and soft while the rest browns. The buttered faces will become the outsides of your sandwiches.
Use just enough fat to coat the surface in a thin film, since too much butter pools in the pan and fries the bread unevenly. A soft butter spreads cleanly without gouging holes, which is why softening it first is worth the wait.
Step 4: Build the sandwiches
Flip two slices so the buttered side faces down. Pile half of the cheese blend onto each, spreading it into an even layer that reaches close to the edges but not over them.
Keeping the cheese spread evenly means every bite is cheesy and the slices seal together as it melts. Top each with a second slice, buttered side facing up, so both outer faces are buttered.
Pushing the cheese right to within a quarter inch of the edges helps it seal the sandwich closed, but keep it off the very rim so it does not all leak into the pan. A little cheese that escapes and crisps on the crust is a delicious bonus, though.
Step 5: Start cooking low and slow
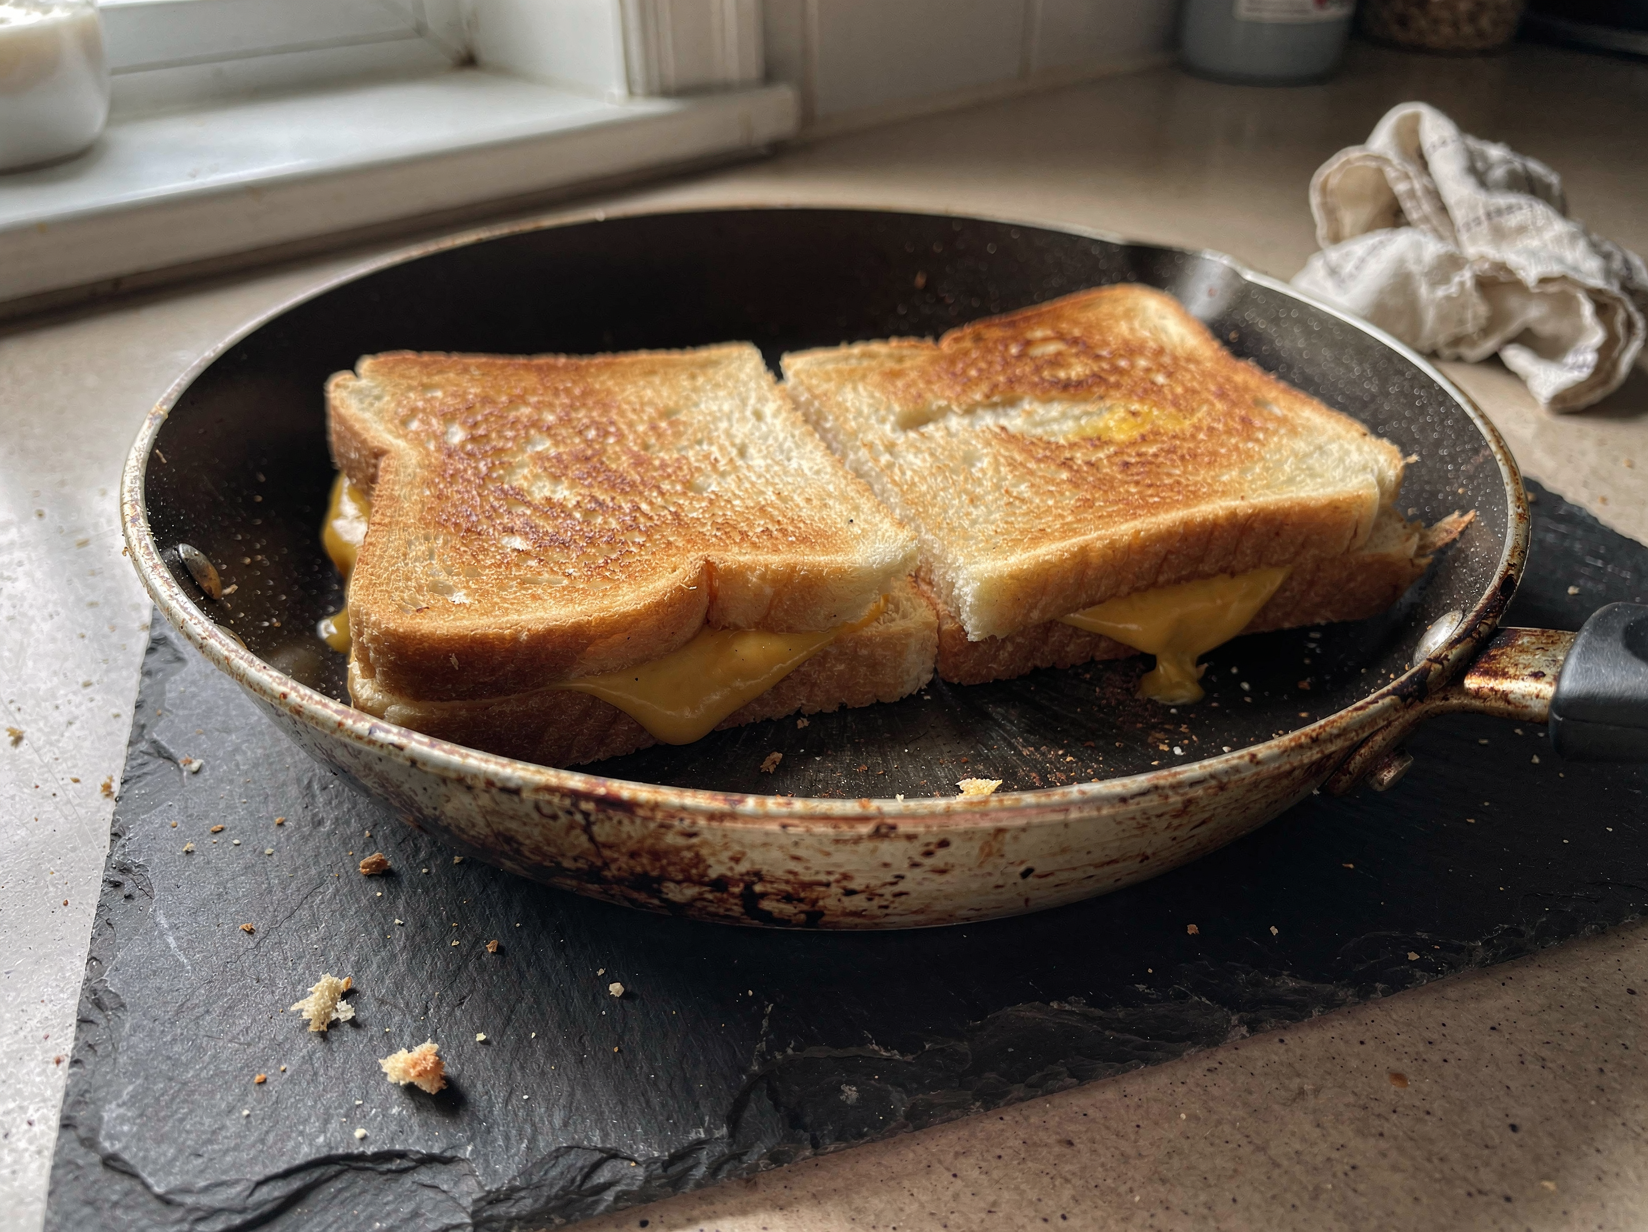
Set your skillet over medium low heat and let it warm for a minute or two. This gentle heat is the most important rule of grilled cheese, since it gives the cheese time to melt before the crust browns.
Lay the sandwiches in the pan. You should hear a soft, steady sizzle rather than an aggressive crackle, which would mean the heat is too high. Adjust the burner down if it sounds too lively.
Cast iron and heavy nonstick pans hold steady, even heat, which makes them ideal for grilled cheese. If your stove runs hot, do not be afraid to dip down to low; a few extra minutes is a small price for a perfectly melted center.
Step 6: Press and brown the first side
Gently press each sandwich with your spatula to encourage full contact between the bread and the pan. A light press also helps the slices bond together as the cheese softens.
Cook undisturbed for three to four minutes. Lift a corner to check, and when the bottom is a deep, even golden brown, it is ready to flip.
If the bread is browning too fast or unevenly, lower the heat and move the sandwich around the pan. Slow and steady wins here.
You can also cover the pan with a lid for the first couple of minutes to trap heat and jump start the melt while the bottom browns. Just uncover it for the final minute so the crust crisps up rather than steaming soft.
Step 7: Flip and finish
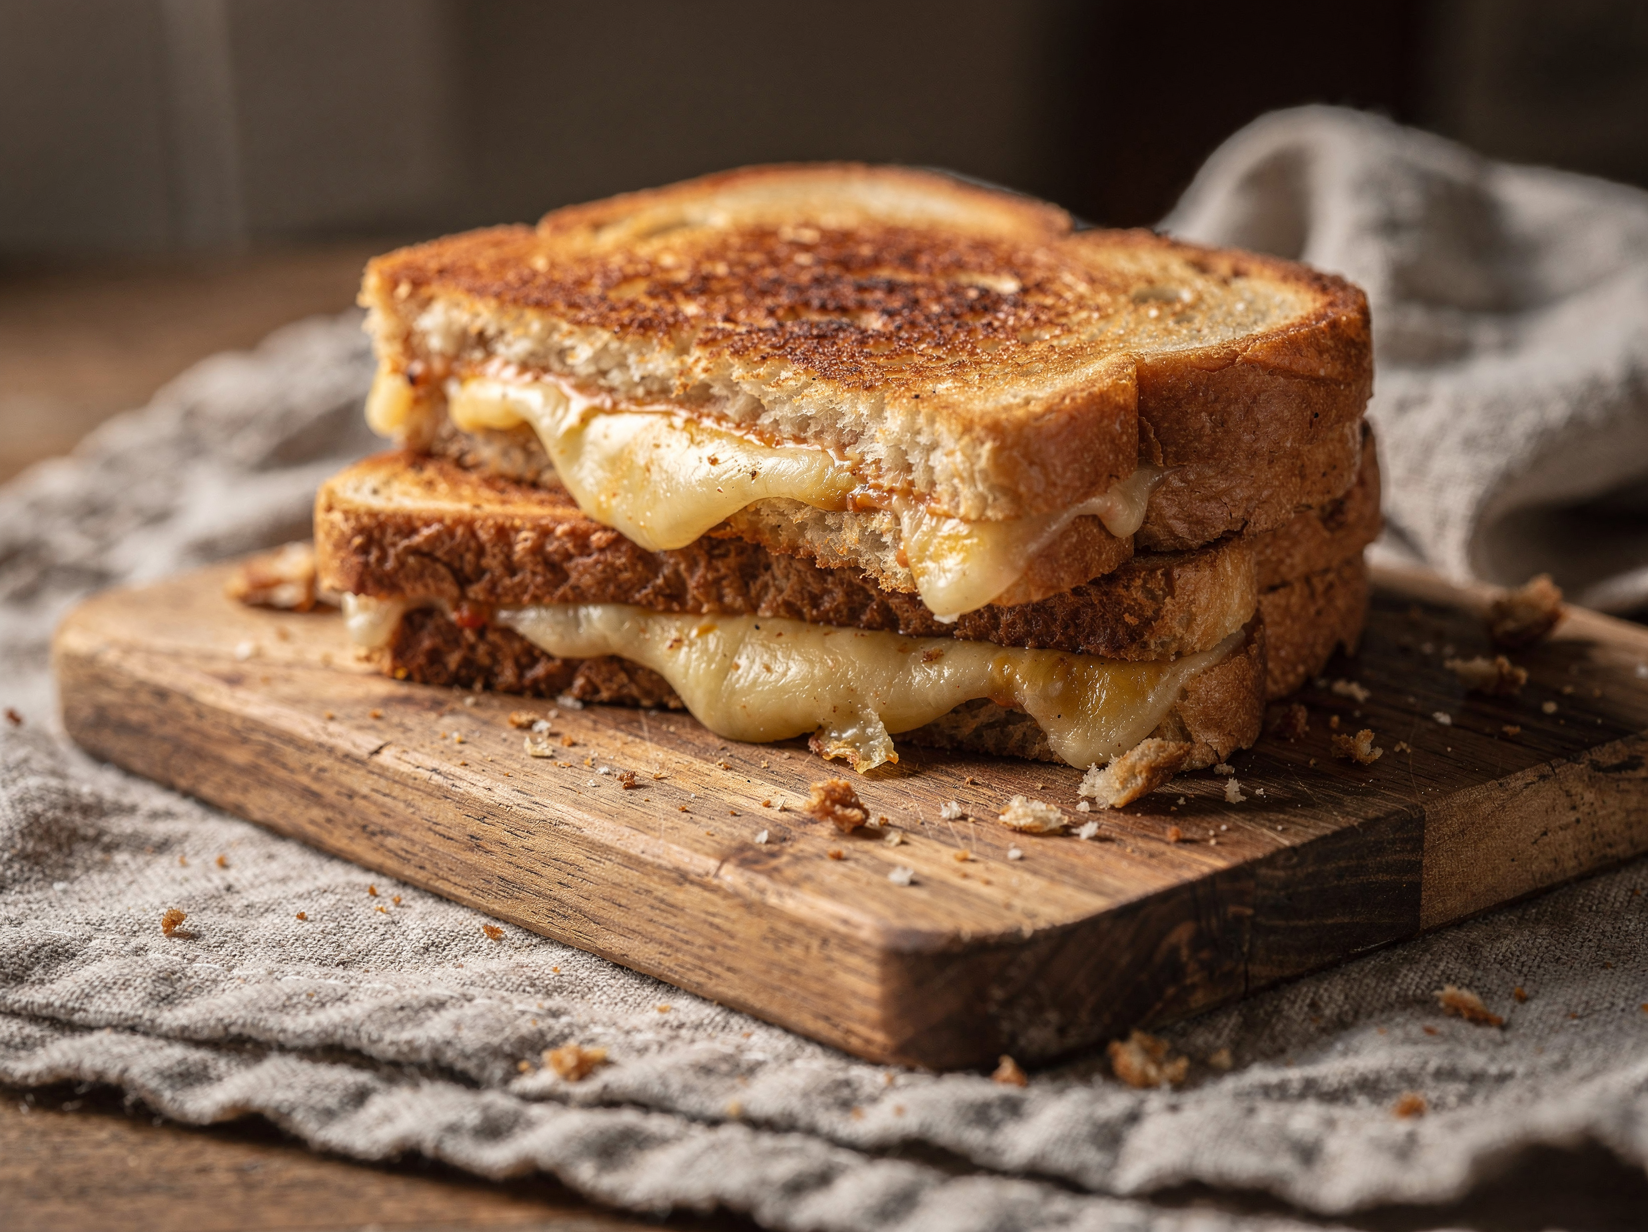
Slide your turner fully under each sandwich and flip it confidently in one motion. Cook the second side another three to four minutes, pressing gently again, until it matches the first in color.
By now the cheese should be completely molten. To check, give the sandwich a gentle squeeze; the halves should feel like they want to slide on a cushion of melted cheese.
If the crust is perfect but the cheese needs another moment, cover the pan briefly off direct high heat to trap warmth and finish the melt.
Resist the urge to keep flipping; one confident flip is all a grilled cheese needs, and constant turning prevents a deep, even crust from forming. Let each side commit fully to browning before it moves.
Step 8: Rest, slice, and serve
Move the sandwiches to a cutting board and let them rest for about a minute. This short pause lets the molten cheese set just enough so it does not all run out the moment you cut, while still staying warm and stretchy inside.
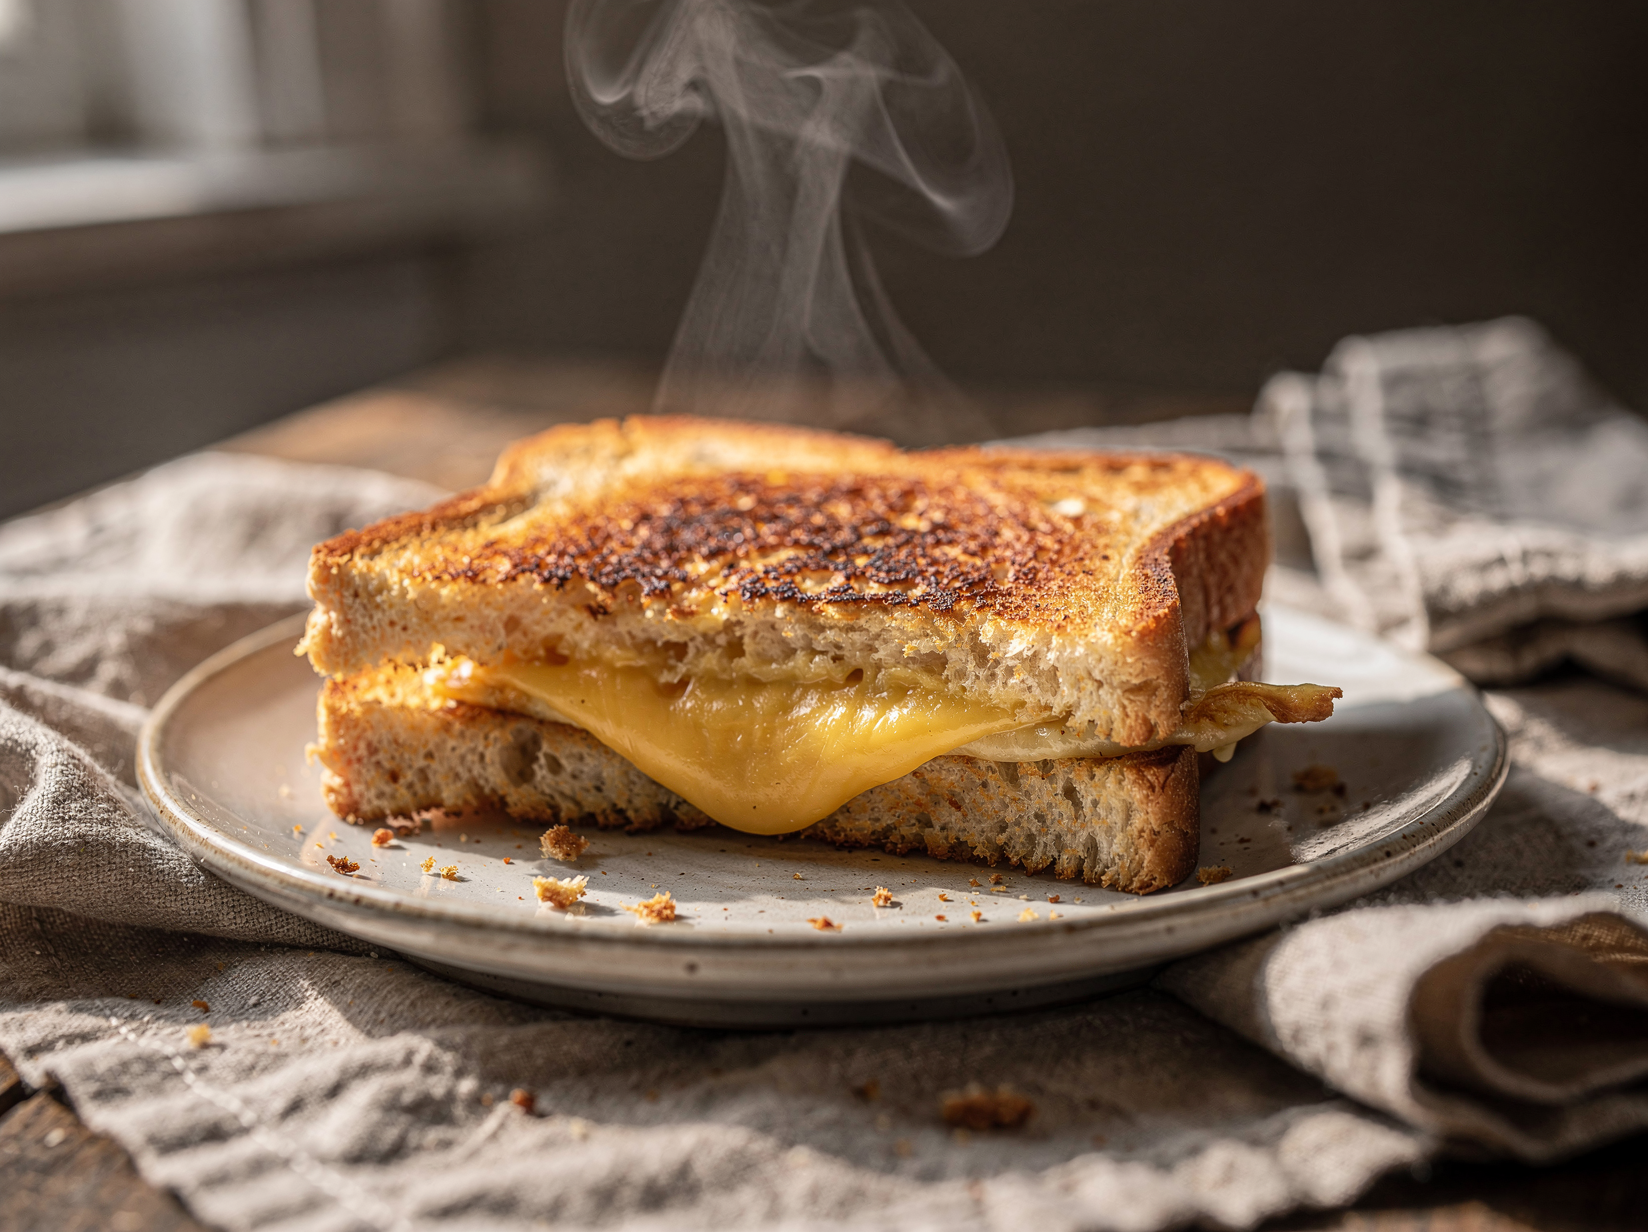
Sprinkle the crust with a pinch of flaky salt if you like, then slice each sandwich on the diagonal for the classic look and the best cheese pull. Serve hot, ideally with a bowl of tomato soup.
Cutting on the diagonal is not just for looks; the longer cut edge gives you a bigger window of melted cheese to pull apart. Eat it while it is hot, because grilled cheese waits for no one and is at its peak in the first few minutes.
If you are cooking more than two at once, hold the finished sandwiches on a rack in a low oven so they stay crisp while you cook the rest. Stacking them on a plate traps steam and softens that hard won crust.
Tips for the best results
- Cook low and slow: Medium low heat is non negotiable; it gives the cheese time to melt before the bread burns.
- Always grate your own: Pre shredded cheese is coated with starch that prevents the smooth, gooey melt you are after.
- Try the mayo crust: A thin layer of mayonnaise on the outside browns more evenly and crisps better than butter alone.
- Press for contact: A gentle press with the spatula ensures even browning and helps the sandwich hold together.
- Let it rest: A one minute rest before slicing keeps the molten cheese from spilling out everywhere.
Variations and substitutions
- Tomato and basil: Add thin tomato slices and fresh basil for a fresh, juicy twist, patting the tomato dry first.
- Caramelized onion: Tuck a spoonful of sweet caramelized onions inside for a savory, jammy upgrade.
- Spicy kick: Spread a thin layer of hot honey or pepper jelly on the inside of the bread before adding the cheese.
- Three cheese: Add a little Gruyere or fontina to the blend for an even more complex, nutty flavor.
How to store and reheat
Grilled cheese is truly best eaten right away while the crust is crisp and the center is molten. If you must hold it, keep it warm in a 200F oven on a rack for up to fifteen minutes so the bottom stays crisp.
Leftovers can be refrigerated in an airtight container for up to two days, though the texture suffers. Revive them in a dry skillet over medium low heat or in a toaster oven rather than the microwave, which makes the bread soggy and chewy.
What to serve it with
- Serve with a bowl of creamy tomato soup for dunking
- Pair with a handful of pickles or a crisp dill spear
- Add a simple side salad for a light lunch
- Cut into strips for easy soup dipping soldiers
Frequently asked questions
A blend works best: a flavorful cheese like sharp cheddar for taste plus a great melter like American, mozzarella, or fontina for stretch. Just be sure to grate it yourself, because pre shredded cheese melts unevenly.
Your heat is too high. Drop the burner to medium low and be patient, giving the cheese several minutes to melt while the crust slowly turns golden. A gentle, steady sizzle is the sound you are listening for.
Both work well. Butter gives the classic rich flavor, while a thin layer of mayonnaise browns more evenly and crisps a little better thanks to its higher oil content. Many cooks use a mix of the two.
Grate the cheese so it melts faster, cook over low heat to give it time, and cover the pan for the last minute to trap heat. Letting the sandwich rest briefly after cooking also lets the residual heat finish the job.
Yes. Build all the sandwiches, then bake them on a buttered sheet pan at 425F for about ten minutes, flipping halfway, until golden on both sides. This frees you from cooking them one at a time in a skillet.
Classic Grilled Cheese
The perfect grilled cheese with a deep golden crust and an oozy, fully melted center, built on a few smart techniques.
Ingredients
- 4 slices sturdy white sandwich bread or sourdough
- 3 tablespoons unsalted butter, softened
- 2 teaspoons mayonnaise (optional, for the crust)
- 4 ounces sharp cheddar cheese, freshly grated (about 1.5 cups)
- 2 ounces low moisture mozzarella or American cheese, grated (about 0.75 cup)
- 1 pinch flaky salt (optional)
Instructions
- Grate the cheeses and let the butter come to room temperature so it spreads easily.
- Spread butter (or a thin layer of mayo) on the outer faces of all four bread slices.
- Pile the grated cheese onto two slices and top with the remaining slices, buttered side out.
- Cook in a skillet over medium low heat, pressing gently, until the bottom is deep golden, about 3 to 4 minutes.
- Flip carefully and cook the second side until golden and the cheese is fully melted, then rest and slice.
Notes
- Freshly grated cheese melts far more smoothly than pre shredded, which is coated to prevent clumping.
- Medium low heat is the secret; too hot and the bread burns before the cheese melts.
- A mix of a flavorful cheese and a great melting cheese gives the best taste and the best stretch.