
Moist Chocolate Cupcakes
 By Janet Homme · Updated February 12, 2026
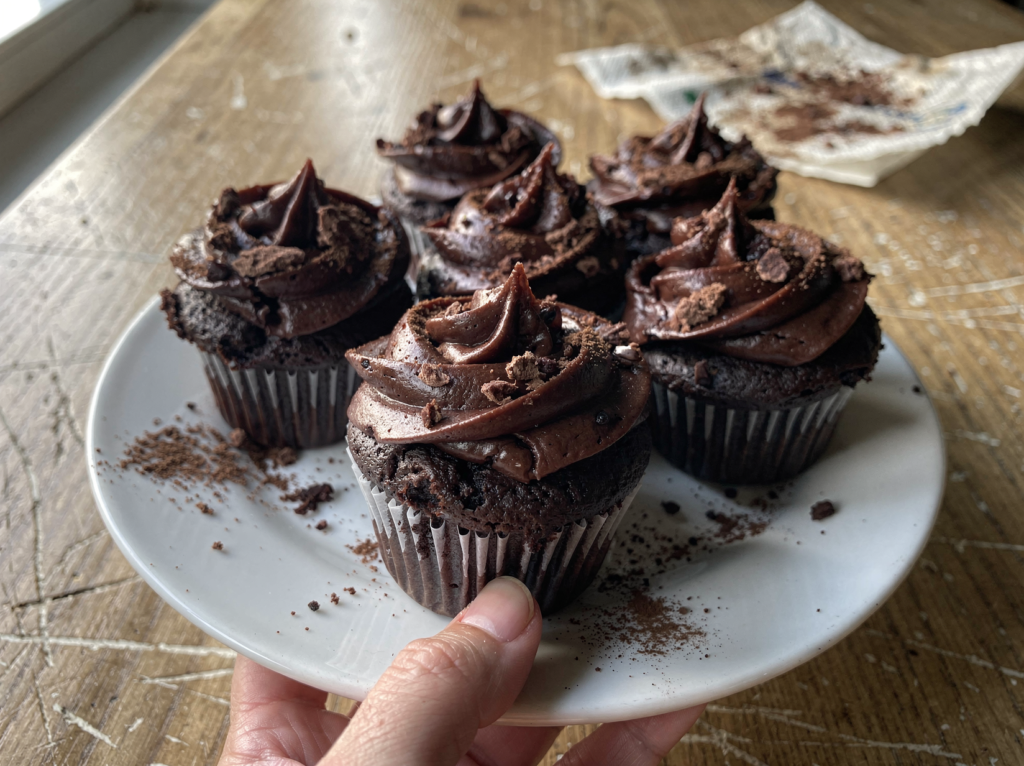
Everyone needs one chocolate cupcake recipe they can trust, and this is mine. They are intensely chocolatey, almost shockingly moist, and they come together in a single bowl with a whisk, no mixer required for the cake itself. Topped with a silky chocolate buttercream, they taste like the best version of a bakery cupcake but cost a fraction of the price.
The secret to the deep flavor is a half cup of hot coffee stirred into the batter at the end. It blooms the cocoa powder and amplifies the chocolate without making the cupcakes taste like coffee at all. If you have ever wondered why bakery cupcakes taste so much more chocolatey than yours, this is often why.
These also lean on oil and buttermilk rather than creamed butter, which is what keeps the crumb so tender and moist for days. The batter comes out surprisingly thin, and that is exactly right; a thin batter bakes into a soft, level topped cupcake that is perfect for frosting. Do not be tempted to thicken it.
I have made these for school bake sales, office parties, and quiet nights at home, and they have never let me down. The method is forgiving enough for a beginner yet produces a cupcake that holds its own against any bakery counter. The only tool you truly need beyond bowls is a whisk, though a mixer makes the frosting quicker.
Below I walk through the whole process, from blooming the cocoa to whipping a buttercream that pipes into clean swirls. Whether you are baking for a birthday or just a Tuesday, these come together quickly and deliver every time.
The recipe makes exactly one dozen cupcakes, which is perfect for a small gathering and easy to double for a crowd. They keep well for days thanks to the oil in the batter, and they take to almost any decoration you like, from a simple swirl to a shower of sprinkles.
Why you will love this
- Hot coffee: Brewed coffee blooms the cocoa and deepens the chocolate flavor without any coffee taste coming through in the finished cupcake.
- Oil and buttermilk: Together they keep the crumb exceptionally tender and moist for several days, far longer than a butter cake stays fresh.
- Cocoa powder: Using cocoa rather than melted chocolate gives a clean, intense chocolate flavor and reliable texture with no fuss.
- Thin batter: A loose batter bakes into a soft, even cupcake with a flat top that is ideal for piping a generous swirl of frosting.
- Silky buttercream: Cocoa and a splash of cream give a smooth, pipeable frosting that is rich but never gritty or overly sweet.
What you will need
These rely on pantry staples, with a couple of choices that lift them above a boxed mix. Use a good unsweetened cocoa for both cake and frosting, and brew a small amount of coffee even if you do not drink it.
- Unsweetened cocoa powder: This carries the whole flavor, so use a brand you like; natural or Dutch process both work here, with Dutch giving a darker color.
- Hot brewed coffee (0.5 cup): It blooms the cocoa for deeper flavor and will not make the cupcakes taste of coffee, just more intensely chocolatey.
- Buttermilk (0.5 cup): Its acidity tenderizes the crumb and reacts with the baking soda for a soft, even rise; a homemade substitute works in a pinch.
- Neutral oil (0.33 cup): Oil keeps the cupcakes moist far longer than butter would in the cake itself, which is the secret to bakery style tenderness.
- Unsalted butter (0.75 cup): Softened butter whips into a light, silky buttercream; bring it fully to room temperature for the smoothest result.
- Heavy cream (3 tablespoons): A splash loosens the frosting to a smooth, pipeable consistency without thinning the rich chocolate flavor.
Equipment: You will need a 12 cup muffin pan, paper liners, two mixing bowls, a whisk, a hand or stand mixer for the frosting, and a piping bag if you want swirled tops.
How to make it, step by step
Step 1: Prep the pan and oven
Heat the oven to 350F and line a standard 12 cup muffin pan with paper liners. A fully preheated oven helps the cupcakes rise evenly and set with a tender, level top.
Set the lined pan near your workspace so you can fill it quickly once the batter is mixed. Have a measuring scoop ready for portioning.
If you only have a dark metal pan, keep an eye on the cupcakes toward the end, as dark pans bake a touch faster. Light colored pans give the most even, gentle baking for a tender crumb.
Step 2: Whisk the dry ingredients
In a large bowl, whisk together the flour, cocoa powder, sugar, baking soda, baking powder, and salt. Break up any cocoa lumps as you go so the batter mixes smoothly later.
Whisking thoroughly now distributes the leaveners and cocoa evenly, which means every cupcake bakes up with the same rise and color.
Cocoa powder is prone to stubborn lumps, so if yours looks clumpy, sift it before adding. A few seconds of extra attention here saves you from beating the batter too hard later to break up the lumps. Smoothing out the dry mix now means a quick, gentle stir is all you will need once the wet ingredients go in, which protects the tender crumb.
Step 3: Add the wet ingredients
Add the egg, buttermilk, oil, and vanilla to the dry ingredients. Whisk just until the batter is smooth and no dry streaks remain, scraping the bottom of the bowl to catch any hidden pockets of flour.
The batter will be thick at this stage, which is normal before the coffee goes in. Avoid overmixing, which can make the crumb tough.
Room temperature buttermilk and egg blend in far more smoothly than cold ones and help the batter come together evenly. If yours are cold, let them sit out for fifteen minutes or warm the buttermilk briefly.
Step 4: Stir in the hot coffee
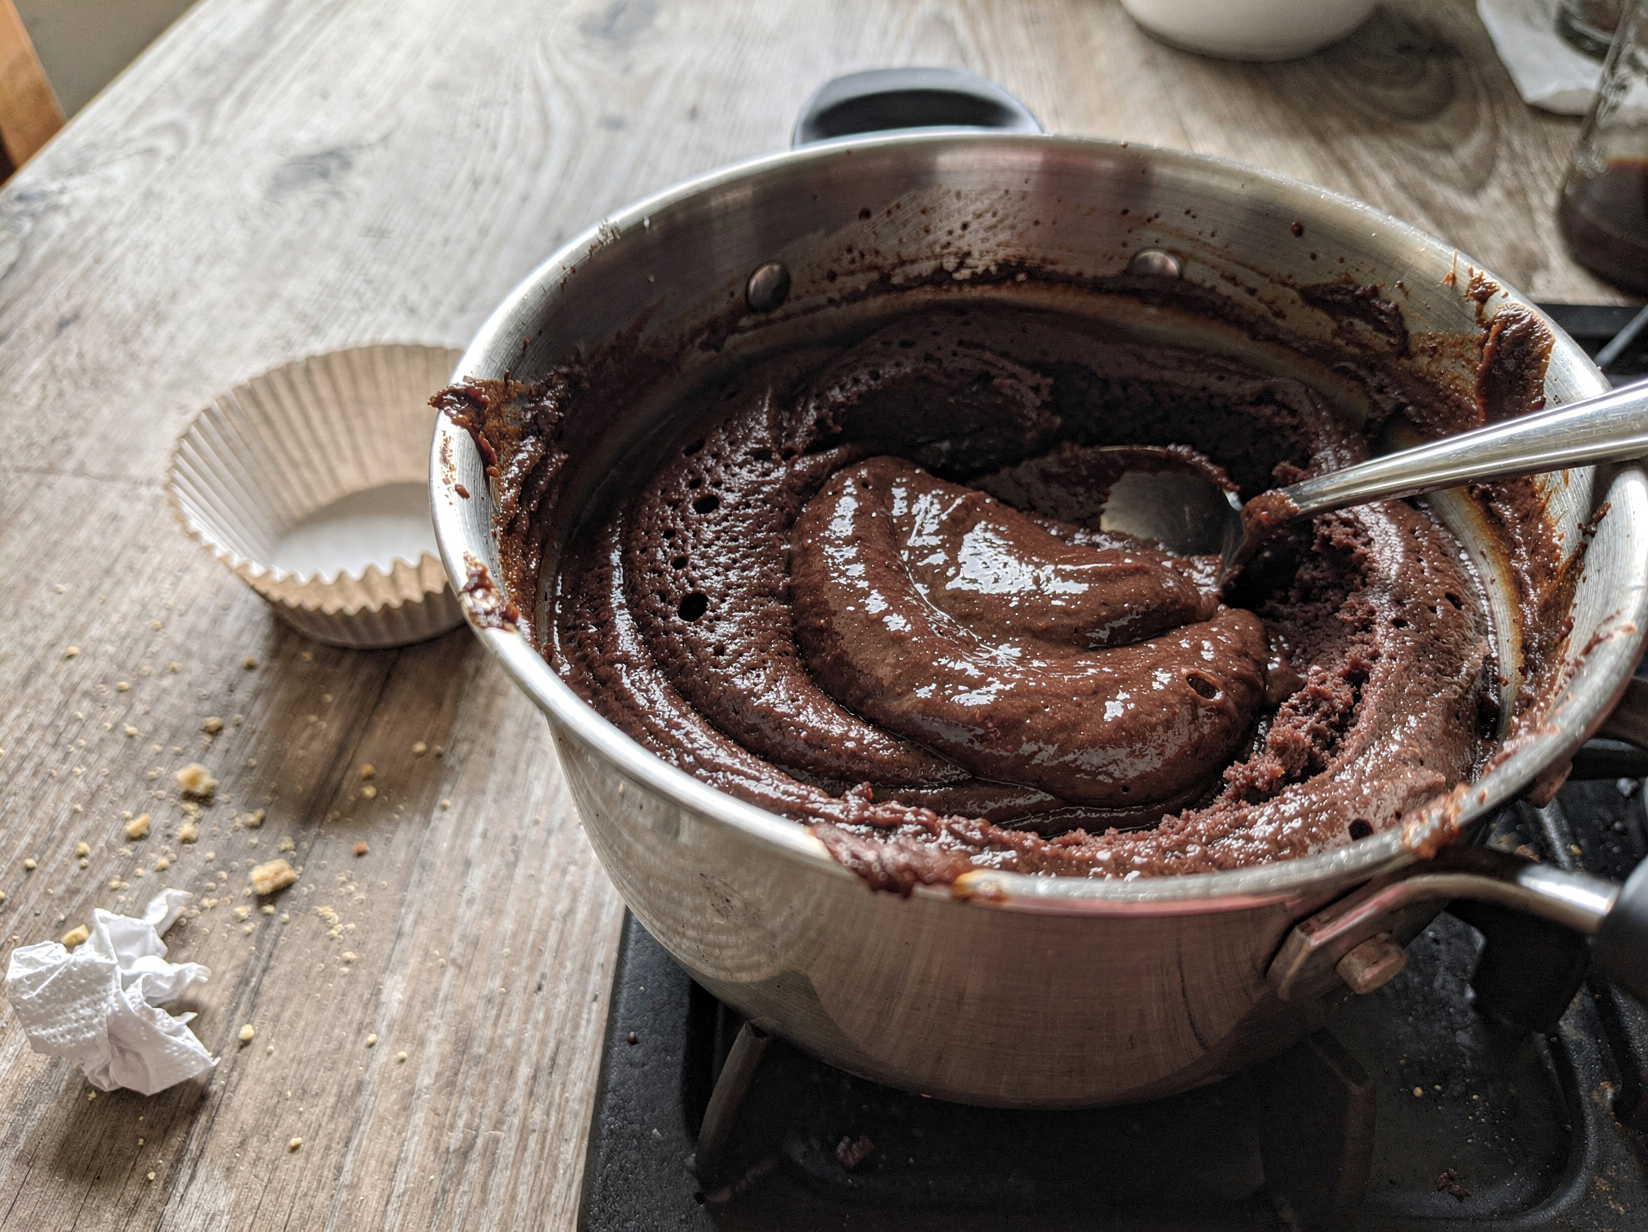
Pour in the hot brewed coffee and whisk gently until the batter is smooth and glossy. It will become quite thin, almost pourable, and that loose consistency is exactly what gives these cupcakes their moist, tender crumb.
Do not add extra flour to thicken it. Trust the thin batter; it bakes up into a soft, level topped cupcake every time.
If you would rather not use coffee at all, swap in the same amount of hot water and the cupcakes will still be moist and chocolatey, just slightly less deep in flavor. Either way the liquid must be hot to properly bloom the cocoa.
Step 5: Fill the liners
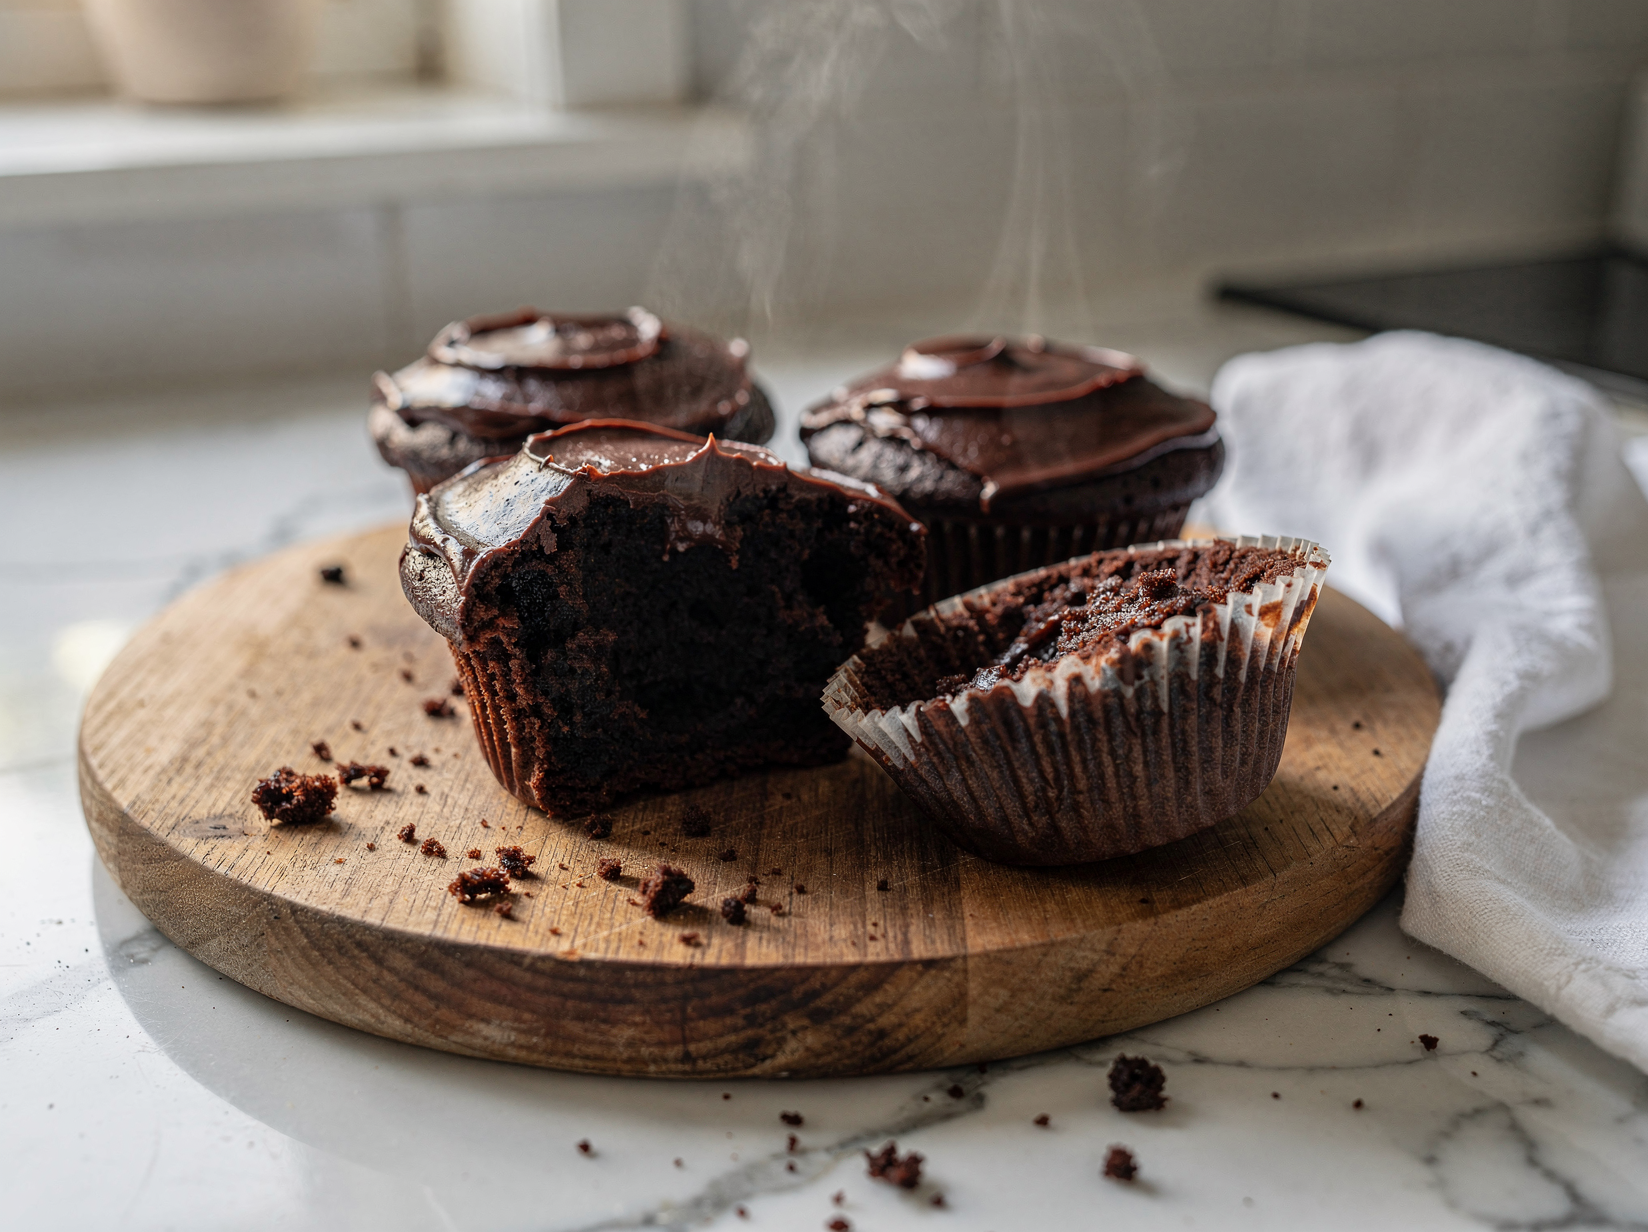
Divide the batter among the 12 liners, filling each about two thirds full. A spouted measuring cup or a scoop makes this neat and even, which gives uniform cupcakes that bake at the same rate.
Resist overfilling; the batter rises as it bakes, and too much will overflow and bake into flat, spreading tops rather than neat domes.
If you have a little batter left over after filling all twelve, it is better to leave the liners at two thirds than to top them off. Any extra can be baked in a small ramekin as a snack for the baker.
Step 6: Bake the cupcakes
Bake for 16 to 19 minutes, until the tops spring back when lightly pressed and a tester inserted in the center comes out with only a few moist crumbs. The cupcakes will rise to a gentle dome and smell richly of chocolate.
Rotate the pan halfway through for even baking. Avoid opening the oven during the first twelve minutes, which can cause the delicate centers to sink.
Overbaking dries them out, so start checking at the 16 minute mark and trust the tester over the clock. Because oven temperatures vary, your first batch tells you whether to adjust the time up or down next time.
Step 7: Cool completely
Let the cupcakes cool in the pan for 5 minutes, then transfer them to a wire rack to cool completely. Moving them out of the hot pan stops them from steaming and turning damp on the bottoms.
They must be fully cool before frosting, since any residual heat will melt the buttercream into a slippery mess. If you are in a hurry, a short stint in the fridge speeds this along.
Touch the bottom of a cupcake to check; if it feels even slightly warm, give it more time. Frosting warm cupcakes is the single most common mistake, and it ruins an otherwise perfect batch. A fully cooled cupcake also has a set crumb that will not tear when you spread or pipe the buttercream, so patience here truly pays off in the finished look.
Step 8: Make the buttercream and frost
Beat the softened butter until creamy, then add the cocoa powder and beat until smooth. Add the sifted powdered sugar a cup at a time, then the cream, vanilla, and salt, and beat on medium high until light and fluffy, about three minutes.
If the frosting is too thick, add a teaspoon more cream; if too soft, add a little more powdered sugar. It should hold a soft peak and look silky and spreadable rather than stiff or runny.
Beating the finished frosting on low for a final minute presses out air bubbles for an extra smooth, professional finish. Taste and adjust the salt, since a pinch more sharpens the chocolate and balances the sweetness beautifully.
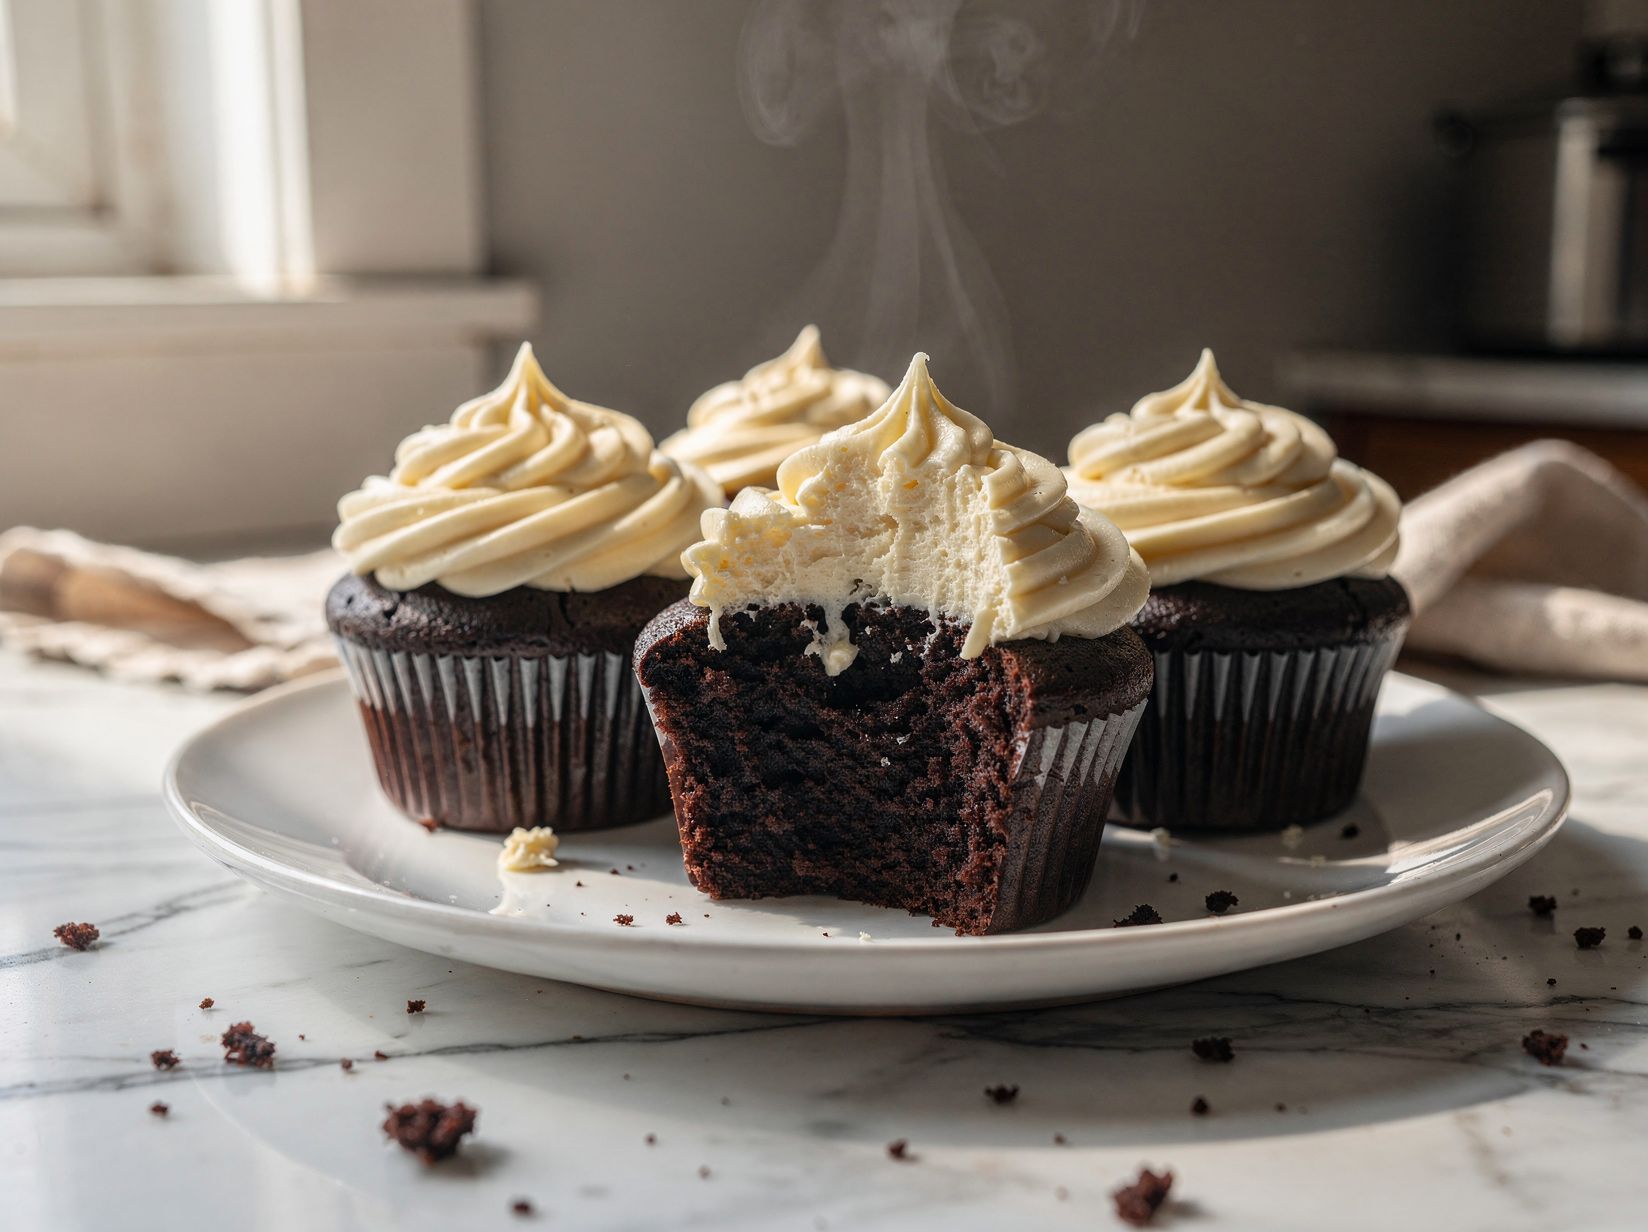
Pipe the buttercream into swirls or spread it on with an offset spatula, then add sprinkles or chocolate shavings if you like. For a clean bakery swirl, use a large star tip and pipe in a spiral from the outside edge inward, finishing with a quick upward flick. If you do not own a piping bag, a simple swoop with the back of a spoon makes a charming, rustic top that tastes every bit as good.
Tips for the best results
- Use hot coffee: It blooms the cocoa for the deepest chocolate flavor and will not taste like coffee in the finished cupcake.
- Do not overfill: Two thirds full gives a neat dome; more than that overflows and bakes flat.
- Cool before frosting: Warm cupcakes will melt the buttercream, so wait until they are completely cool.
- Sift the powdered sugar: Sifting keeps the buttercream perfectly smooth and free of lumps.
- Bring butter to room temperature: Properly softened butter whips into a light, silky frosting that pipes cleanly.
Variations and substitutions
- Add a filling: Core the cooled cupcakes and pipe in salted caramel, ganache, or raspberry jam.
- Make it mocha: Increase the coffee flavor by adding a teaspoon of espresso powder to the batter.
- Top with ganache: Dip the cooled cupcakes in a simple chocolate ganache for a glossy finish.
- Go double chocolate: Fold half a cup of mini chocolate chips into the batter before filling the liners.
How to store and reheat
Store frosted cupcakes in an airtight container at room temperature for up to 3 days, or refrigerate for up to 5; the oil keeps the crumb moist throughout. Let refrigerated cupcakes sit out for 20 minutes before serving so the frosting softens.
To freeze, store the unfrosted cupcakes in a freezer bag for up to 3 months. Thaw at room temperature, then frost fresh; you can also freeze the buttercream separately and re whip it after thawing.
What to serve it with
- Top with rainbow sprinkles for a birthday spread
- Add fresh raspberries or strawberries alongside
- Dust with cocoa or finish with chocolate curls
- Serve with a tall glass of cold milk
Frequently asked questions
No. The half cup of hot coffee blooms the cocoa and intensifies the chocolate flavor, but the coffee itself fades into the background. If you are sensitive to it, you can use hot water instead, though the chocolate flavor will be a touch less deep.
That is exactly how it should be. The loose, almost pourable batter is what gives these cupcakes their signature moist, tender crumb. Do not add extra flour to thicken it, or the cupcakes will turn out dry and dense.
Yes. Make a quick substitute by stirring half a tablespoon of lemon juice or white vinegar into a half cup of milk and letting it sit for five minutes. The acidity is what tenderizes the crumb and activates the baking soda.
Yes. This batter works well baked in an 8 inch round pan for about 30 to 35 minutes, though the yield is for one thin layer. For a layer cake, double the recipe and divide between two pans.
Fit a piping bag with a large star or round tip, fill it with the buttercream, and pipe in a spiral from the outside in. Make sure the cupcakes are fully cooled and the frosting holds a soft peak so the swirl keeps its shape.
Moist Chocolate Cupcakes
Deeply chocolatey, ultra moist cupcakes made with cocoa and hot coffee, topped with silky chocolate buttercream.
Ingredients
- 1 cup (125g) all purpose flour
- 0.5 cup (50g) unsweetened cocoa powder
- 1 cup (200g) granulated sugar
- 0.75 teaspoon baking soda
- 0.5 teaspoon baking powder
- 0.5 teaspoon fine salt
- 1 large egg, room temperature
- 0.5 cup (120ml) buttermilk, room temperature
- 0.33 cup (80ml) neutral oil
- 1.5 teaspoons pure vanilla extract
- 0.5 cup (120ml) hot brewed coffee
- 0.75 cup (170g) unsalted butter, softened
- 0.5 cup (50g) unsweetened cocoa powder for frosting
- 3 cups (360g) powdered sugar, sifted
- 3 tablespoons heavy cream
- 1 teaspoon pure vanilla extract for frosting
- 0.25 teaspoon fine salt for frosting
Instructions
- Heat oven to 350F and line a muffin pan with 12 liners.
- Whisk flour, cocoa, sugar, baking soda, baking powder, and salt.
- Whisk in the egg, buttermilk, oil, and vanilla until smooth.
- Stir in the hot coffee; the batter will be thin.
- Fill liners two thirds full and bake 16 to 19 minutes until they spring back.
- Cool completely, then beat butter, cocoa, powdered sugar, cream, vanilla, and salt.
- Pipe or spread the buttercream over the cooled cupcakes.
Notes
- The hot coffee blooms the cocoa for deeper flavor and does not make them taste like coffee.
- The batter is meant to be thin, so do not add extra flour.
- Cool the cupcakes completely before frosting or the buttercream will melt.