
Crispy Jalapeno Poppers
 By Marcus Bell · Updated January 18, 2026
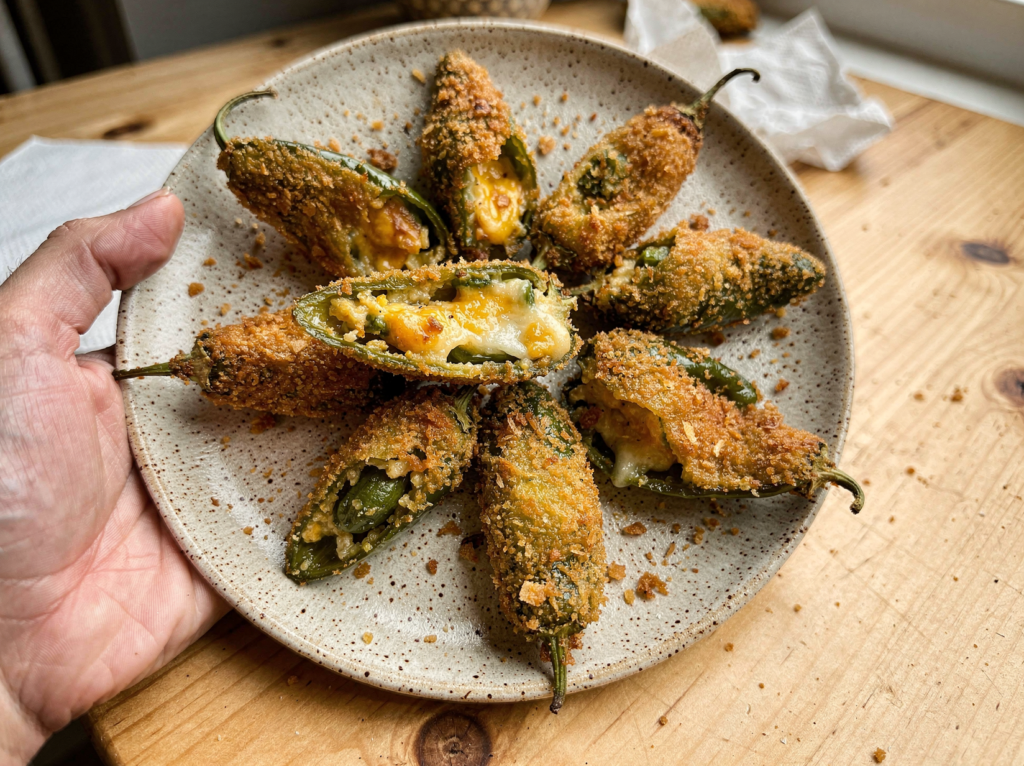
There is a reason jalapeno poppers disappear from the appetizer table before almost anything else. They hit every note at once, with a creamy cool center, a gentle slow building heat, and a crunchy golden top that shatters when you bite in. This version skips the deep fryer entirely and bakes the poppers on a single sheet pan, which means less mess and a finish that stays crisp. The contrast between the molten cheese inside and the crackly crust on top is what keeps people coming back for a third and a fourth.
I have made these for tailgates, holiday spreads, and quiet weeknights when I just wanted something a little indulgent. Every single time the plate comes back empty, and someone asks for the recipe before they leave. The filling is rich without being heavy, and the bacon and smoked paprika give it a savory depth that store bought versions never quite reach. Once you taste the difference real ingredients make, the frozen box at the grocery store loses all of its appeal.
The technique here is genuinely simple, but a few small choices make a real difference. Grating your own cheese, crisping real bacon, and toasting a buttered panko topping are the steps that take these from good to crave worthy. None of it is hard, and most of it can be done ahead, which is exactly why these are my default when I am hosting and short on time. The peppers can be stuffed the night before and topped and baked at the last minute.
Heat is the other thing people worry about, and this recipe gives you full control over it. Removing the seeds and ribs tames the burn so that the flavor of the pepper leads and the warmth follows gently behind it. If you want more fire you can leave some seeds in, and if you are feeding a spice shy crowd you can soak the peppers first. Either way, the creamy filling acts as a built in cooling agent.
Below you will find everything you need, from how to seed the peppers safely to how to get that crackly top without frying. I will walk you through each step with the sensory cues that tell you when something is right. By the end you will have two dozen poppers that look like they came from a restaurant kitchen and taste even better.
Why you will love this
- Baked not fried: You get a shatteringly crisp top without a pot of hot oil, so cleanup is a single sheet pan and the kitchen stays cool.
- Real bacon and sharp cheddar: Crisping actual bacon and grating block cheese gives the filling a savory pull that pre shredded bags and bacon bits cannot match.
- Buttered panko topping: Tossing panko with melted butter and Parmesan toasts it into a golden crust that stays crunchy long after the poppers leave the oven.
- Make ahead friendly: You can stuff and top the peppers a day in advance, then bake them fresh right before guests arrive.
- Crowd pleasing heat: Removing the seeds and ribs tames the burn so the flavor leads and the spice follows gently, which keeps almost everyone reaching for more.
What you will need
This is a short ingredient list, and the quality of just a few items decides how good your poppers turn out. Here is what to look for and why each one earns its place.
- Jalapenos (12 medium): Choose firm, glossy peppers about three inches long with smooth skin, since older wrinkled peppers turn bitter and tend to be hotter.
- Cream cheese (8 ounces): Use full fat brick style cream cheese and let it soften fully so it whips smooth, because cold cream cheese leaves lumps in the filling.
- Sharp cheddar (1 cup): Grate it from a block for the best melt, as pre shredded cheese is coated with starch that mutes the flavor and the gooey texture.
- Bacon (4 strips): Thick cut bacon cooked until crisp adds smoky crunch, so crumble it small enough to tuck evenly into every popper.
- Panko breadcrumbs (3/4 cup): Panko stays crunchier than regular breadcrumbs thanks to its larger flakes, which is exactly what you want pressed on top.
- Smoked paprika (1 teaspoon): This brings a warm smokiness that echoes the bacon, so reach for smoked rather than sweet paprika here.
Equipment: You will need a sharp paring knife, a small spoon or melon baller for scraping seeds, a medium mixing bowl, and a parchment lined rimmed sheet pan.
How to make it, step by step
Step 1: Prep the oven and peppers
Position a rack in the center of the oven and heat it to 400 F. Line a rimmed sheet pan with parchment paper so the cheese does not stick and cleanup stays easy.
Pull on a pair of food safe gloves before you touch the jalapenos. The capsaicin in the seeds and ribs clings to your skin and can sting your eyes for hours, so this small step is worth it. If you do not own gloves, work carefully and wash your hands thoroughly with soap and a little oil afterward, since oil dissolves capsaicin better than water alone.
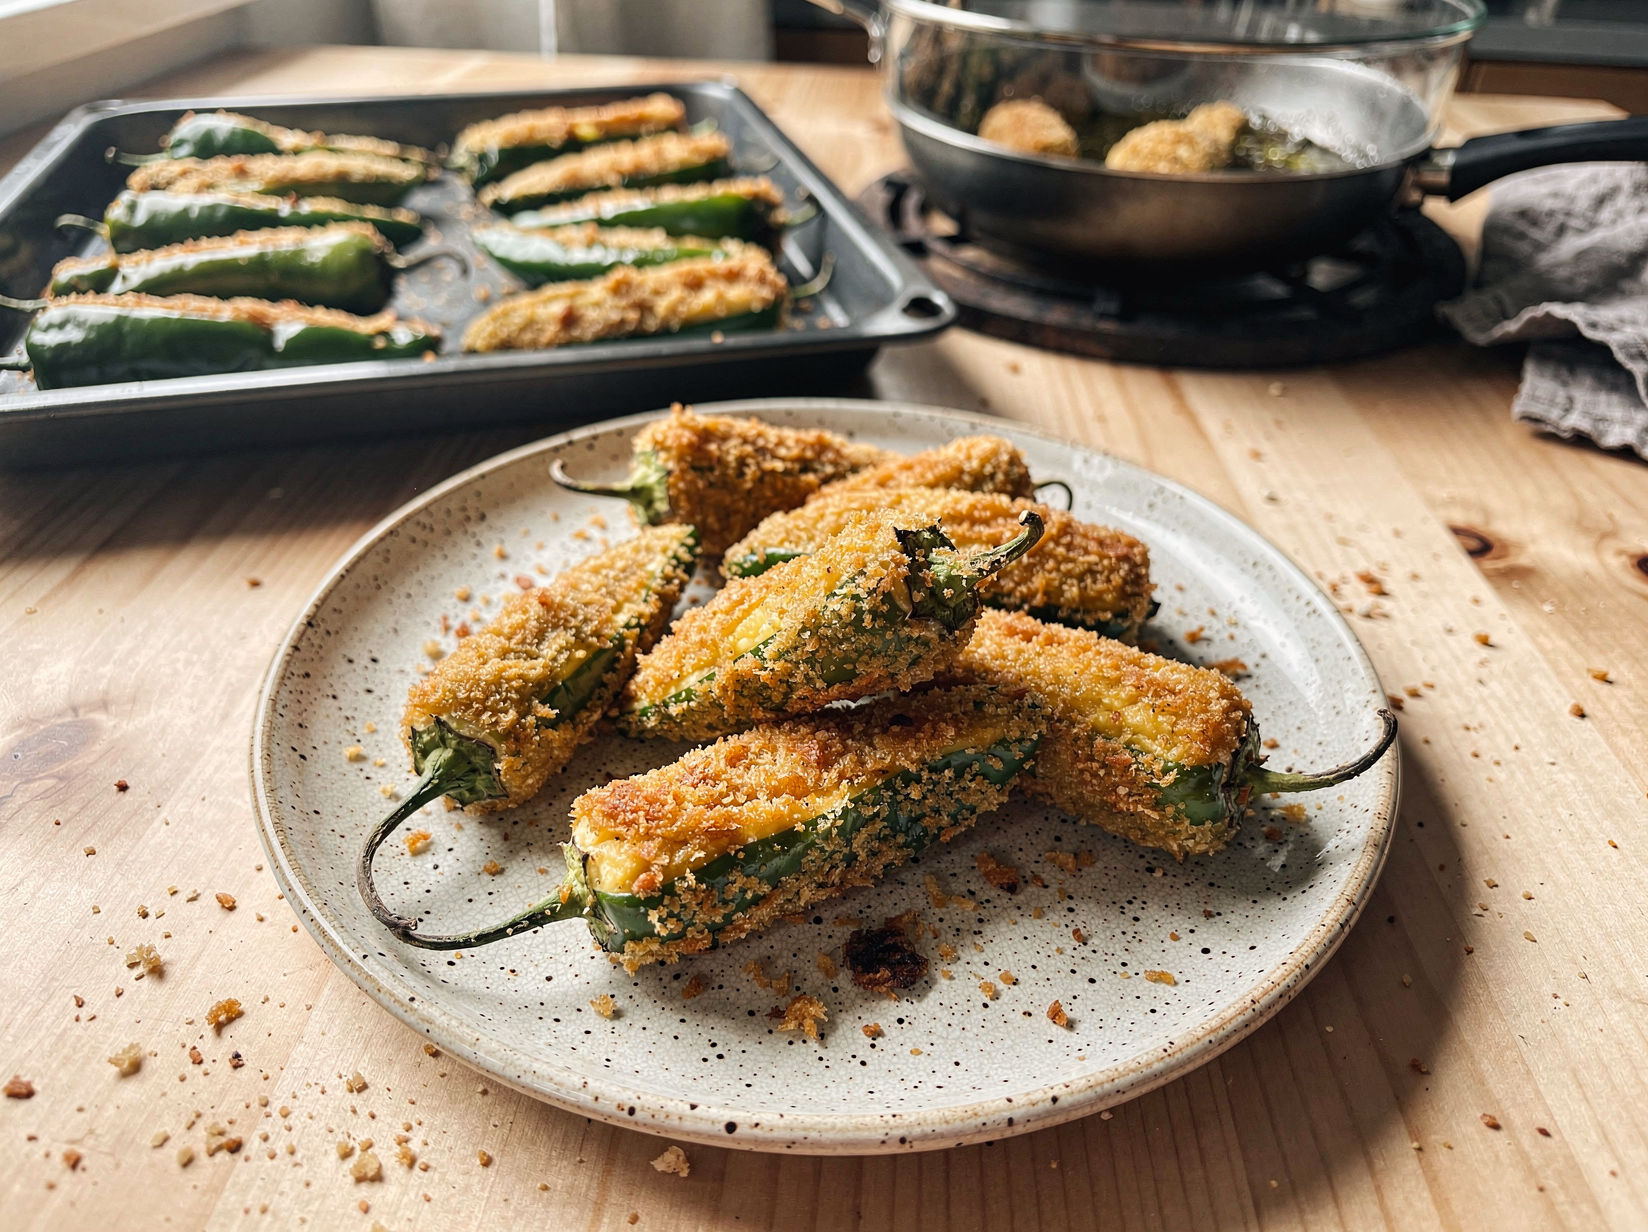
Rinse and dry each pepper, then slice it cleanly in half lengthwise through the stem. Leaving a bit of the stem on each half makes the poppers easier to pick up and looks tidy on the platter. A sharp paring knife gives you the cleanest cut and the most control over each pepper.
Step 2: Seed and hollow the halves
Using a small spoon or a melon baller, scrape out all of the seeds and the pale ribs inside each half. Those ribs hold most of the heat, so removing them gives you flavor with a manageable burn.
Work over a trash bowl and resist the urge to rinse the peppers under running water, which leaves them too wet to hold the filling. A dry cavity grips the cheese and helps the topping crisp. If a pepper does get wet, simply blot the inside with a paper towel before you fill it.
Arrange the hollowed halves cut side up on the sheet pan in a single layer. Nestle them close together so they support each other and stay upright while they bake. Try to choose peppers of a similar size so they all soften at the same rate in the oven.
Take a moment to trim a tiny sliver off the bottom of any pepper that wobbles badly. A flat base keeps the filling from sliding out during baking.
Step 3: Make the cheese filling
In a medium bowl, combine the softened cream cheese, grated cheddar, crumbled bacon, sliced green onion, garlic powder, smoked paprika, and salt. Make sure the cream cheese is truly at room temperature so everything blends without fighting you.
Stir vigorously with a sturdy spatula until the mixture is uniform and creamy with bacon and onion flecked throughout. Taste a small bit and adjust the salt if it needs a lift, keeping in mind that the cheddar and bacon already bring saltiness of their own.
The filling should be thick enough to hold its shape on a spoon without slumping. If it feels stiff, let it sit a few minutes longer at room temperature rather than adding liquid, which would make it too loose to mound neatly.
For an extra smooth filling, you can beat the cream cheese on its own with a hand mixer for thirty seconds before folding in the rest. This gives the center a luxuriously creamy texture.
Step 4: Stuff the peppers
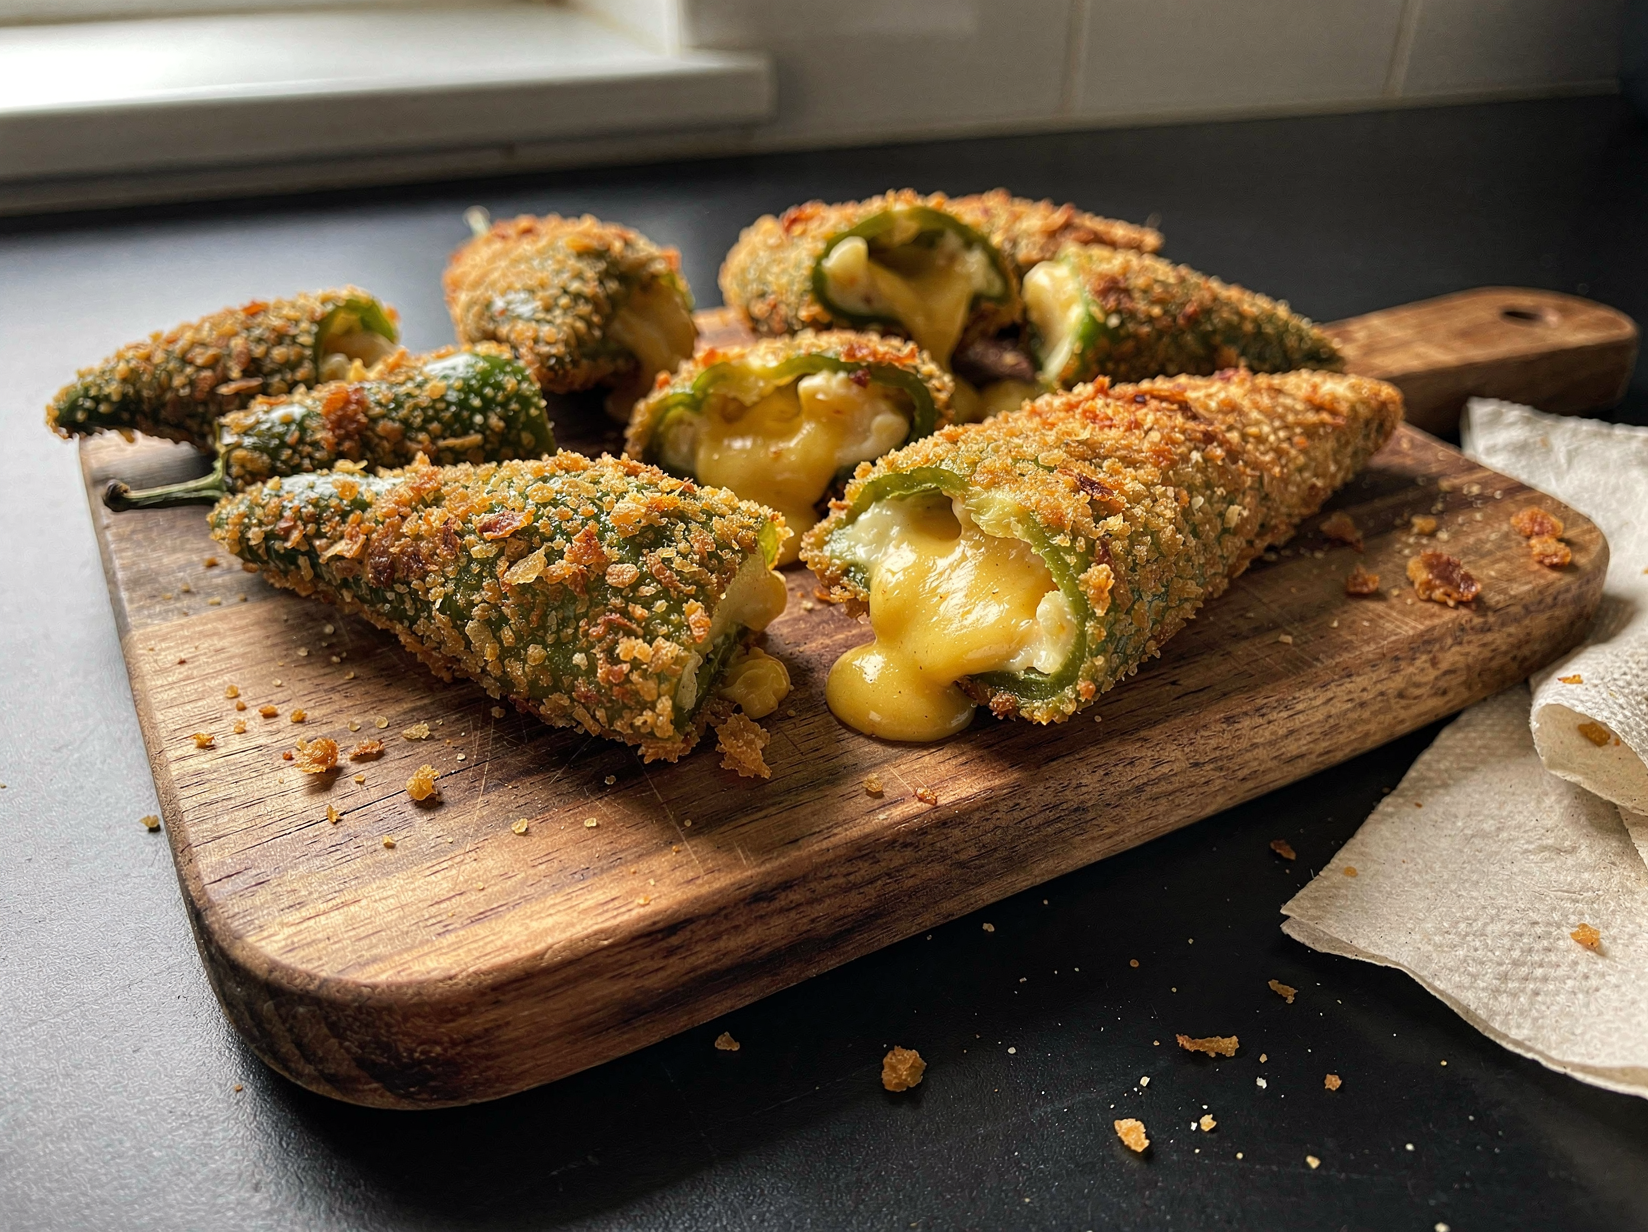
Spoon a generous mound of filling into each jalapeno half, pressing it gently into the cavity so it fills every corner. Aim for a slightly rounded top rather than packing it flat.
Use the back of the spoon to smooth the surface, which gives the panko a flat bed to stick to. Wipe any stray filling off the skin so it does not scorch on the pan.
If you are working ahead, you can stop here, cover the pan tightly, and refrigerate for up to a day before topping and baking.
Step 5: Add the crunchy topping
In a small bowl, toss the panko with the melted butter and grated Parmesan until every crumb is lightly coated and glistening. The butter is what carries the panko from pale to deep gold in the oven.
Press a spoonful of the panko mixture firmly onto the filling of each popper. Pressing matters here, because loose crumbs slide off and the ones you tamp down form a cohesive crust.
Give the whole pan a final look and tuck any escaped filling back in. The poppers are now ready for the oven.
Step 6: Bake until golden
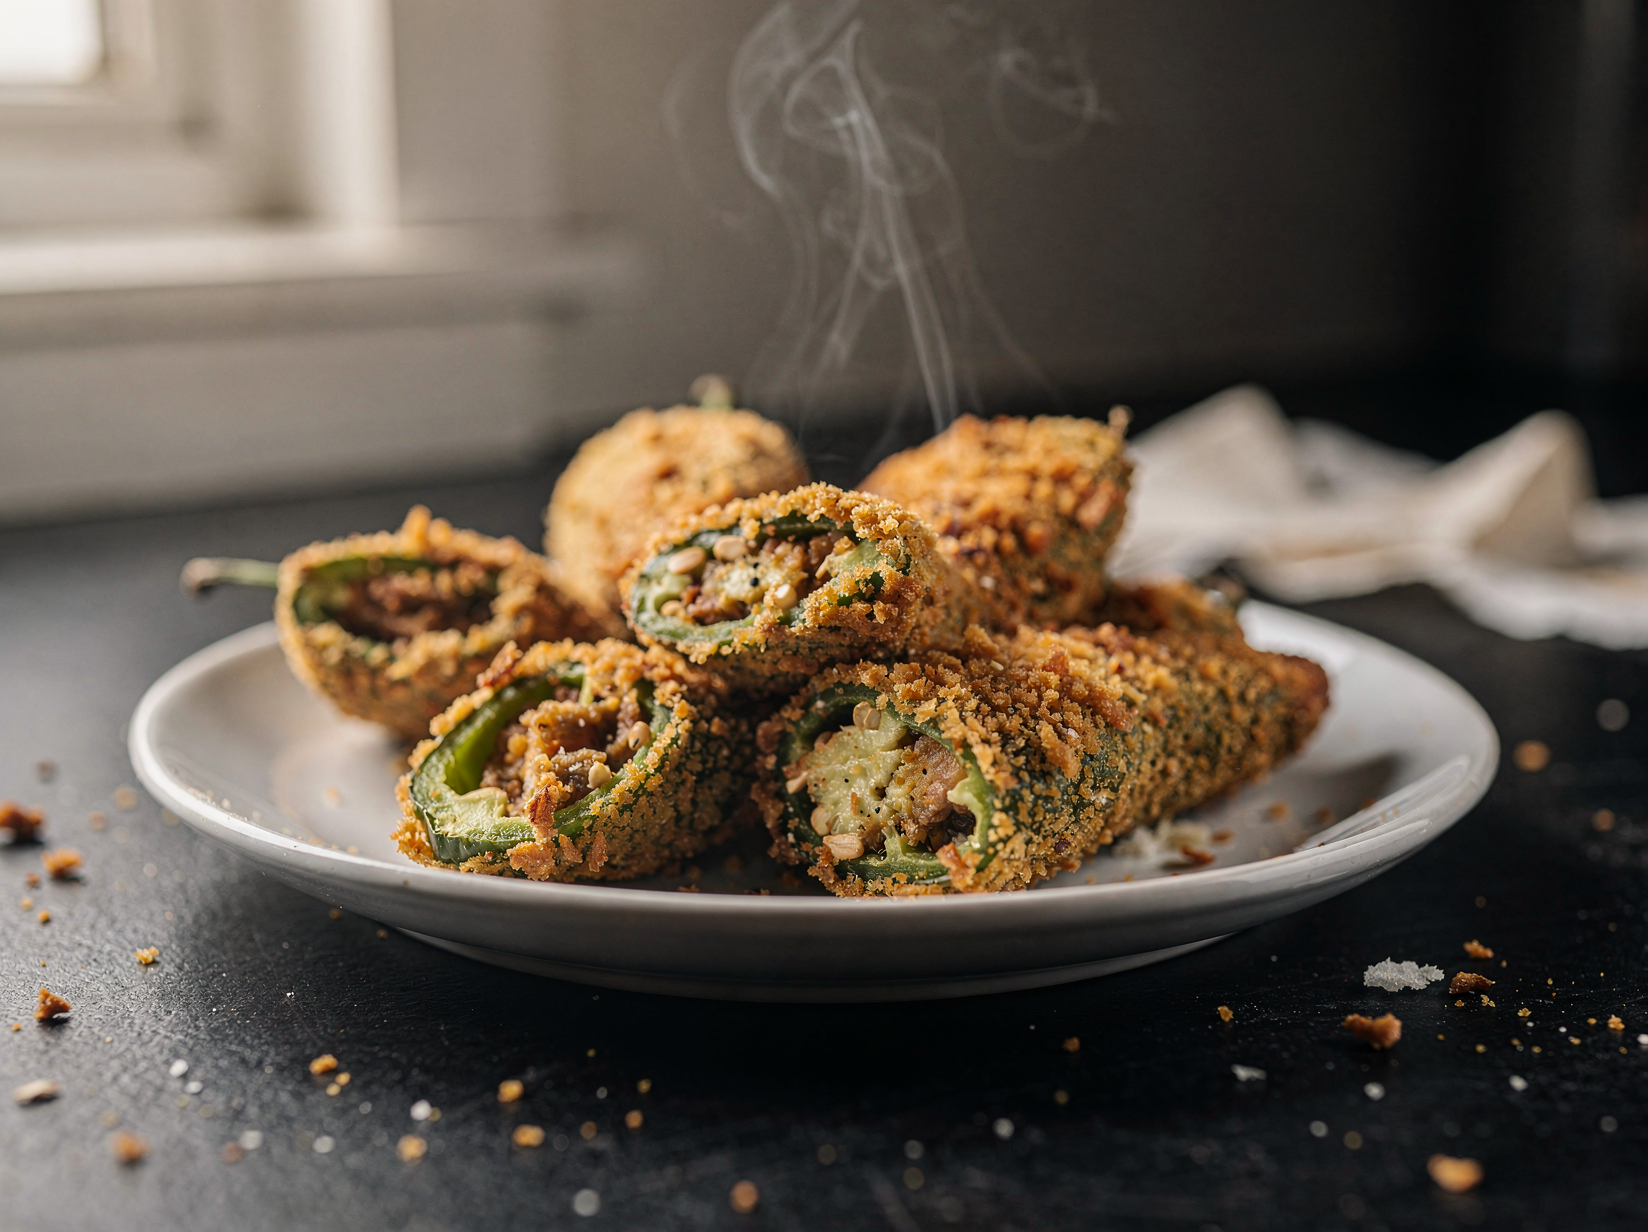
Slide the pan into the center of the oven and bake for 20 to 22 minutes. You are looking for a deeply golden topping, bubbling cheese around the edges, and peppers that have softened but still hold their shape. The filling should be hot all the way through and just starting to brown at the edges.
If your topping is browning faster than the peppers soften, that usually means your oven runs hot, so rotate the pan and tent it loosely with foil for the last few minutes. Every oven has its own personality, so the first batch teaches you how yours behaves.
For an extra crisp finish, switch the oven to broil for the final one to two minutes and watch closely. The broiler can deepen the color quickly, so do not walk away during this step.
Trust your eyes and nose over the clock. The smell of toasted Parmesan and bacon drifting from the oven is your real signal that they are close to done.
Step 7: Rest and serve
Let the poppers rest on the pan for about 5 minutes after they come out. The molten cheese needs that brief pause to set so the filling does not run out at first bite.
Transfer them to a platter with a thin spatula, sliding it under each one to keep the crust intact. Scatter a little extra green onion over the top for color if you like.
Serve them warm, which is when the contrast between the cool tasting creamy center and the hot crisp top is at its absolute best.
Tips for the best results
- Soften completely: Set the cream cheese out an hour ahead, because even slightly cold cream cheese refuses to blend smoothly and leaves your filling lumpy.
- Glove up: Always wear gloves when seeding hot peppers, since the oils linger on your fingers and will sting if you touch your eyes later.
- Press the panko: Tamp the buttered crumbs down firmly so they bond with the filling instead of sliding off as the poppers bake.
- Do not overbake: Pull the poppers as soon as the tops are golden, because peppers left too long go limp and weep liquid onto the pan.
- Bake from cold carefully: If you assembled them ahead and refrigerated, add 3 to 4 minutes to the bake time so the chilled filling heats through.
Variations and substitutions
- Buffalo style: Stir two tablespoons of hot sauce into the filling and finish the baked poppers with a drizzle of blue cheese dressing.
- Pizza poppers: Swap the cheddar for mozzarella, add a spoon of marinara to each, and top with mini pepperoni before baking.
- Vegetarian: Leave out the bacon and fold in finely diced roasted red pepper and a pinch of cumin for a smoky meat free version.
- Extra spicy: Leave a few seeds in or add a minced serrano to the filling if your crowd loves real heat.
How to store and reheat
Store leftover baked poppers in an airtight container in the refrigerator for up to three days. Keep them in a single layer if you can so the crust does not get crushed and soggy.
Reheat them in a 375 F oven or air fryer for about 8 minutes to bring back the crunch, and avoid the microwave, which turns the topping soft. You can also freeze unbaked stuffed poppers on a tray, then bake from frozen, adding about 8 extra minutes.
What to serve it with
- Pile them on a board with ranch and cool sour cream for dipping
- Serve alongside wings and celery for a classic game day spread
- Offer them as a starter before grilled steaks or burgers
- Add them to a Tex Mex appetizer platter with guacamole and salsa
Frequently asked questions
The heat lives mostly in the seeds and the white ribs, so scrape both out completely with a spoon. For even milder poppers, soak the seeded halves in ice water for about ten minutes and pat them very dry before filling.
Yes, and they are great for entertaining. Stuff the peppers and refrigerate them covered for up to a day, then add the buttered panko topping and bake fresh, adding a few extra minutes since they go in cold.
Watery filling usually comes from cream cheese that was not full fat or peppers that were rinsed and not dried. Use brick style full fat cream cheese and make sure the pepper cavities are dry before you spoon in the filling.
You can, though this recipe is built for the oven. If you fry, coat the stuffed peppers in flour, egg, then panko and fry at 350 F for about three minutes, but the baked version is far less messy and stays crisp longer.
Cool, creamy sauces balance the heat best. Ranch, blue cheese dressing, sour cream, or a chipotle lime crema all work beautifully, and a simple squeeze of lime over the top brightens everything up.
Crispy Jalapeno Poppers
Fresh jalapenos stuffed with a creamy cheese filling, wrapped in crunch, and baked until golden and bubbling.
Ingredients
- 12 medium jalapenos, about 3 inches long
- 8 ounces cream cheese, softened to room temperature
- 1 cup sharp cheddar cheese, freshly grated
- 4 strips bacon, cooked crisp and finely crumbled
- 2 green onions, thinly sliced
- 1 teaspoon garlic powder
- 1 teaspoon smoked paprika
- 1/2 teaspoon kosher salt
- 3/4 cup panko breadcrumbs
- 2 tablespoons unsalted butter, melted
- 2 tablespoons grated Parmesan cheese
Instructions
- Heat the oven to 400 F and line a sheet pan with parchment.
- Halve the jalapenos lengthwise and scrape out the seeds and ribs.
- Stir together cream cheese, cheddar, bacon, green onion, and seasonings.
- Mound the filling into each jalapeno half.
- Toss panko with melted butter and Parmesan, then press onto the filling.
- Bake 20 to 22 minutes until the topping is golden and the peppers soften.
- Cool 5 minutes before serving so the cheese sets slightly.
Notes
- Wear gloves while seeding the peppers to protect your hands from the capsaicin.
- For milder poppers, soak the seeded halves in ice water for 10 minutes before filling.