
Stuffed Bell Peppers
 By Marcus Bell · Updated June 10, 2026
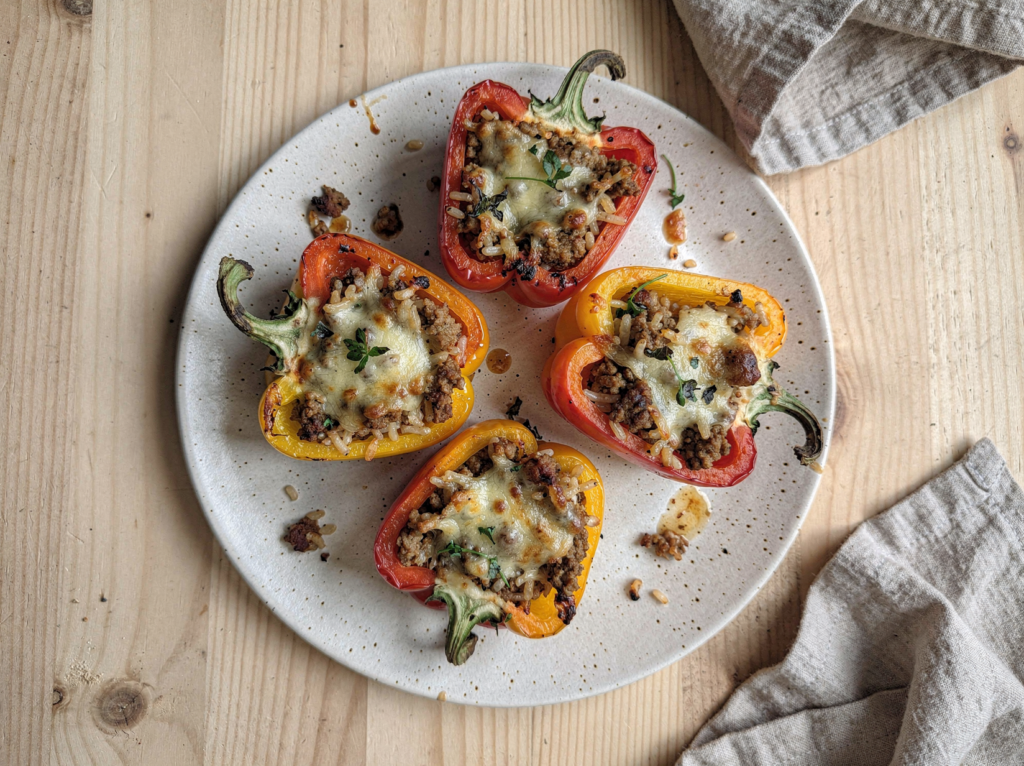
Stuffed bell peppers are one of those dinners that feels like a complete meal in a single edible package, which is exactly why they have stayed on family tables for generations. You get protein, grains, and vegetables all in one tender pepper, crowned with melted cheese and a savory tomato filling. They look impressive on the plate yet rely on humble, everyday ingredients.
The trick to peppers that are genuinely good rather than merely fine comes down to a couple of small habits. The filling should be fully cooked and well seasoned before it ever goes into the peppers, because the bake is about marrying flavors and melting cheese, not cooking raw meat. And the peppers themselves benefit from a quick parboil so they turn tender instead of staying stubbornly crunchy.
I build the filling around ground beef, rice, and tomatoes, seasoned with garlic, cumin, and oregano for warmth and depth. A splash of Worcestershire adds a savory undercurrent that makes people ask what your secret is. Folding cheese into the filling as well as on top means every forkful is rich and gooey.
Part of the beauty of this dish is how forgiving and adaptable it is. The filling is really a template, so you can lean Tex Mex with taco seasoning and black beans, go Italian with sausage and marinara, or keep it classic as written here. Whatever direction you take, the method stays exactly the same.
Below I will walk you through prepping the peppers, building a flavorful filling, stuffing them neatly, and baking them to tender, bubbling perfection. They reheat wonderfully, so do not be afraid to make a full pan. In fact, they are one of those rare dishes that many people swear taste even better the second day.
Why you will love this
- A complete meal in one: Beef, rice, and vegetables come together inside each pepper, so dinner needs little more than the peppers themselves.
- Fully cooked filling: Browning the beef and using precooked rice means the bake just melds flavors and melts cheese rather than racing to cook raw meat.
- Tender peppers every time: A quick parboil softens the peppers so they bake up tender instead of staying raw and crunchy.
- Cheese inside and out: Folding cheese into the filling as well as on top makes every bite rich and gooey, not just the surface layer.
- Make ahead friendly: They assemble in advance and reheat beautifully, which makes them a reliable choice for busy weeks.
- Endlessly adaptable: The filling is a template you can take Tex Mex, Italian, or vegetarian without changing the method at all.
What you will need
This is everyday comfort food built from pantry and fridge staples. The peppers are the star, so choose firm, glossy ones, and the filling rewards good seasoning more than anything fancy.
- Bell peppers (6 large): Pick firm, heavy peppers with flat bottoms so they stand upright in the dish. A mix of red, yellow, and orange looks beautiful and tastes sweeter than green, though green works too.
- Ground beef (1 lb): An 85/15 blend gives flavor without excess grease pooling in the filling. Ground turkey or a beef and pork mix also work well here.
- Cooked white rice (1 1/2 cups): Use leftover or freshly cooked and cooled rice so the filling is fully cooked. Starting with raw rice would leave it crunchy unless you added a lot more liquid and time.
- Diced tomatoes (14.5 oz): Drain them well so the filling holds together rather than turning soupy. Fire roasted diced tomatoes add a nice subtle smokiness if you can find them.
- Worcestershire sauce (1 tbsp): This is the quiet secret that adds savory depth and a hint of tang to the beef. It rounds out the filling and keeps it from tasting flat.
- Shredded cheese (1 1/2 cups): Mozzarella melts into gooey strands while cheddar brings sharper flavor; a blend of both is ideal. Shred it from a block for the smoothest melt.
- Onion and garlic: These aromatics build the savory base of the filling. Dice the onion finely and cook it down with the beef so it turns sweet and tender rather than staying sharp.
- Cumin and oregano: These warm spices give the filling its depth and a faint earthy note. Toasting them briefly in the pan with the beef wakes up their flavor before the tomatoes go in.
Equipment: You need a large pot for parboiling, a large skillet for the filling, a baking dish that holds the peppers upright, and foil for covering.
How to make it, step by step
Step 1: Prep the peppers
Slice the tops off each bell pepper and pull out the seeds and white membranes inside. If a pepper wobbles, trim a very thin sliver off the bottom to flatten it, taking care not to cut all the way through and create a hole.
You want each pepper to stand upright like a little cup, ready to hold the filling. Save the usable flesh from around the stems and chop it to stir into the filling so nothing goes to waste.
Some cooks halve their peppers lengthwise instead of leaving them whole, which makes for a shallower vessel that bakes a little faster. Either approach works, so go with whichever shape you prefer for serving.
Step 2: Parboil the peppers
Bring a large pot of salted water to a boil. Lower the peppers in and simmer them for about three to four minutes, just until they soften slightly and turn a shade brighter.
Lift them out with tongs and set them upside down on a towel to drain. This brief blanch is the key to tender peppers; skipping it leaves them crunchy even after a long bake.
Draining them upside down empties any water that pooled inside, which keeps the filling from going soggy later. Give them a minute to release that trapped liquid before you start stuffing.
Step 3: Brown the beef and aromatics
Heat the olive oil in a large skillet over medium high. Add the ground beef and the diced onion along with any reserved chopped pepper, breaking the meat into crumbles as it cooks.
Cook for about six to eight minutes until the beef is browned and no longer pink and the onion has softened. Add the minced garlic, oregano, and cumin and stir for one more minute until fragrant.
If there is a lot of rendered fat in the pan, spoon off the excess so the filling does not turn greasy. You want flavor, not a puddle of oil.
Toasting the cumin and oregano in the hot fat for that final minute wakes up their flavor in a way that simply mixing them in cold cannot. You should be able to smell the spices bloom as they hit the heat.
Step 4: Build the filling
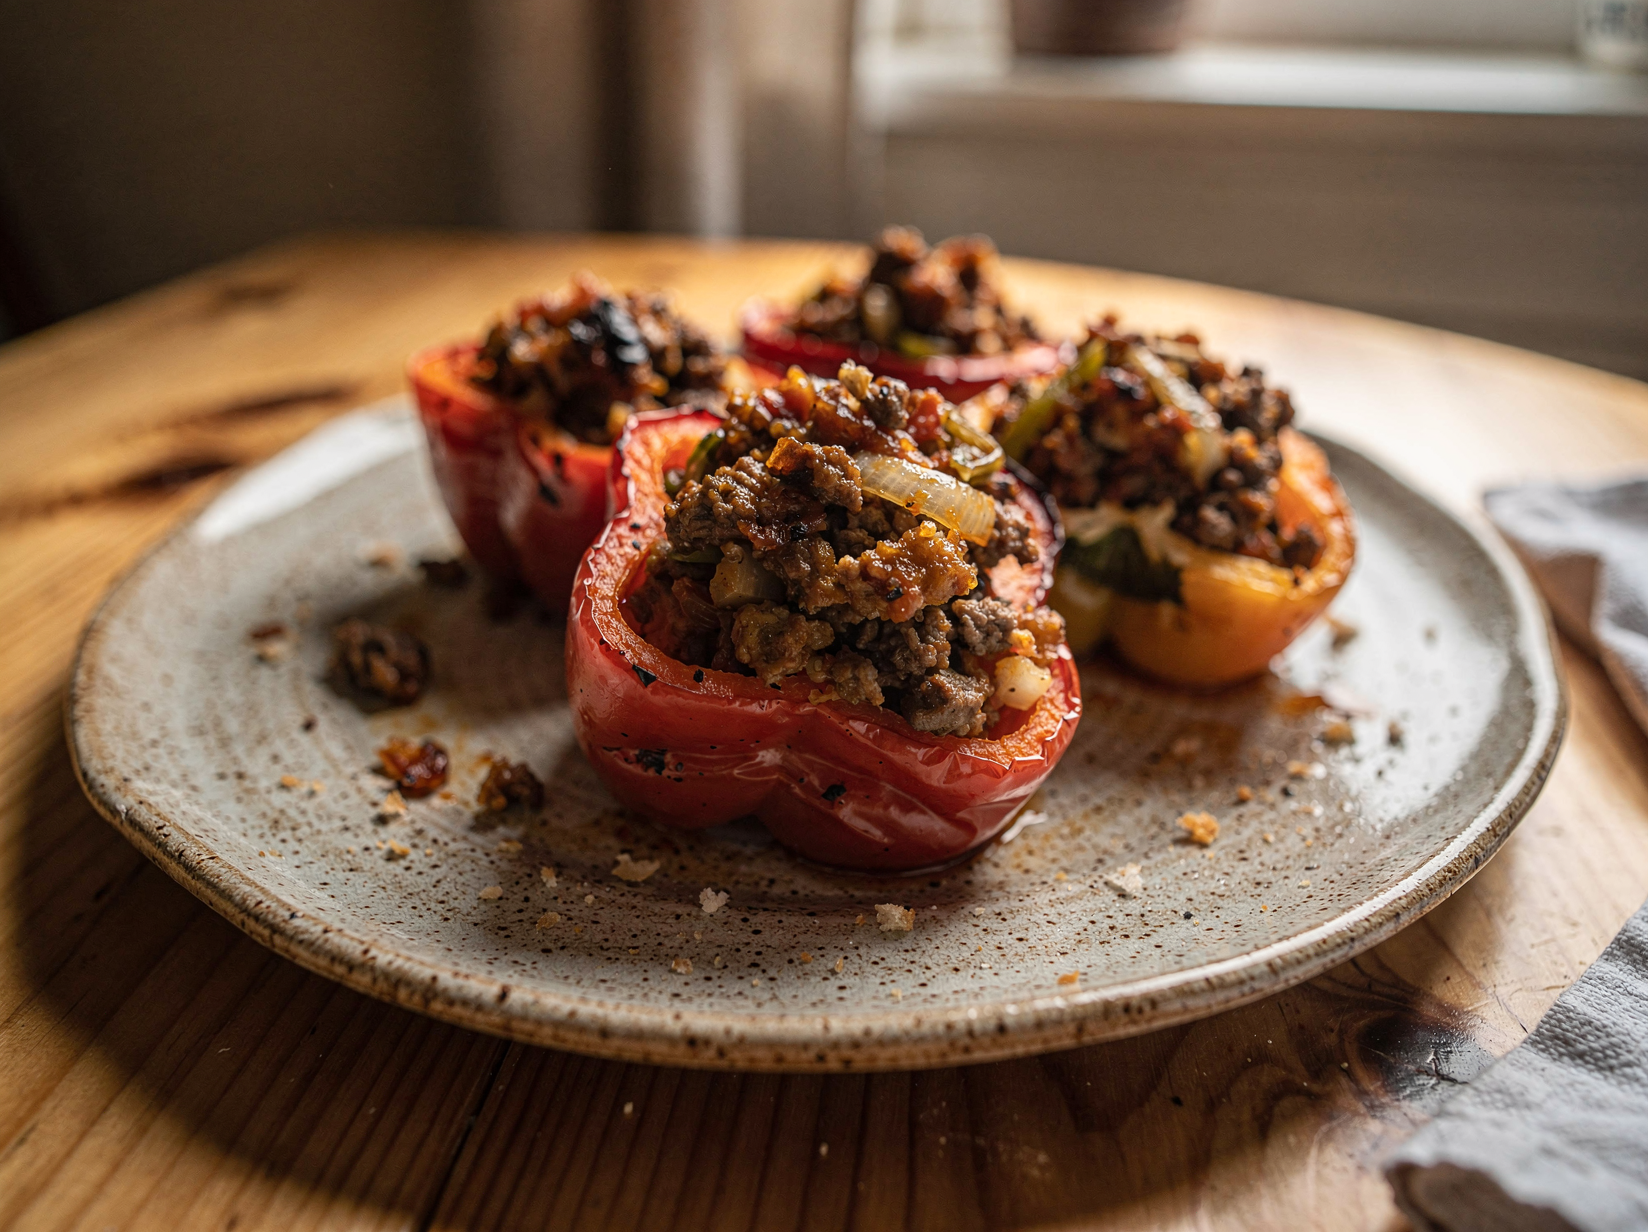
Stir the Worcestershire sauce, drained diced tomatoes, half a cup of the tomato sauce, salt, and pepper into the beef. Let it simmer together for two to three minutes so the flavors meld.
Remove the pan from the heat and fold in the cooked rice and half of the shredded cheese. The cheese will melt slightly into the warm mixture, binding it and adding richness.
Taste the filling and adjust the salt and pepper now. This is your last chance to season before it goes into the peppers, and a well seasoned filling makes all the difference.
Step 5: Stuff the peppers
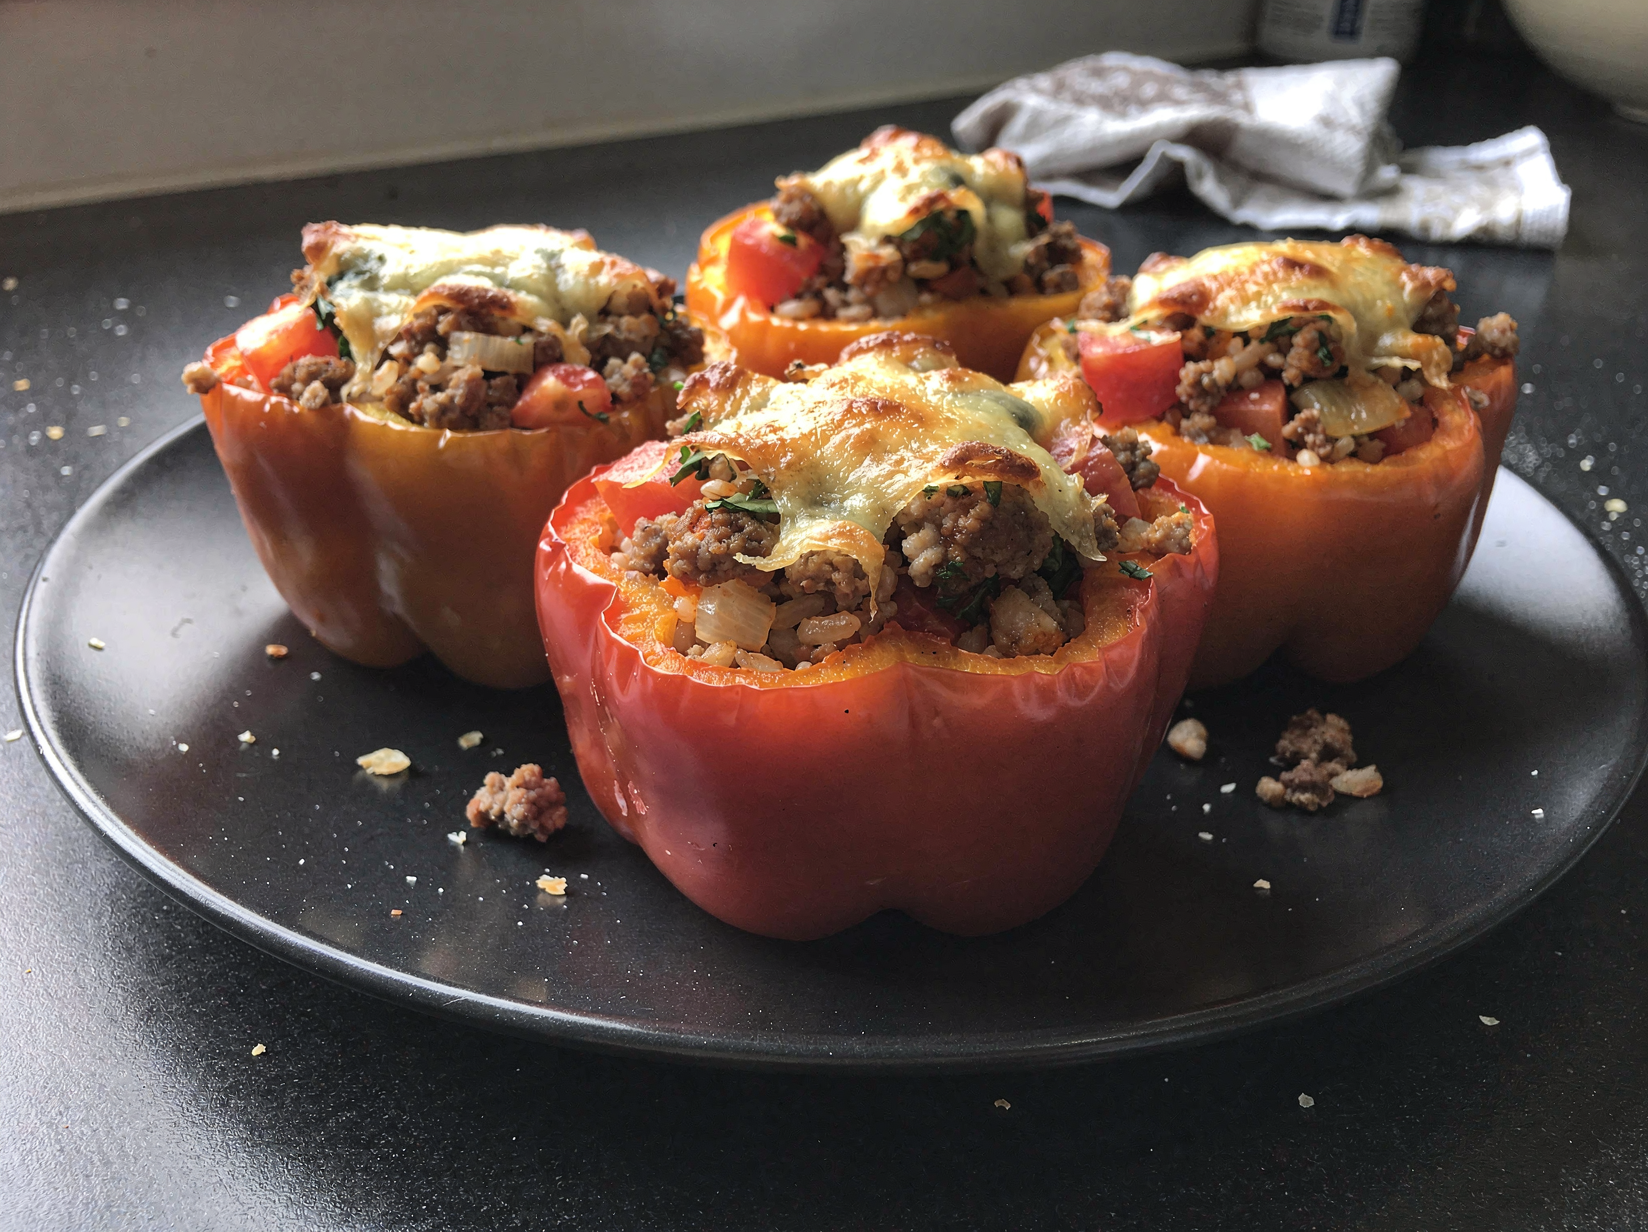
Spread a thin layer of the remaining tomato sauce across the bottom of your baking dish so the peppers do not stick and stay moist. Stand the parboiled peppers upright in the dish, nestling them together so they support one another.
Spoon the filling into each pepper, packing it gently and mounding it slightly over the top. Divide it evenly so every pepper gets a generous share.
Do not be shy about heaping the filling, since it is already cooked and will only settle slightly in the oven. A generous mound also gives you more surface for the cheese to melt over and brown.
Step 6: Top and cover
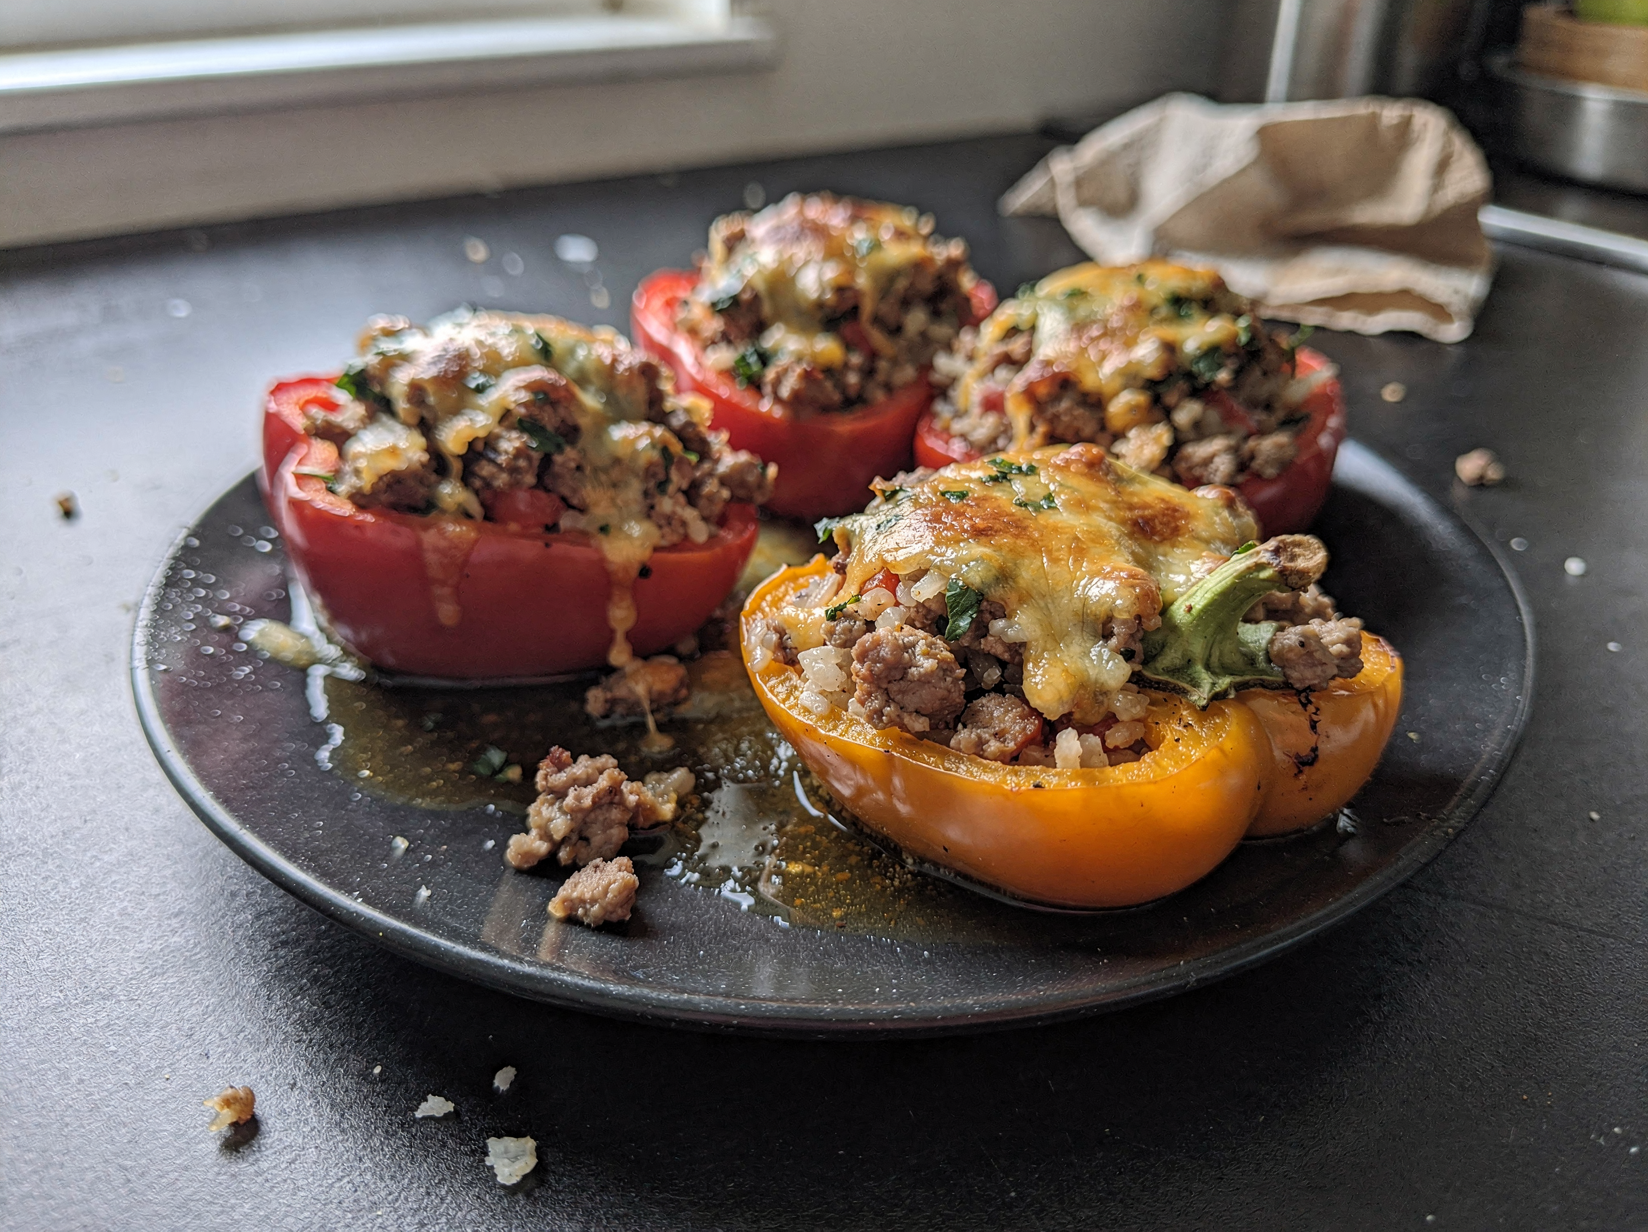
Spoon the rest of the tomato sauce over the tops of the stuffed peppers. Then sprinkle the remaining cheese generously over each one.
Cover the baking dish tightly with foil. Covering traps steam so the peppers continue to soften and the filling heats all the way through without the cheese burning.
If you are worried about the cheese sticking to the foil, tent it loosely or spray the underside with a little oil. You will remove it partway through anyway so the cheese can finish uncovered.
Step 7: Bake the peppers
Bake in an oven preheated to 375 degrees Fahrenheit for about thirty minutes covered. The peppers will steam and soften while the filling heats through.
Remove the foil and bake for another ten to fifteen minutes, until the cheese on top is fully melted, bubbling, and just starting to turn golden at the edges. The peppers should be fork tender by now.
If you want a deeper color on the cheese, run the dish under the broiler for a minute or two at the end, watching closely so it does not scorch.
Step 8: Rest and serve
Let the peppers rest in the dish for about five minutes after they come out of the oven. This brief pause lets the filling set so it does not spill out the moment you lift a pepper.
Scatter the chopped fresh parsley over the top for color and freshness. Serve each pepper with a spoonful of the saucy juices from the bottom of the dish.
A dollop of sour cream or a sprinkle of extra cheese at the table never hurts. The bright parsley and cool sour cream play nicely against the warm, savory filling for a finished plate that feels complete.
Tips for the best results
- Parboil the peppers: A few minutes in boiling water guarantees tender peppers, since the bake alone often leaves them crunchy.
- Use precooked rice: Leftover or freshly cooked rice keeps the filling fully cooked, so the bake only needs to heat and meld everything.
- Drain the tomatoes: Draining the diced tomatoes well stops the filling from turning watery and helps it hold together in the pepper.
- Pick flat bottomed peppers: Choose peppers that stand on their own so the filling stays put; trim a thin sliver off any wobbly base.
- Season the filling fully: Taste and adjust the filling before stuffing, because you cannot fix the seasoning once it is baked inside the peppers.
Variations and substitutions
- Tex Mex style: Swap the oregano for taco seasoning, use pepper jack cheese, and stir in black beans and corn.
- Italian style: Use Italian sausage in place of the beef, add marinara, and top with mozzarella and a little Parmesan.
- Vegetarian: Replace the beef with extra rice, lentils, or crumbled plant based meat and a can of black beans.
- Low carb: Substitute cauliflower rice for the white rice to cut the carbs while keeping the filling hearty.
How to store and reheat
Store leftover stuffed peppers in an airtight container in the refrigerator for up to four days. They reheat well in the microwave or a covered dish in the oven, and the flavors actually deepen overnight.
To freeze, cool the peppers completely and wrap them individually before freezing for up to three months. Thaw overnight in the fridge and reheat covered in a 350 degree oven until heated all the way through and the cheese is melted again.
What to serve it with
- With a crisp green side salad
- Alongside crusty bread to soak up the tomato sauce
- With a dollop of sour cream on top
- Paired with roasted potatoes or garlic bread
Frequently asked questions
Parboiling is the most reliable way to get tender peppers, since the bake alone often leaves them crunchy. If you prefer a firmer pepper with more bite you can skip it, but for the classic soft texture a quick three to four minute boil is worth the step.
It is best to use precooked rice because raw rice needs much more liquid and time to soften than the bake provides. If you only have raw rice, cook it first or your filling will turn out crunchy and underdone.
Mozzarella gives you that gooey, stretchy melt, while cheddar brings sharper flavor, so a blend of the two is my favorite. Pepper jack or Monterey Jack also work well, especially for a Tex Mex version.
Yes, they are great for prepping ahead. Assemble the stuffed peppers completely, cover the dish, and refrigerate for up to a day, then bake as directed, adding a few extra minutes since they will be going in cold.
Drain the diced tomatoes well and do not over parboil the peppers, since both add excess water. Spreading just a thin layer of sauce on the bottom of the dish rather than drowning the peppers also keeps the texture right.
Stuffed Bell Peppers
Tender bell peppers filled with a savory beef, rice, and tomato mixture, topped with melted cheese and baked until bubbling.
Ingredients
- 6 large bell peppers, mixed colors
- 1 tbsp olive oil
- 1 lb ground beef, 85/15
- 1 medium yellow onion, diced
- 3 cloves garlic, minced
- 1 tsp dried oregano
- 1 tsp ground cumin
- 1 1/2 cups cooked white rice
- 1 can (14.5 oz) diced tomatoes, drained
- 1 cup tomato sauce, divided
- 1 tbsp Worcestershire sauce
- 1 1/2 tsp kosher salt
- 1/2 tsp black pepper
- 1 1/2 cups shredded mozzarella or cheddar, divided
- 2 tbsp fresh parsley, chopped
Instructions
- Slice the tops off the peppers, remove the seeds, and parboil them for a few minutes to soften.
- Brown the ground beef with onion and garlic, then stir in the spices and Worcestershire.
- Mix in the cooked rice, diced tomatoes, half the tomato sauce, and half the cheese.
- Stand the peppers in a baking dish and fill them generously with the mixture.
- Top with the remaining tomato sauce and cheese, cover, and bake until tender.
- Uncover and bake until the cheese is melted and bubbling, then garnish with parsley.
Notes
- Parboiling the peppers ensures they come out tender rather than crunchy after baking.
- Use precooked or leftover rice so the filling is fully cooked and just needs to heat through.
- Choose peppers that can stand upright; trim a thin sliver off the bottom if one wobbles, without piercing through.