
Brown Butter Chocolate Chip Cookies
 By Janet Homme · Updated June 19, 2026
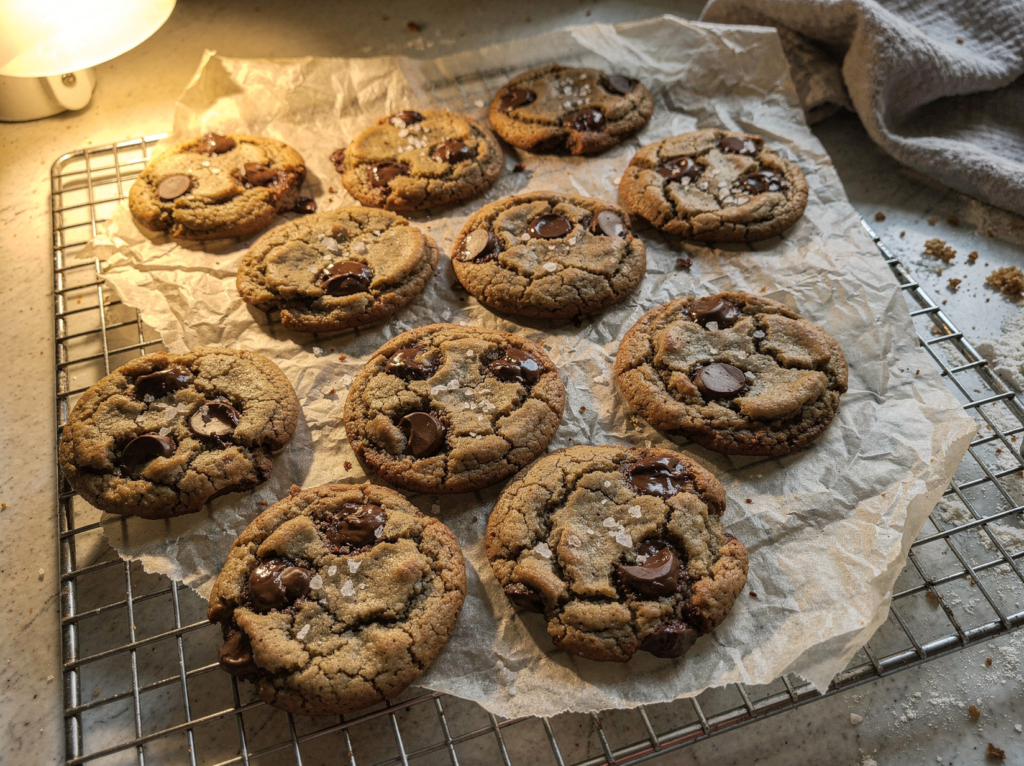
A regular chocolate chip cookie is good. A brown butter chocolate chip cookie is the one people remember.
Browning the butter adds a deep, nutty, almost-caramel flavor that makes these taste like they came from a bakery. The edges go crisp, the centers stay soft and gooey, and a little flaky salt on top ties it all together.
The dough comes together in one bowl with no mixer, but there are a few specific moments that make or break the result.
I have spelled out each one below, from how to tell when the butter is perfectly browned to exactly when to pull the cookies from the oven.
Why you will love this
- Deep, nutty flavor: real brown butter is the single biggest upgrade to a chocolate chip cookie
- Crisp edges, gooey centers: the texture everyone is chasing
- Sweet and salty: flaky salt on top makes the chocolate pop
- No mixer needed: one bowl, one saucepan, one whisk
- Reliable, with the cues below: you will know when the butter, dough, and cookies are each ready
What you will need
A short ingredient list, but quality and a couple of techniques matter most. Here is the rundown.
- Butter (1 cup): unsalted, so you control the salt. You will brown all of it, so use a good one
- Brown sugar (1 cup, packed): brings moisture and chew, plus that caramel note. Pack it firmly into the cup
- Granulated sugar (1/2 cup): helps the edges crisp and the surface crackle
- Eggs (2 large): room temperature blends in more smoothly and helps the dough come together
- Vanilla (2 teaspoons): use the real thing; it makes a difference here
- All-purpose flour (2 1/4 cups): spoon and level it so the cookies do not turn out dry or cakey
- Baking soda (1 teaspoon): for lift and even browning
- Salt (3/4 teaspoon): in the dough, separate from the flaky salt on top
- Chocolate (1 1/2 cups): chopped from a bar melts into pools; chips hold their shape. Use what you love, or a mix
- Flaky sea salt: for finishing. Not optional if you want the bakery effect
Equipment: A light-colored saucepan (so you can see the butter brown), a large bowl, a whisk, a cookie scoop, and baking sheets lined with parchment.
How to make it, step by step
Step 1: Brown the butter
Melt the butter in a light-colored saucepan over medium heat. Once it melts, keep cooking and swirling the pan.
It will foam, then quiet down, and after about 5 to 7 minutes you will see golden-brown flecks on the bottom and smell a nutty, toffee aroma. That is browned butter.
Pour it immediately into your mixing bowl, scraping in every brown bit, and let it cool for about 10 minutes. Watch it closely at the end, because it goes from nutty to burnt fast.
Step 2: Whisk in the sugars
Add both sugars to the warm brown butter and whisk until combined and a little glossy.
The mixture will look grainy at this stage, which is completely normal.
Step 3: Add the eggs and vanilla
Whisk in the eggs and vanilla until the dough turns smooth, thick, and slightly shiny, about 30 seconds of steady whisking.
This little bit of effort is what gives the cookies their crackly tops.
Step 4: Fold in the flour and chocolate
Add the flour, baking soda, and salt. Switch to a spatula and stir just until no dry streaks remain. Do not overmix.
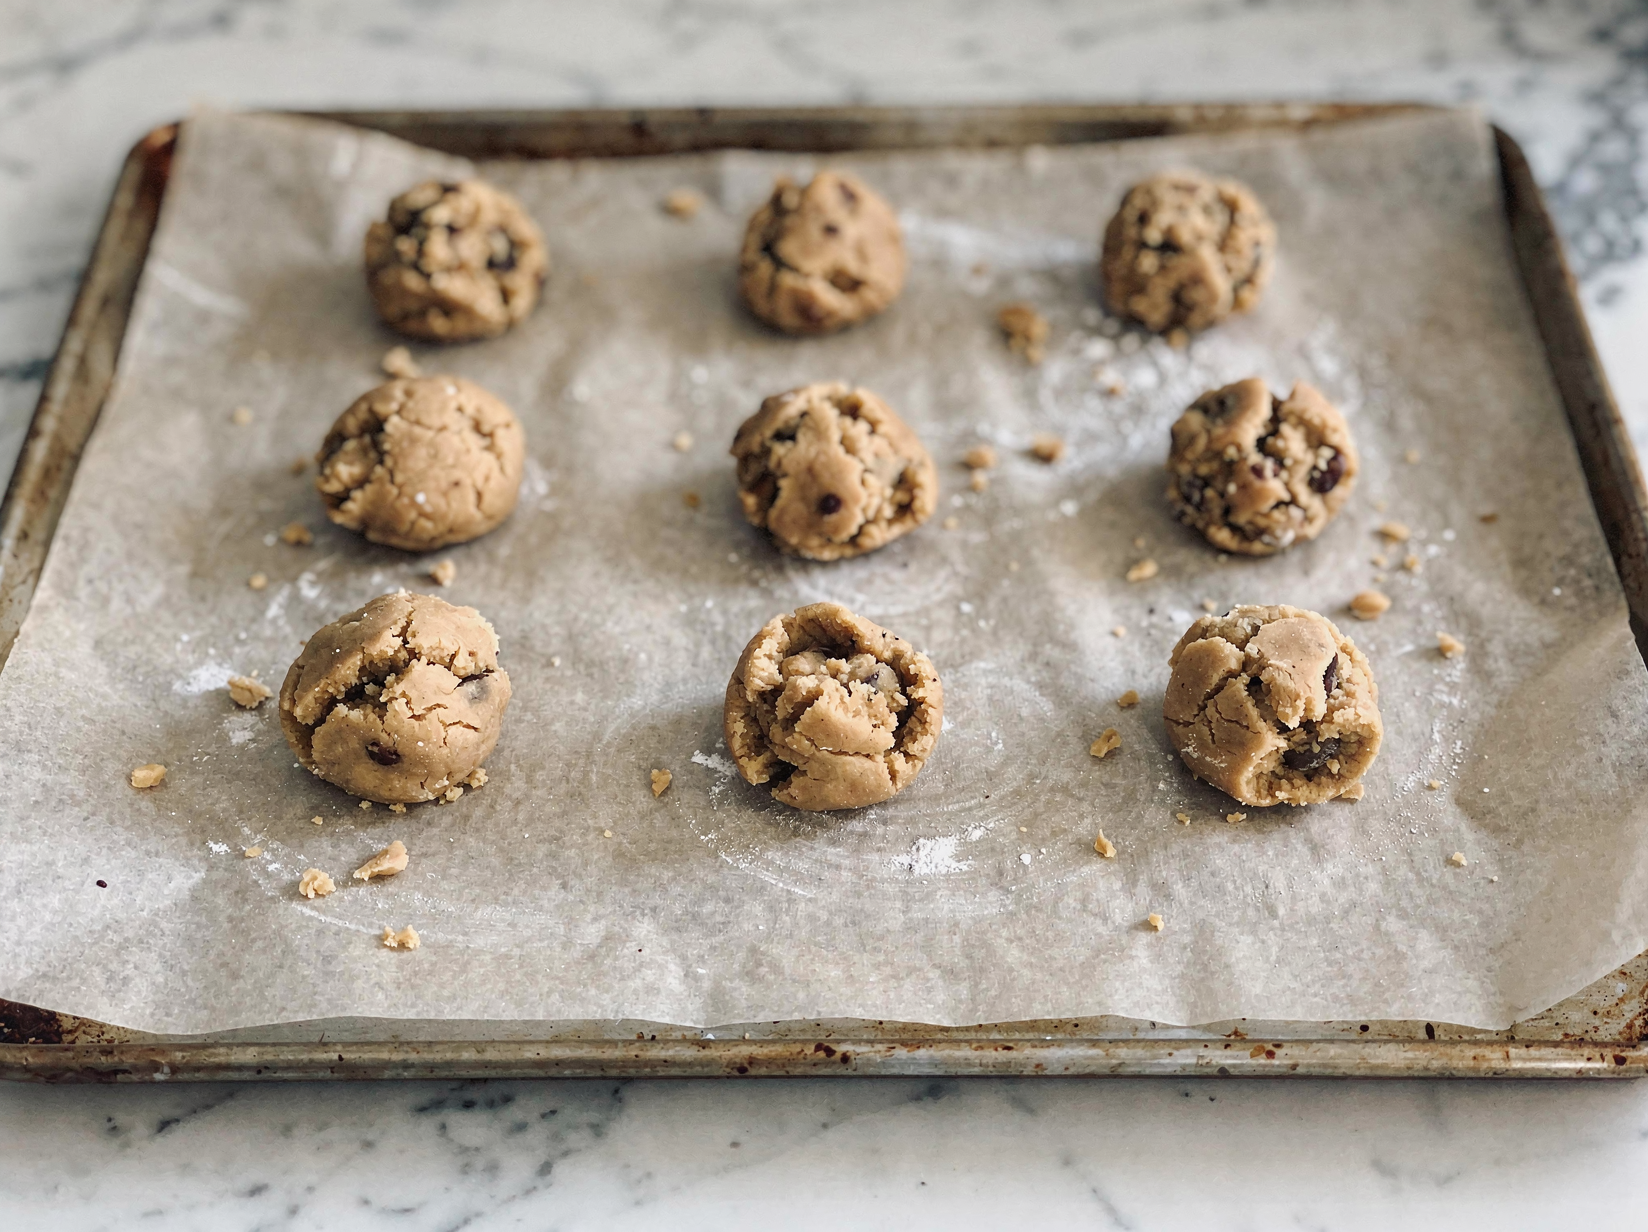
Fold in the chocolate, then scoop the dough into balls of about two tablespoons each onto a parchment-lined sheet.
Step 5: Chill the dough
Chill the dough balls for at least 15 minutes, or up to overnight. This keeps the cookies thick and chewy instead of spreading thin, and it deepens the flavor.
If you skip this step, the cookies will spread into flat, greasy discs.
Step 6: Bake until just set
Bake at 350F for 10 to 12 minutes. Pull them when the edges are set but the centers still look soft and slightly underbaked.
They will look not-quite-done, and that is correct. They keep cooking on the hot tray, which is how you get that gooey middle.
Right out of the oven, sprinkle each cookie with a pinch of flaky sea salt.
Step 7: Cool, then enjoy
Let the cookies rest on the baking sheet for about 5 minutes so they can set up, then transfer them to a wire rack.
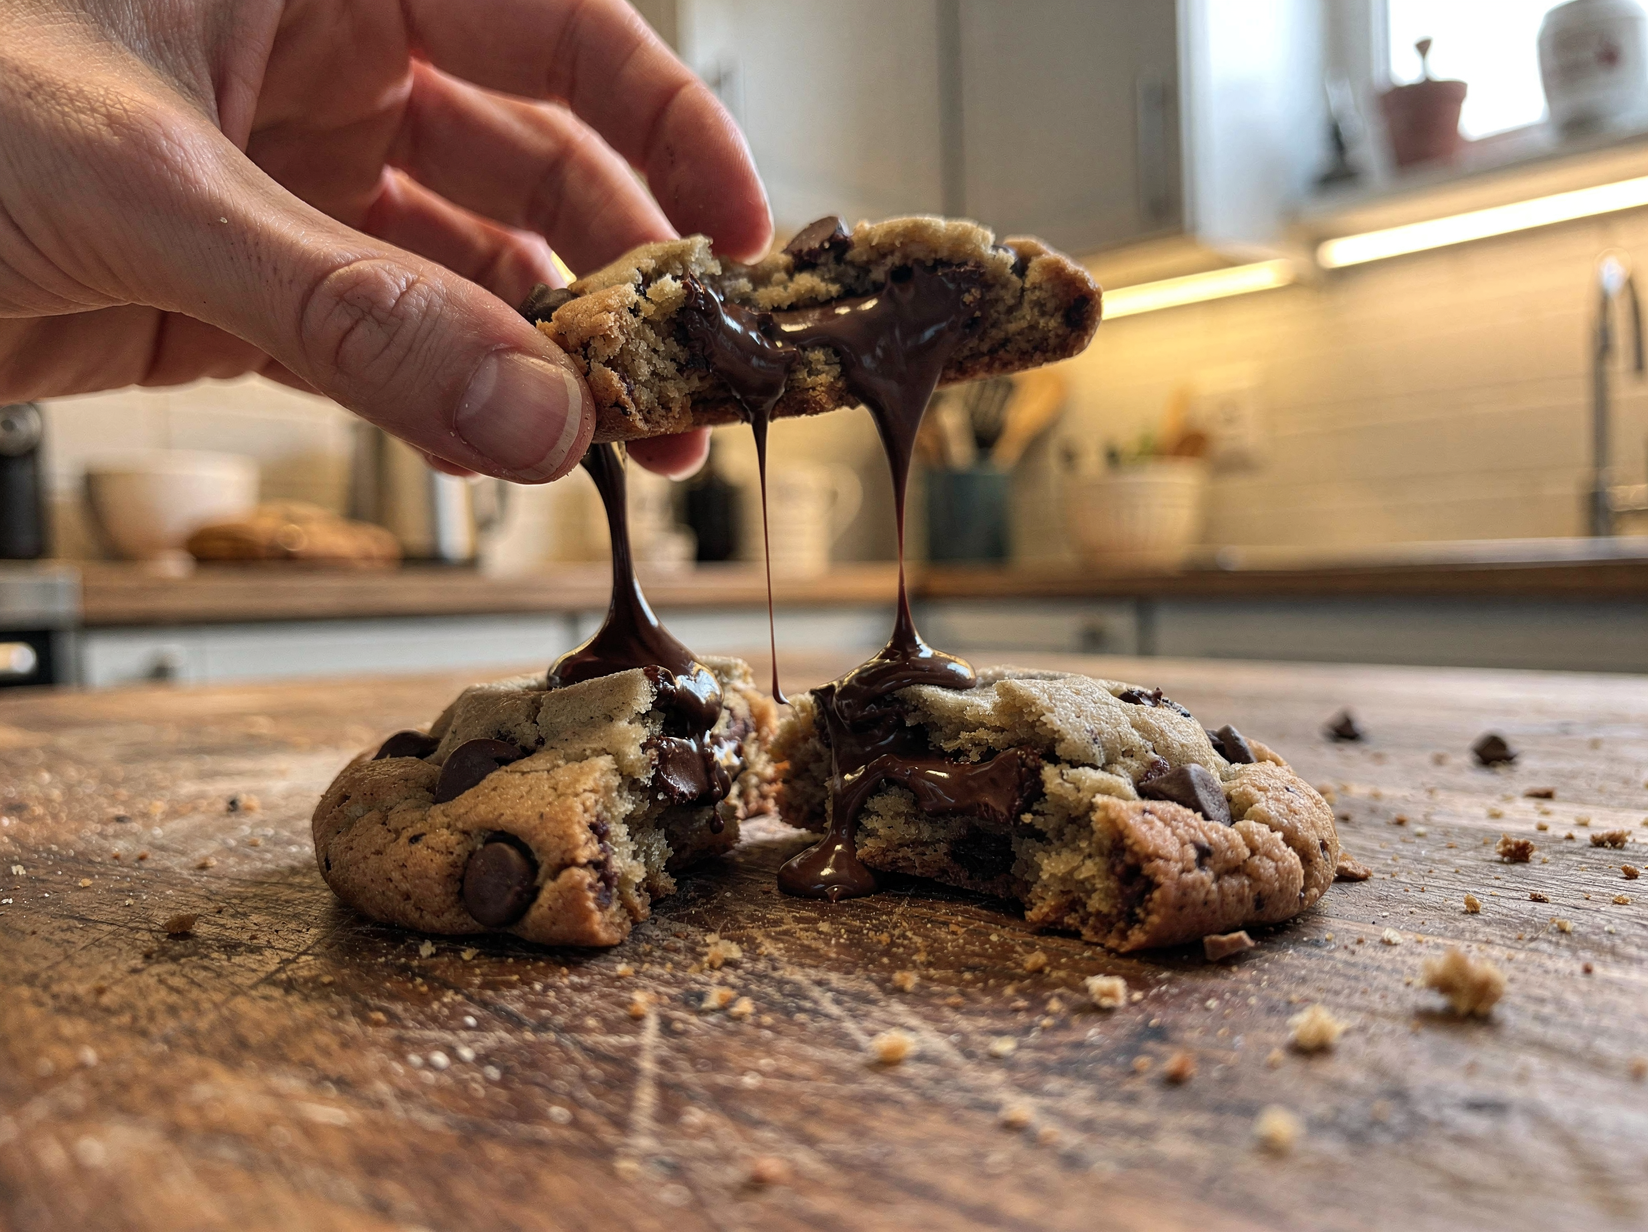
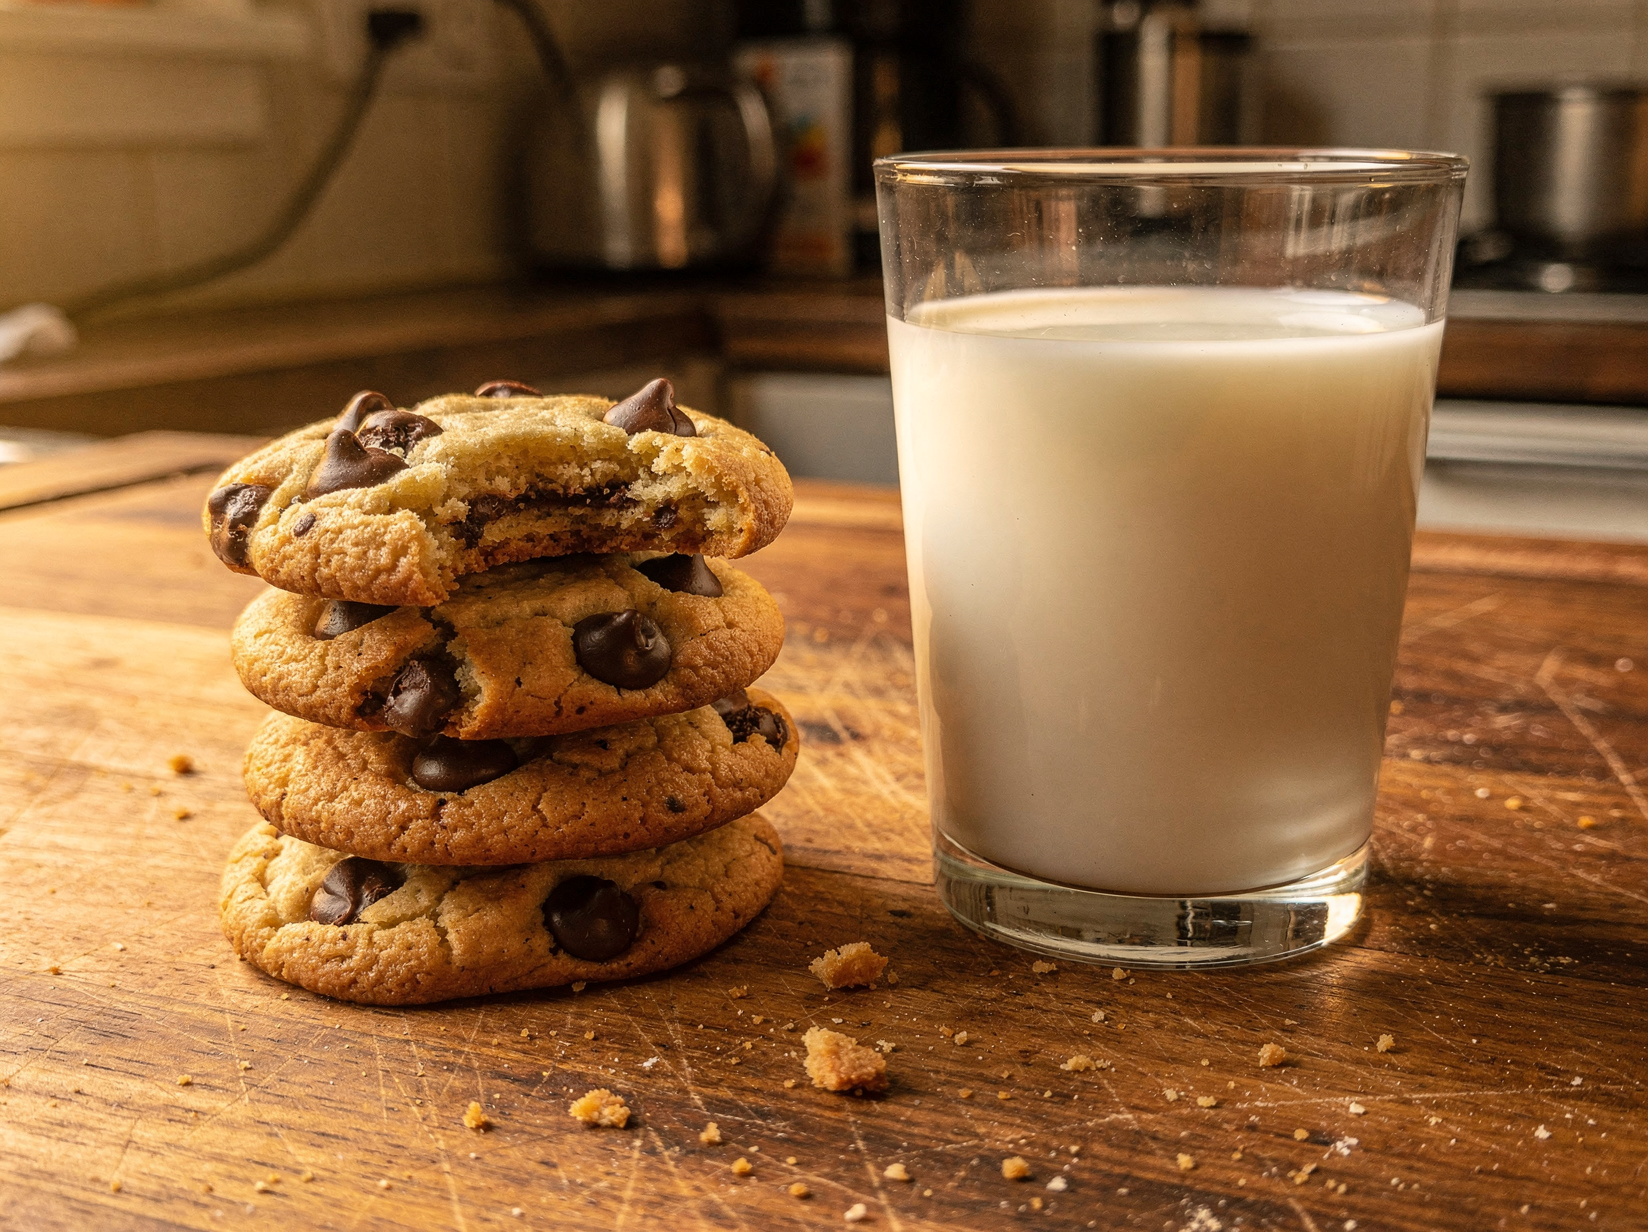
They are at their absolute best slightly warm, when the chocolate is still molten. A cold glass of milk is highly recommended.
Tips for the best results
- Watch the butter: it browns fast at the end and burns in seconds. A light pan lets you see the color
- Cool the butter before mixing: hot butter cooks the eggs and over-melts the sugar
- Always chill the dough: warm dough spreads thin instead of staying thick and chewy
- Underbake slightly: pull them when the centers look soft; they finish on the tray
- Salt on top: add the flaky salt the moment they come out, while the surface is still warm
Variations and substitutions
- Extra gooey: use chopped chocolate from a bar instead of chips for melty pools
- Nutty: fold in 1/2 cup toasted chopped pecans or walnuts
- Bigger cookies: scoop 3-tablespoon mounds and add 2 to 3 minutes to the bake time
- Espresso boost: a teaspoon of instant espresso powder deepens the chocolate flavor
How to store and reheat
Store cooled cookies in an airtight container at room temperature for up to five days. A slice of sandwich bread in the container keeps them soft.
To freeze baked cookies, layer them with parchment in a freezer bag for up to three months.
You can also freeze the scooped dough balls and bake them straight from frozen, adding 1 to 2 minutes. Fresh cookies any night, no bowl required.
What to serve it with
- Warm, with a cold glass of milk
- Slightly cooled, next to a scoop of vanilla ice cream
- Pressed into ice cream sandwiches with your favorite flavor
- Stacked and wrapped as a homemade gift
Frequently asked questions
It adds a deep, nutty, caramel-like flavor you cannot get from regular melted butter. It is the single most important step in this recipe.
Yes, for the best thick and chewy texture. Even 15 minutes helps the cookies hold their shape, and chilling overnight develops even more flavor.
Usually warm dough or warm butter. Make sure the brown butter has cooled and the dough has chilled before baking.
Absolutely. Freeze the scooped dough balls solid, then bake from frozen, adding a minute or two. It is the best way to have fresh cookies on demand.
A chopped chocolate bar gives you melty pools, while chips hold their shape. A mix of both, plus a little dark chocolate, is my favorite.
Brown Butter Chocolate Chip Cookies
Nutty brown butter, gooey centers, crisp edges, and a little flaky salt on top. The upgrade your cookie deserves.
Ingredients
- 1 cup unsalted butter
- 1 cup brown sugar, packed
- 1/2 cup granulated sugar
- 2 large eggs
- 2 teaspoons vanilla extract
- 2 1/4 cups all-purpose flour
- 1 teaspoon baking soda
- 3/4 teaspoon salt
- 1 1/2 cups chopped chocolate or chocolate chips
- Flaky sea salt, for finishing
Instructions
- Brown the butter in a light pan over medium heat, swirling, until amber and nutty, 5 to 7 minutes. Pour into a bowl and cool 10 minutes.
- Whisk in both sugars, then the eggs and vanilla, until smooth.
- Stir in the flour, baking soda, and salt until just combined, then fold in the chocolate.
- Scoop into balls and chill at least 15 minutes.
- Bake at 350F for 10 to 12 minutes, until edges are set but centers look soft. Finish with flaky salt and cool on the tray a few minutes.
Notes
- Browning the butter is the whole game; do not rush it, but do not walk away either.
- Chilling the dough keeps the cookies thick and chewy instead of flat.
- Chopped bar chocolate melts into pools; chips hold their shape. Use what you love.